Tutorial - Design Awesome 2012 Calendar in Photoshop
STEP-1
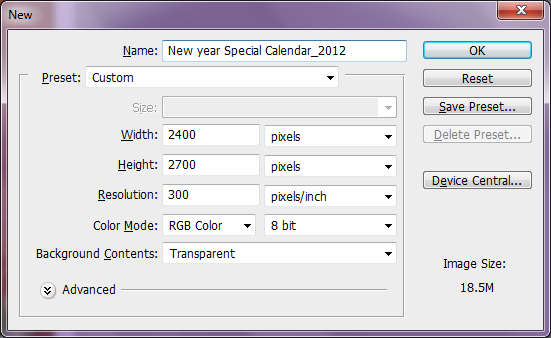
Let's start by creating a new document. Set the dimensions of the canvas to 2400x2700 px.
STEP-2 (Adding Wood Texture)
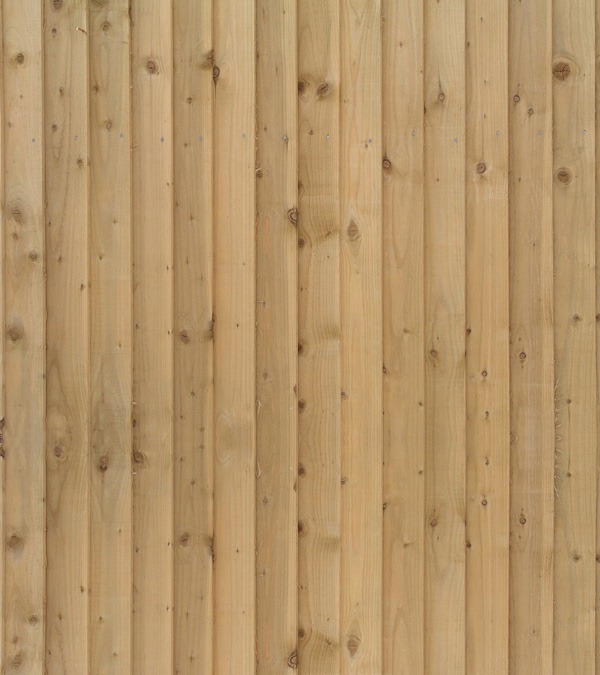
Open and drag the Wooden Image into canvas, duplicate same layer, flip vertically and merge both layers. Then blend both images using Stamp Tool (S)
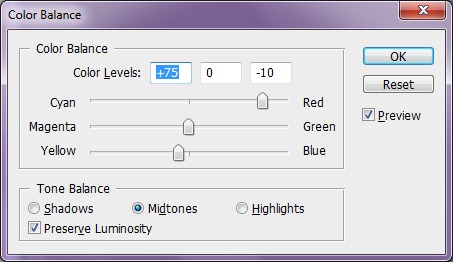
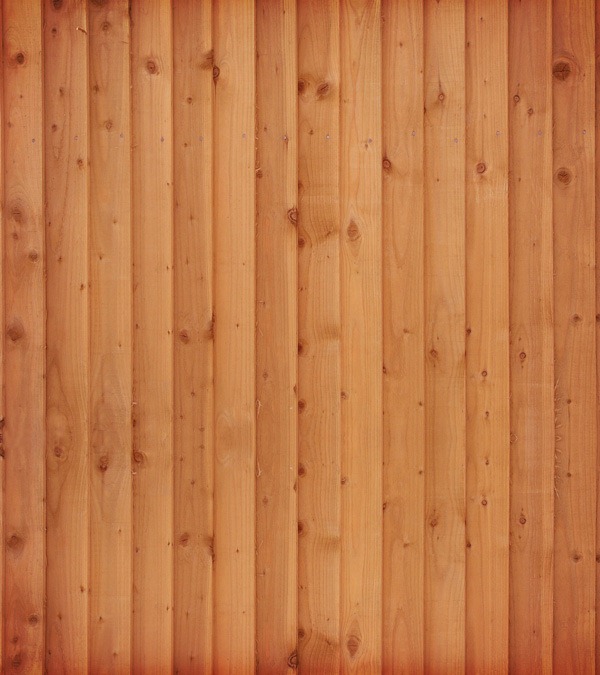
Then change the color of the image using Color balance (Ctrl+B) with values (+75, 0 ,-10)
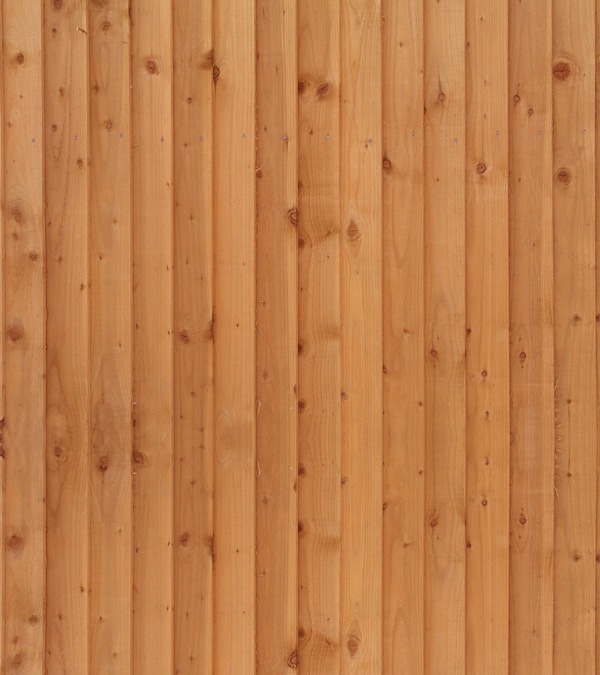
Take Soft Round Brush (B) with color #070707 and paint at top and bottom edges of texture. Change the layer mode to Overly and reduce opacity to 60%. Its just to make the texture rough at the edges.
STEP-3 (Creating Old Paper)
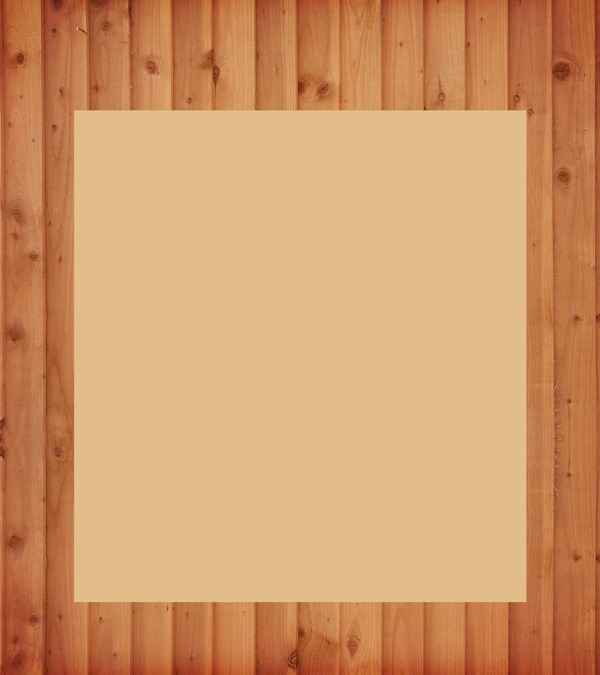
Create a new layer, draw a rectangular shape using Rectangular Marquee Tool (M) and fill with color # e1bd88
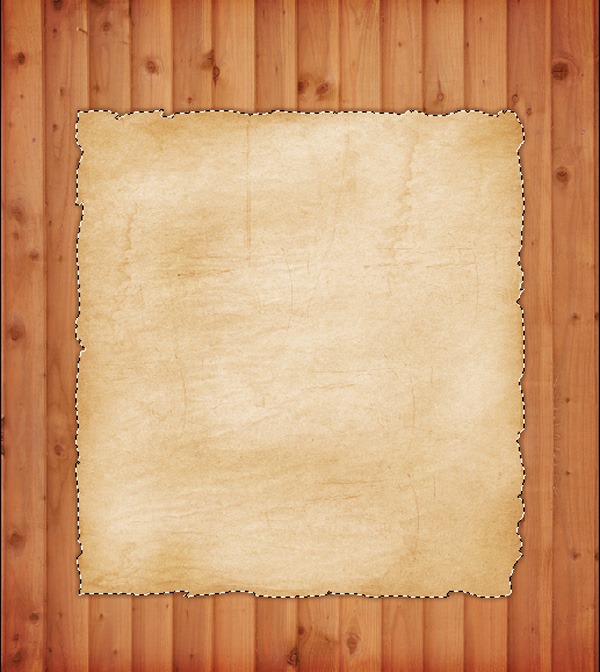
Zoom in using the Zoom Tool (Z) to focus on the edges of the paper background. Switch to the Pen too (P) and then make an irregularly shaped selection around the paper, give Feather radius (Ctrl+Alt+D) 1 and hit delete.
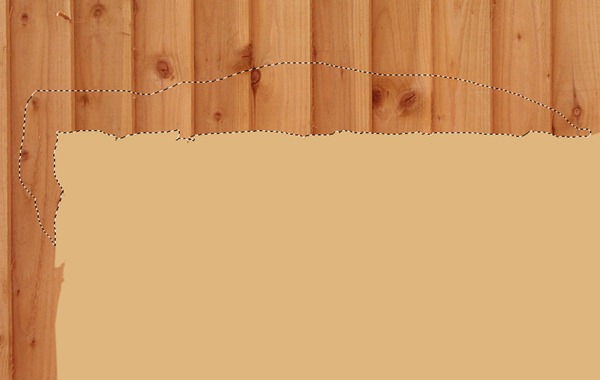
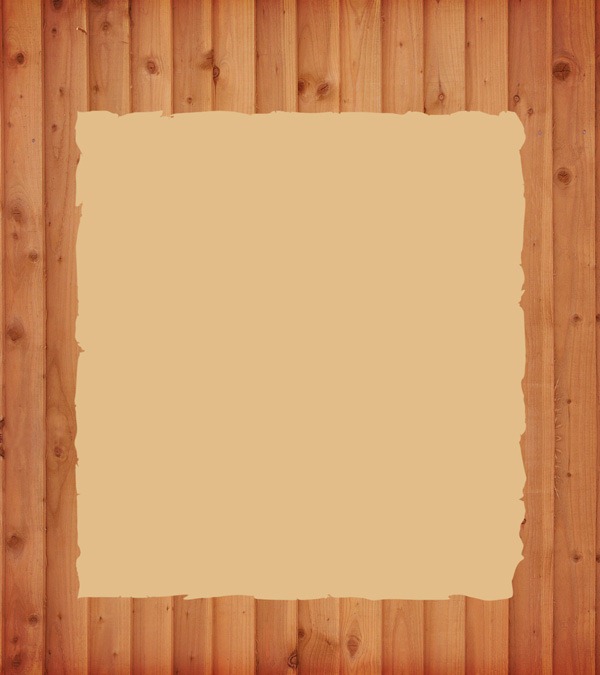
After making rough edges to all sides the page should look like this.
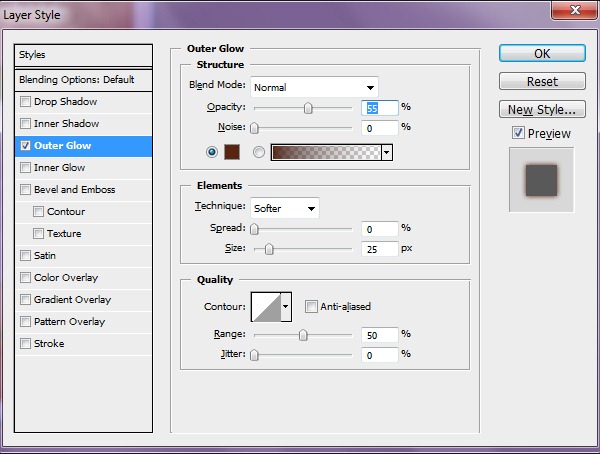
Now lets add shadow to paper. Double click on the paper layer to get "Layer Style" and give the values as below
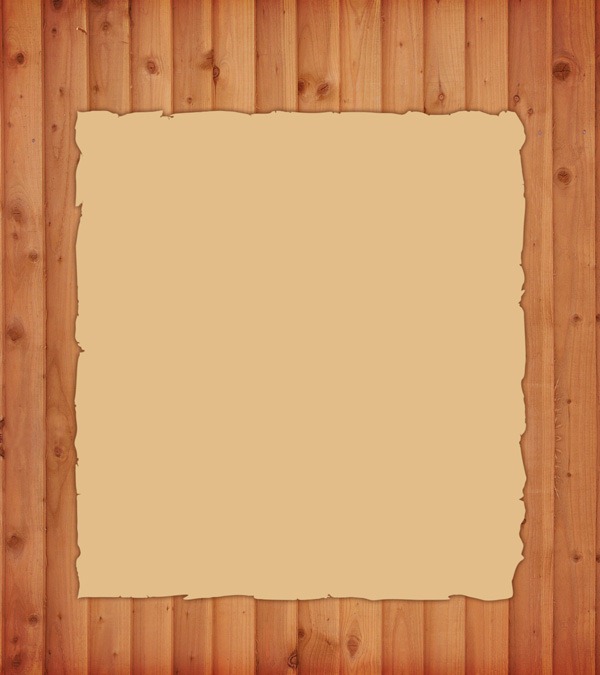
Here is how it looks
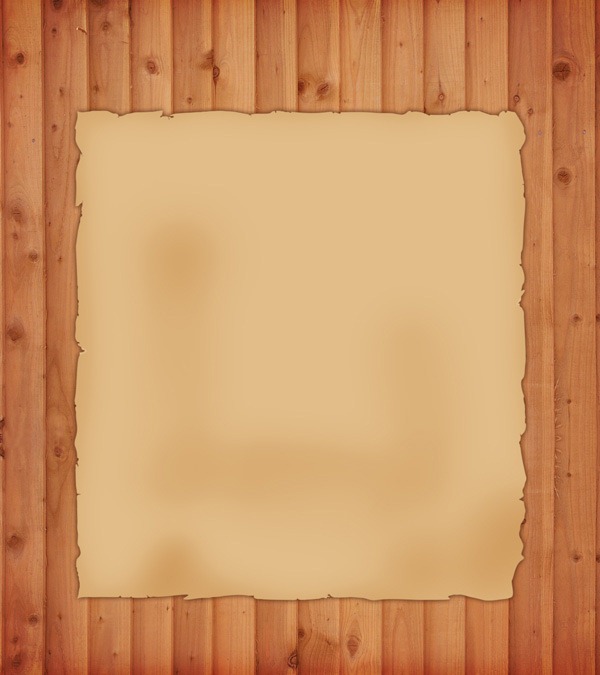
Grab the Burn Tool(O) and brush over the edges and middle of the paper to give it a old look.
STEP-4 (Adding Texture to the paper)
Drag the Wall Texture into canvas, scale down using Free Transform (Edit > Free Transform) to fit the paper size and Desaturate (Shift+Ctrl+U) it
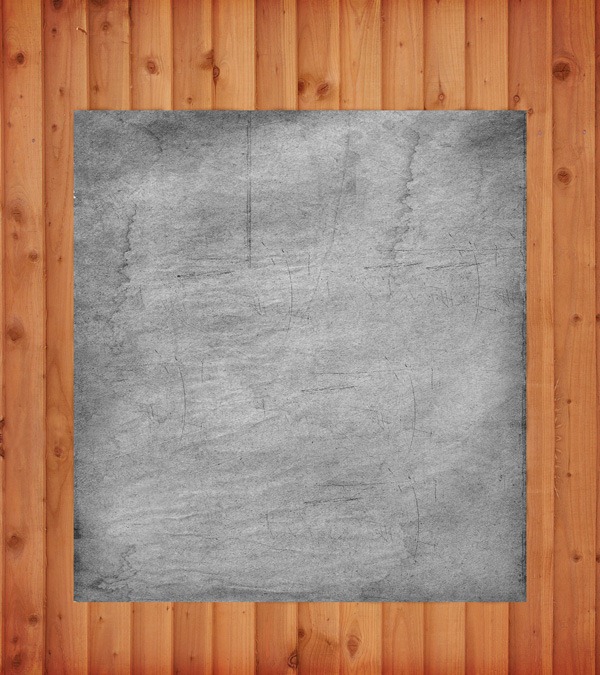
Load a selection around the paper's background by Ctrl-Click on the layer's thumbnail. Make sure you are on the texture layer, then go to Layer > Layer Mask > Reveal Selection to apply a layer mask to the texture layer. Change layer mode to Overlay
STEP-5 (Decorating with flowers & leaves)
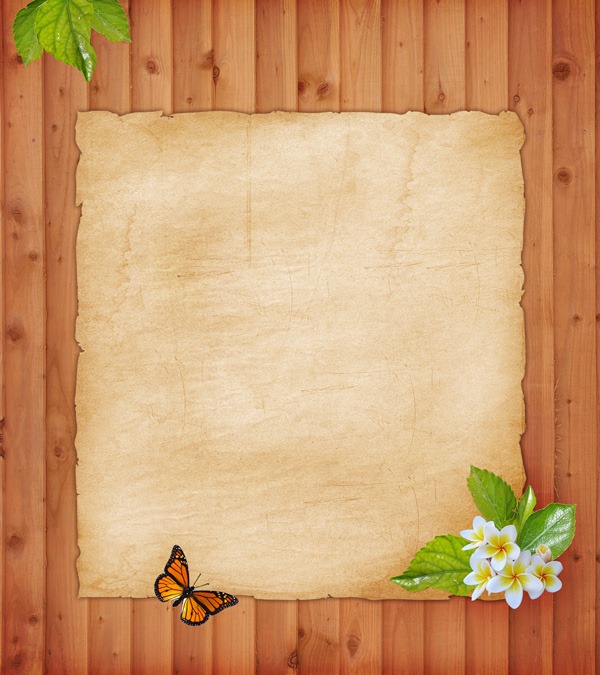
Add flowers and butterfly images to canvas, separate them with pen tool (P) and place it across.
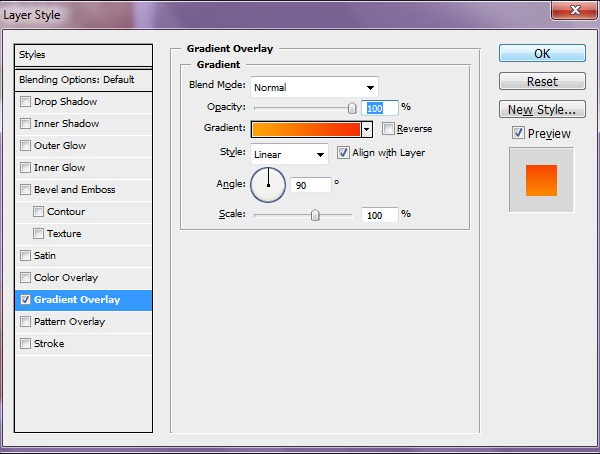
Use Abstract Brush (No.6) with Gradient Overlay (# F62E00 & # FDA202) to joint those curves to flowers
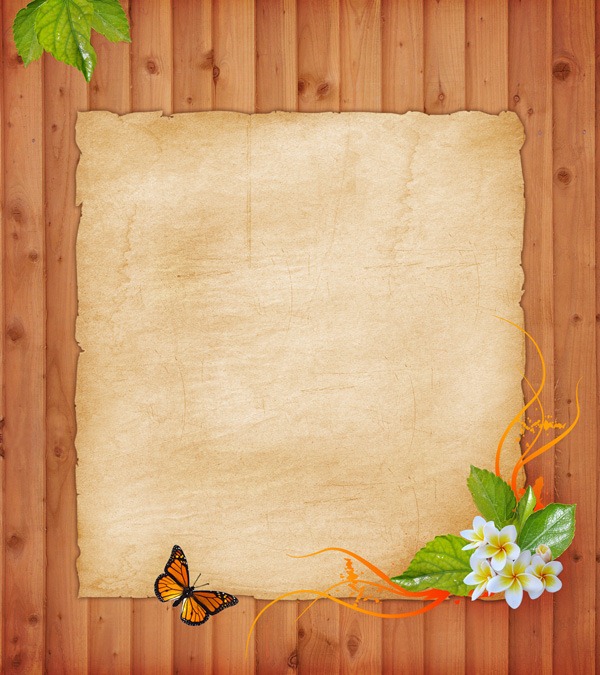
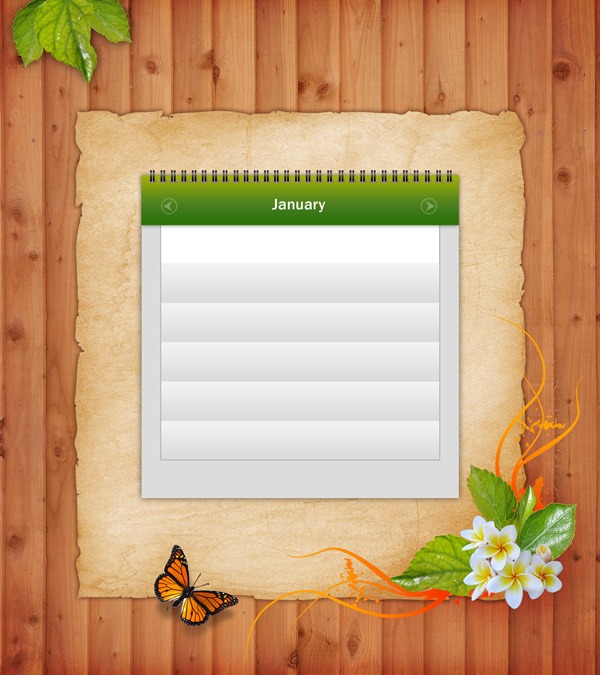
Awesome, here is how it looks
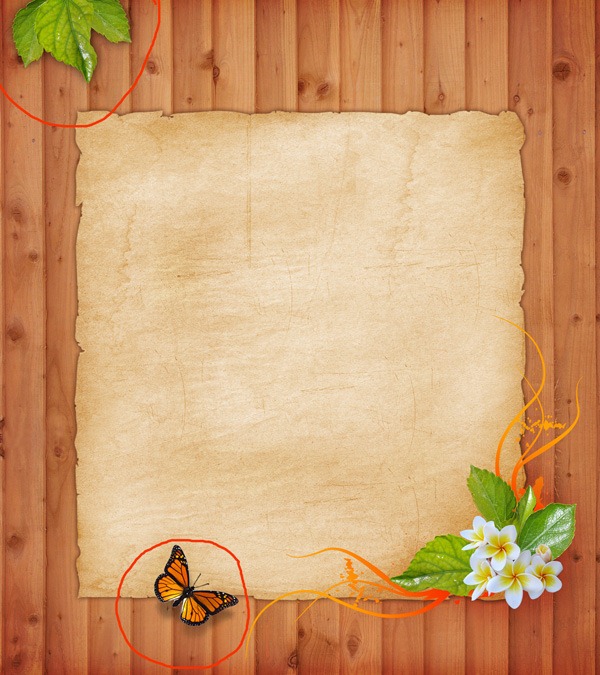
Add shadow to Butterfly and laves at top left. For that duplicate those layers and merge, fill with black color and apply blur radius up to 8-10px. Reduce the opacity to 40% and place this layer below the original one.
STEP-6 (Creating calendar Header)
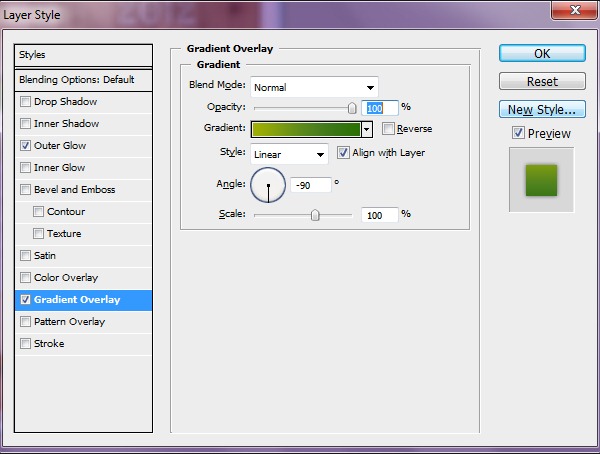
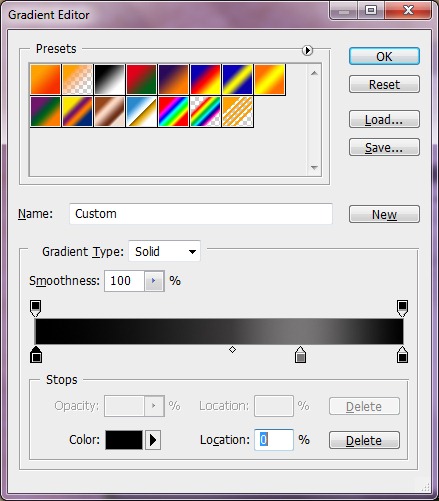
Lets create calendar header. Take Rectangular Marquee Tool (M) stylize it with the next layer styles with Gradient Overlay (# a0b002 , #2b7104)
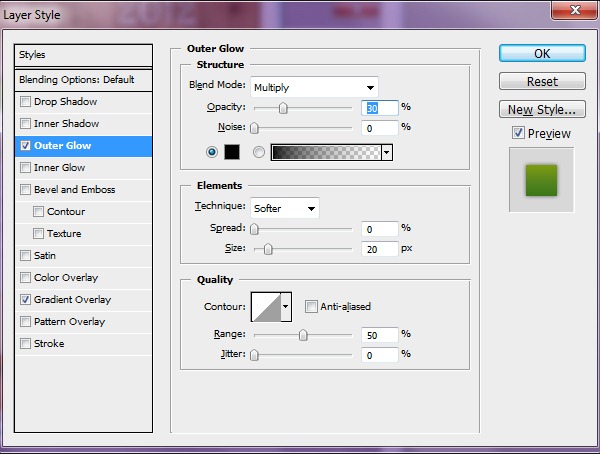
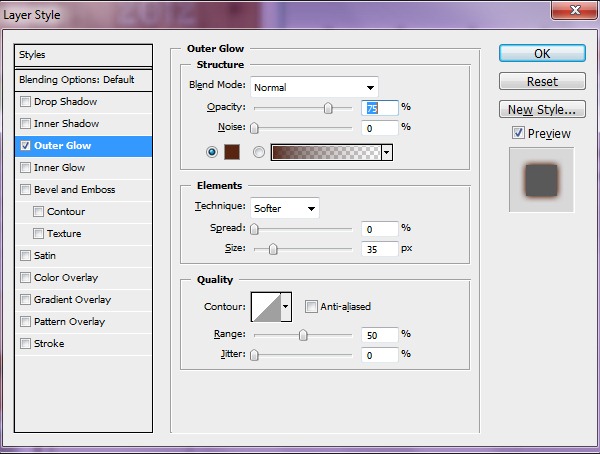
Add Outer Glow
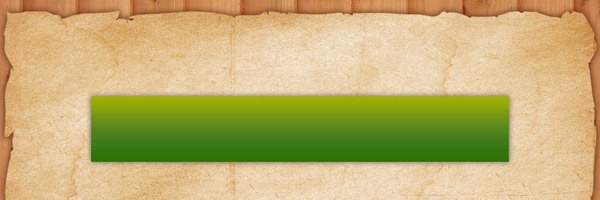
Here is the header
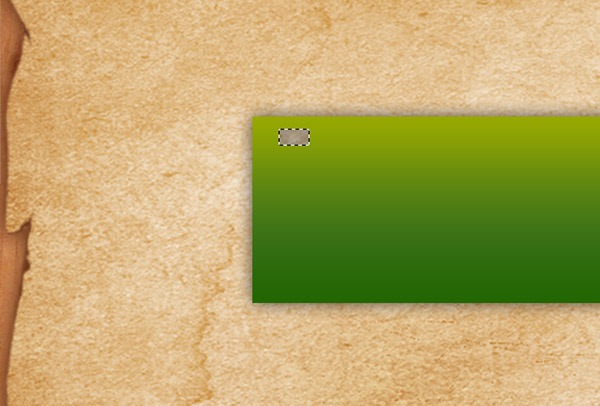
Add spiral effect to the header, for that make a small rectangular shape at the top with Rectangular Marquee Tool (M) and hit delete.
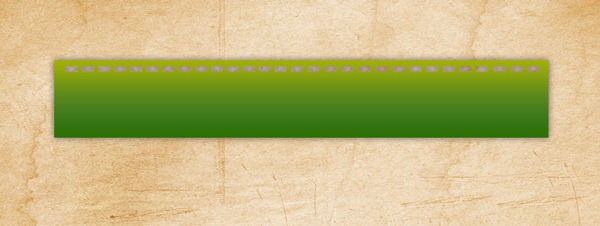
Repeat the same action maintaining equal spaces
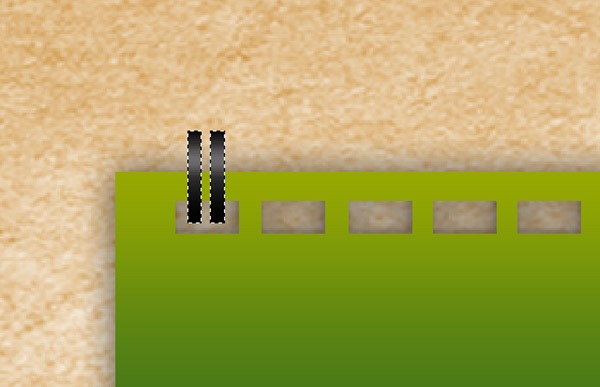
Create a new layer and draw two equal vertical rectangles and fill with gradient color
Duplicate the lines on each box by holding Alt
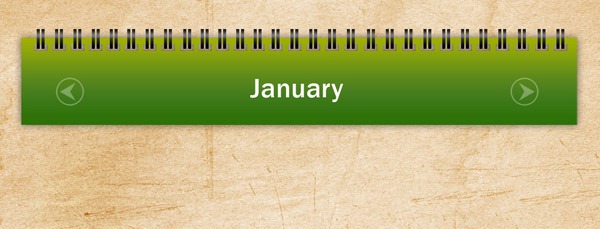
We still need to add few things on header like months, month change arrows. So add with the Horizontal Type Tool(T) a month name (January), select the Custom Shape Tool (U) and add 2 small arrows (opacity 30%)
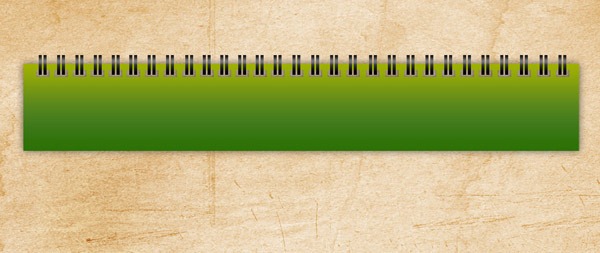
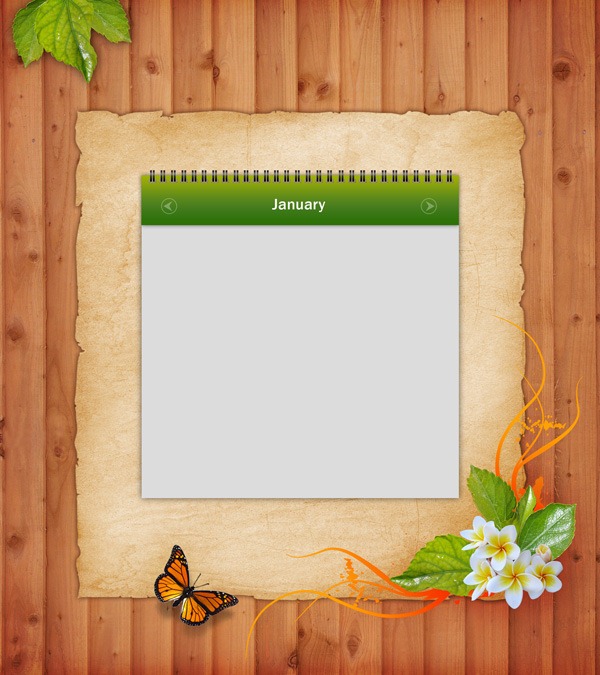
Now we are going to build body of the calendar. Create a new layer and draw rectangular in same width of the header and fill with color #dcdcdc and give outer glow.
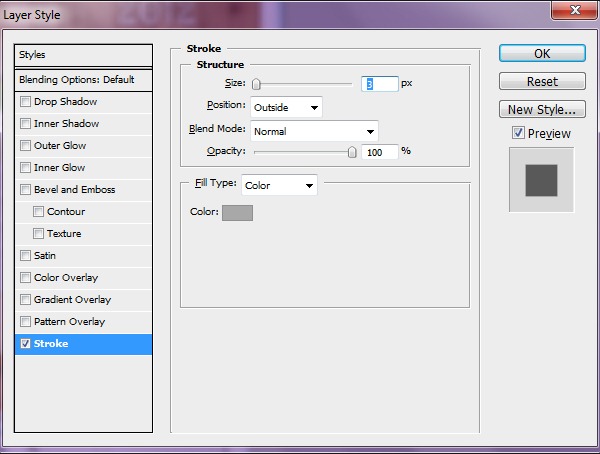
Then create a new layer and draw one more rectangular below the header and fill with white color add stroke 3px by layer style.
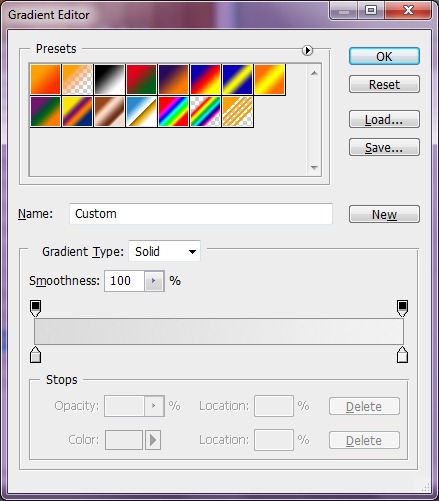
Select the Rectangle Tool(U) and draw 5 rectangles from bottom to top. Then apply Gradient Overlay (# dbdbdb & # f2f2f2)

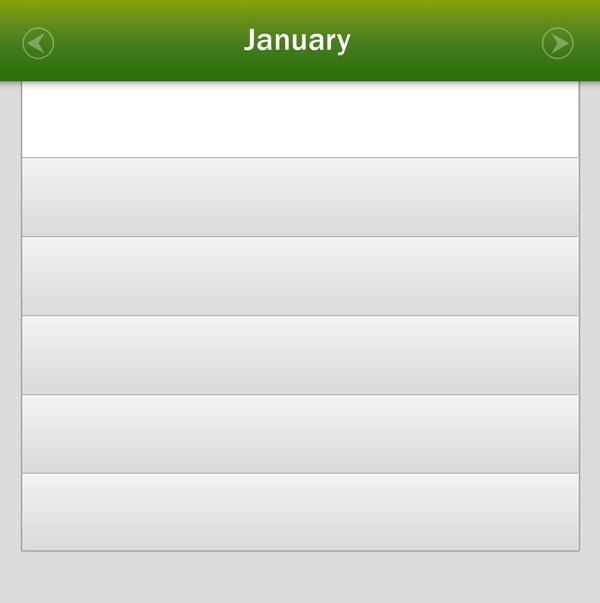
Lets delimit each rectangle by drawing some horizontal and vertical lines of 2px using the Line Tool(U) with color (#a8a8a8a).
Then add horizontal white(#c5c5c5) 2px lines below each horizontal Gray line

Make the vertical lines in the same way
STEP-7 (Add Month and Dates)
Add weeks and days in the calendar boxes. (I use Franklin Gothic font for text. for weeks its 12pt and for days 16pt.)

We should differentiate the current day or holidays. For that choose a day of your choice, draw a rectangle on it, color (#d6dcad) it differently and place this just below the original layer with gray & white lines.
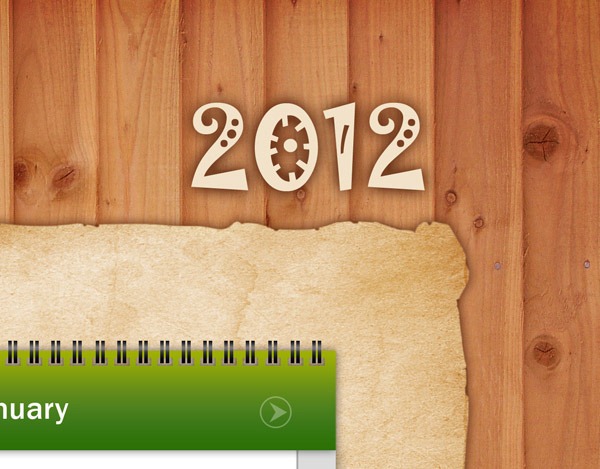
Now add 2012 to it. In a new layer I used Jokerman font size 50pt color(#f2e2c9), stylize it with the layer style and Outer Glow

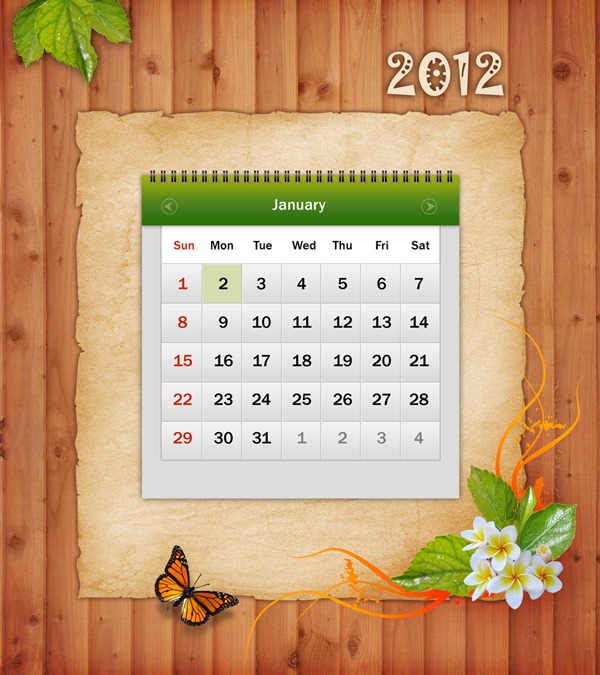
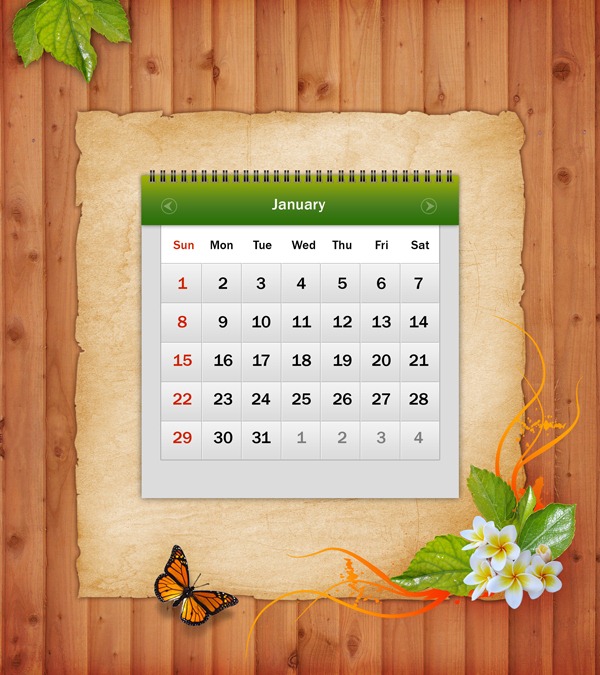
Here is the final image.
You can program it to use it in system (That's the reason we gave month shift arrows) or make all 12 month in the same way to get a nice photo print to place it on your desk.
Here is my complete 12 month calendar to place it on your desk. Just download full sized one here
Hope you enjoyed it. Happy New Year and Thank you...!
Copyright © . All Rights Reserved