Design a Super Slick Club Poster
Here is a preview of the image that we are going to be creating:

Step 1
Create a new document (600X700px).
Fill your canvas with black:

Paste in one of the bokeh textures from the resources section for this tutorial.
No need to desaturate these textures as the extra layer of color will help add variation and depth to your final poster design.
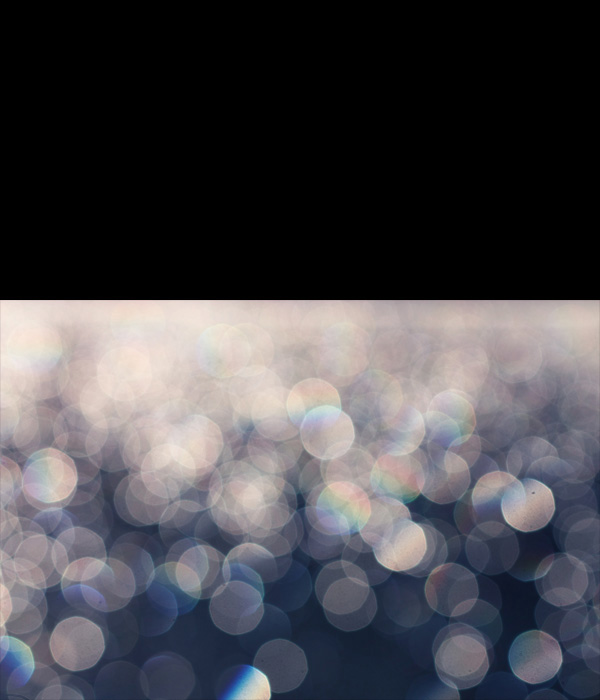
Simply apply a layer mask, and use a large, soft black paintbrush to mask off the top of your bokeh image. Then reduce this layer's opacityto 20%:

Repeat this step, adding the second bokeh texture to the top of your composition:

Step 2
Create a new layer called 'white lighting'.
Drag out a series of white to transparent radial gradients over the central region of your canvas:
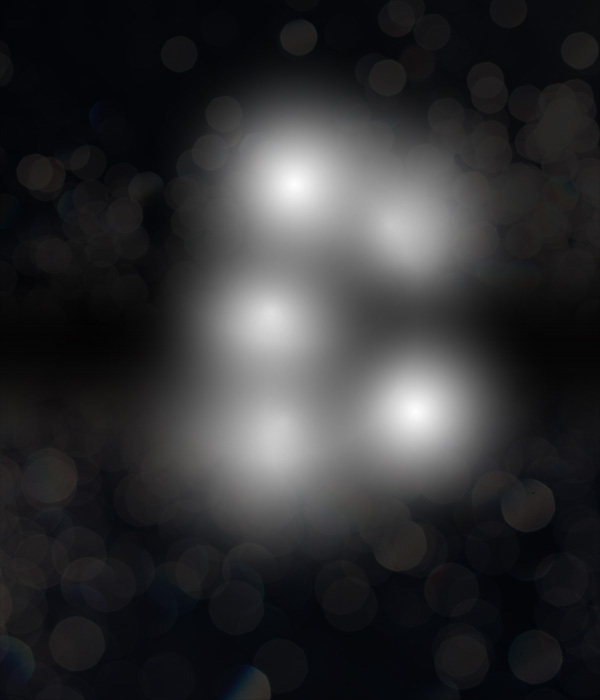
Change this layer's blend mode to 'overlay' and then duplicate it, to make the lighting effect more intense:
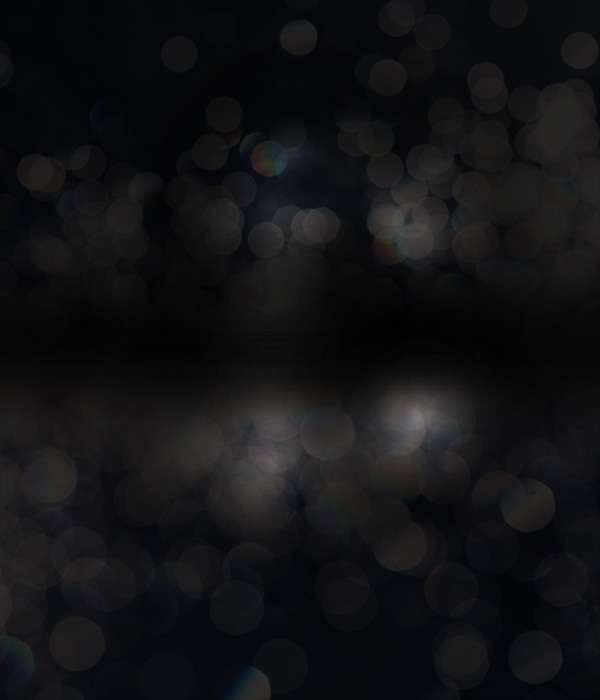
Select your reflected gradient tool (you can find this in the tool options bar, next to the linear and radial gradient options).
Stick with your white to transparent gradient, and then drag downwards a little bit from just below the center of your canvas. Due to the nature of the reflection gradient, you should be left with a cool gradient ranging from transparent, to white, back to transparent. This creates a sort of light beam:
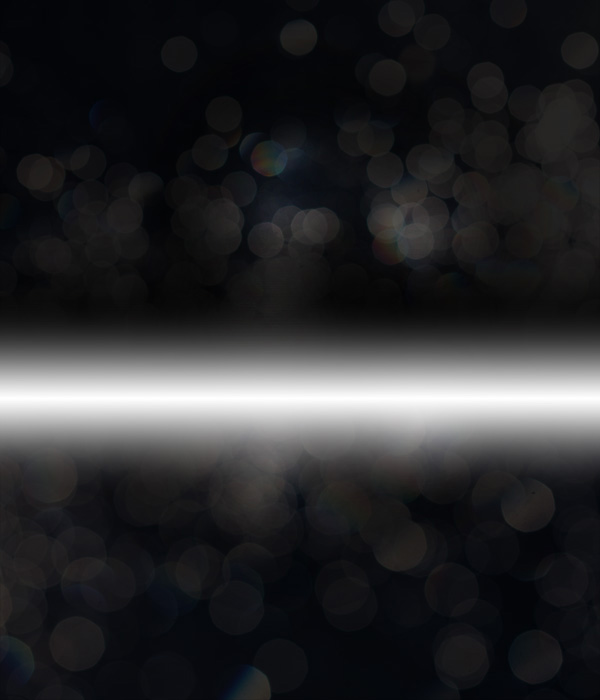
Now change this layer's blend mode to 'overlay':
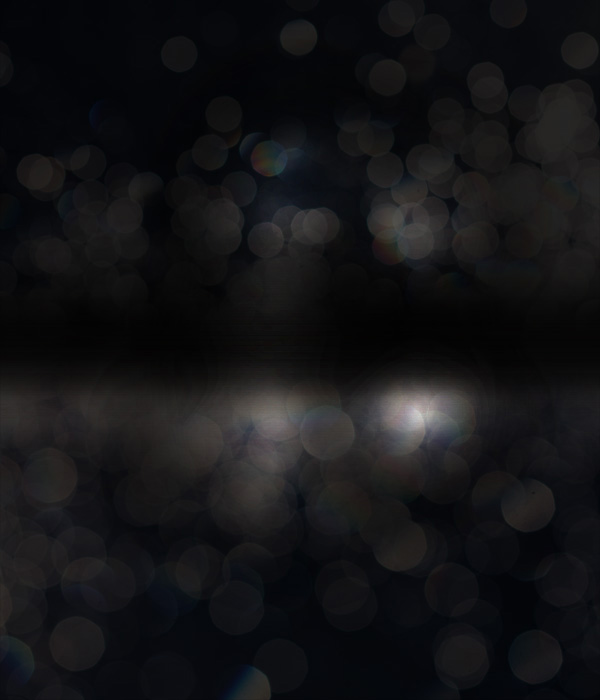
Now duplicate this layer in order to make the light effect more intense:
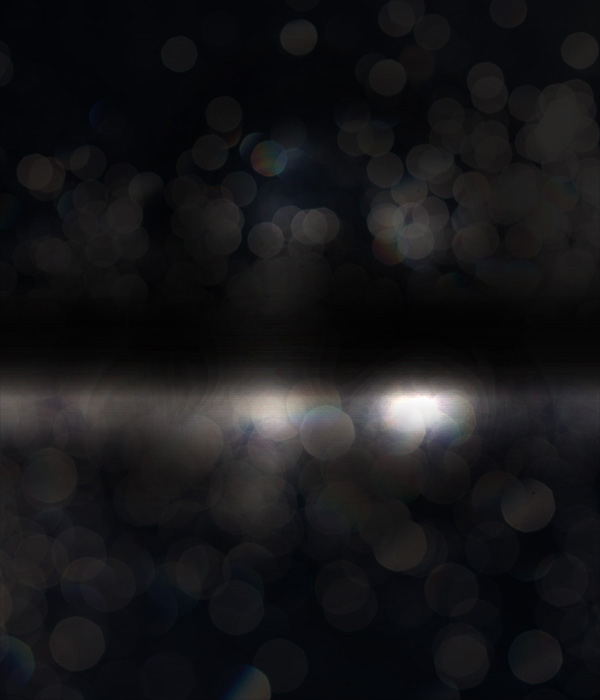
Step 3
Paste in your club photo, positioning in the center-left area of your canvas:
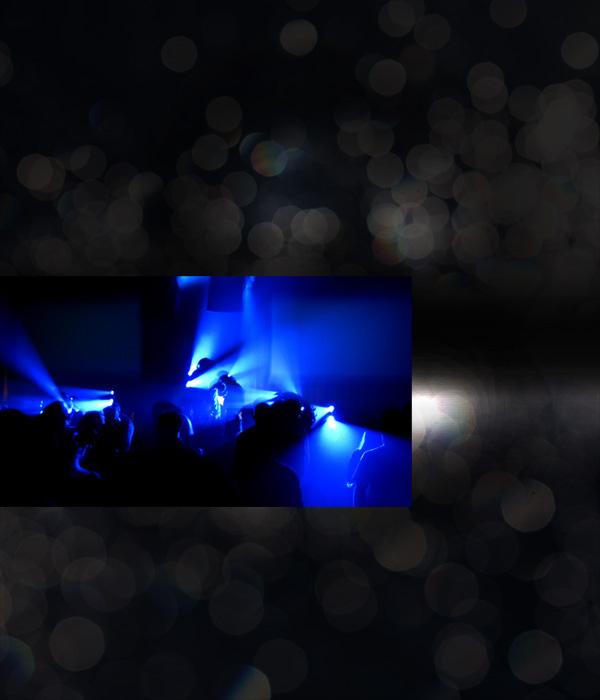
Now reduce this layer's opacity to 60%. Create a layer mask and use a soft black paintbrush to mask away the hard edges of your photo, blending it better into your background:
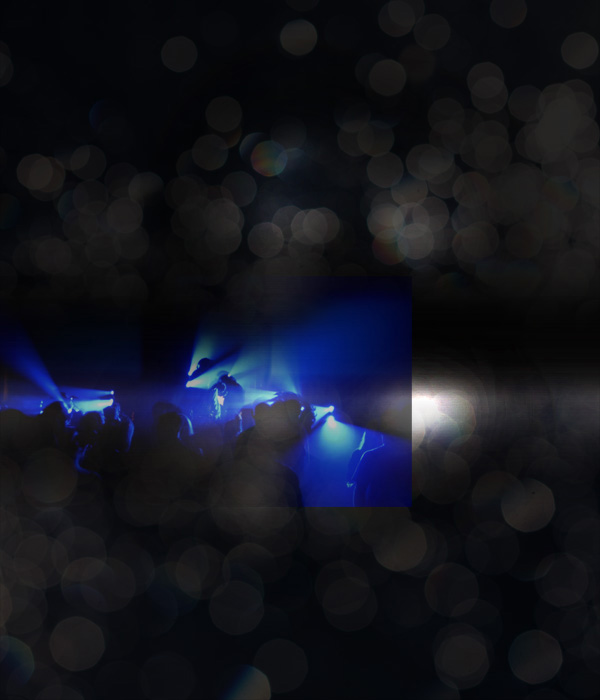
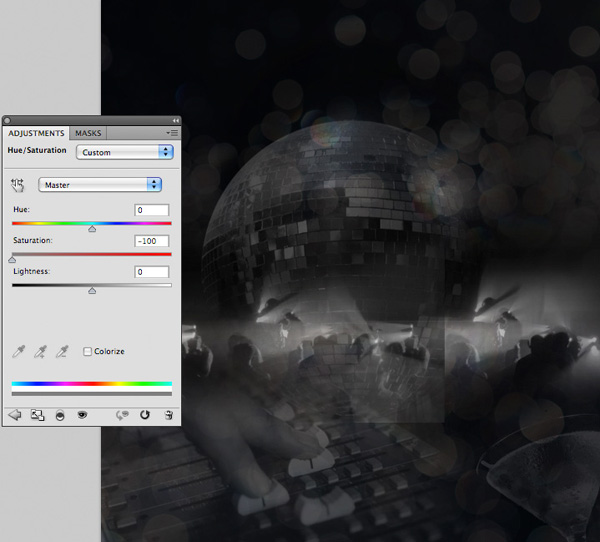
Apply a hue/saturation adjustment layer (being sure to create a clipping mask for the layer). This will ensure that your adjustments only effect your underlying club photo layer, not your entire canvas:
Hue/Saturation Adjustment Layer Settings:
Hue: 0
Saturation: -100
Lightness: 0
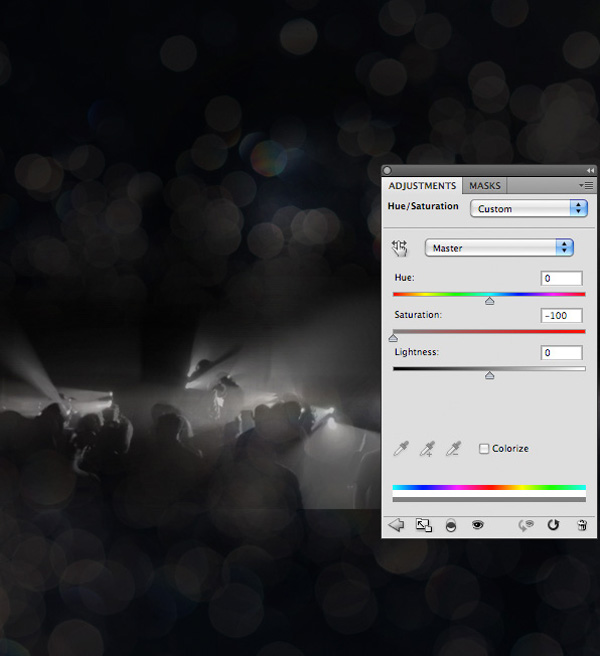
Duplicate your club photo, moving the duplicate to the right half of the canvas. Apply the same adjustment layer, and mask this photo appropriately to also blend smoothly into your main background:
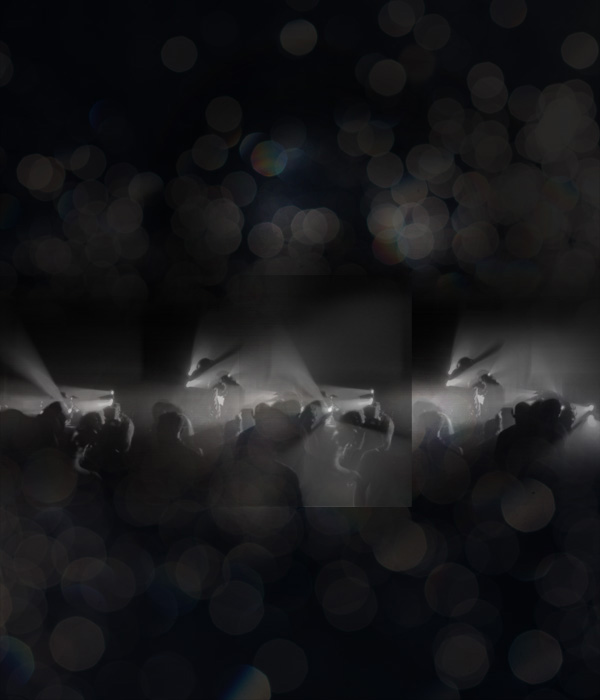
Step 4
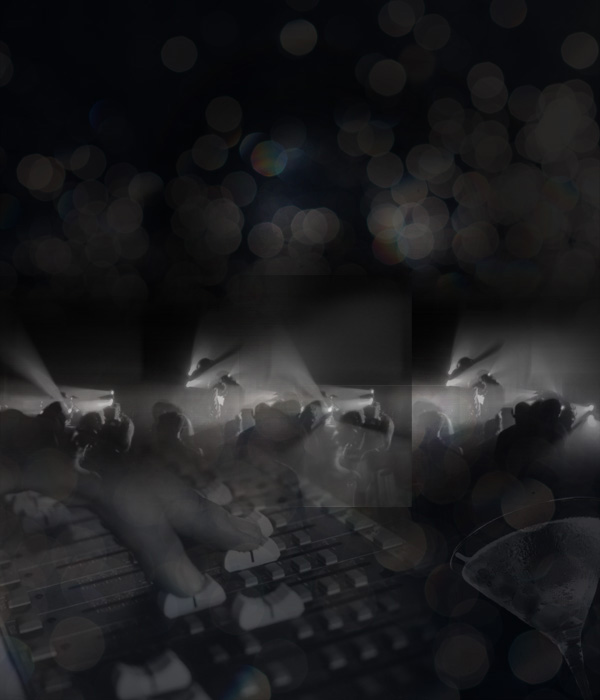
Repeat step 3, adding in a photo of a mixing desk and martini glass to the bottom of your canvas.
Remember with each photo to apply a hue/saturation adjustment layer and to mask them appropriately. Adjust the layer opacities until you're pleased with the result:
Step 5
Extract and paste in your image of a disco ball:
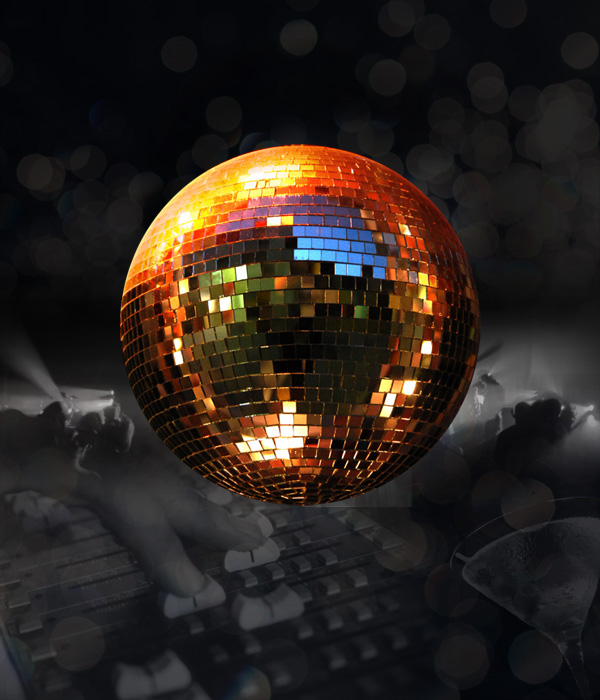
Reduce this layer's opacity to 25% and mask off the bottom/right of your disco ball image:
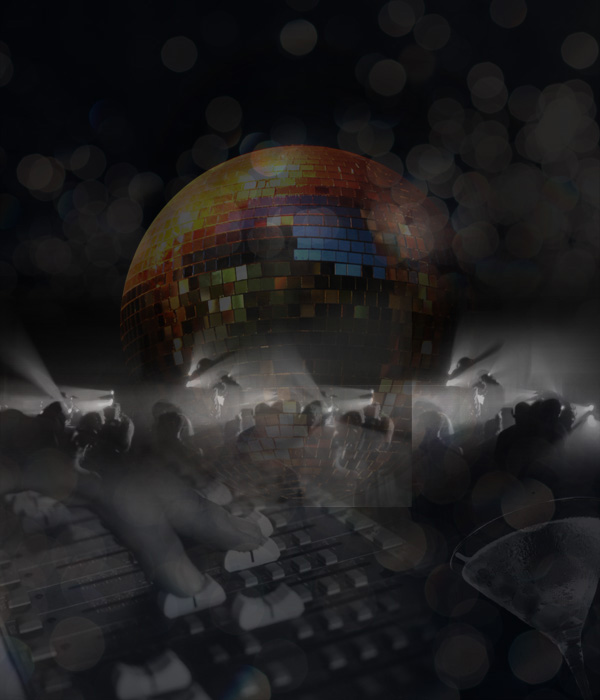
Apply a hue/saturation adjustment layer (with clipping mask) and desaturate your disco ball image:
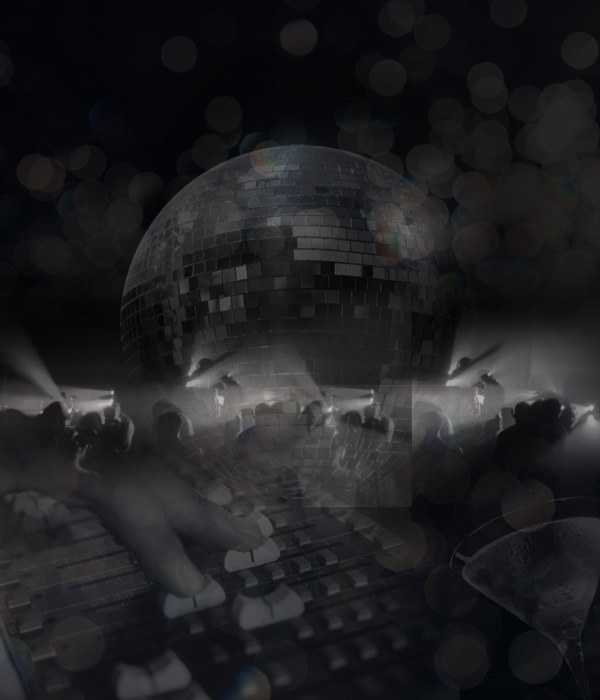
Finally, we want to give our disco ball an extra highlight at the top of it.
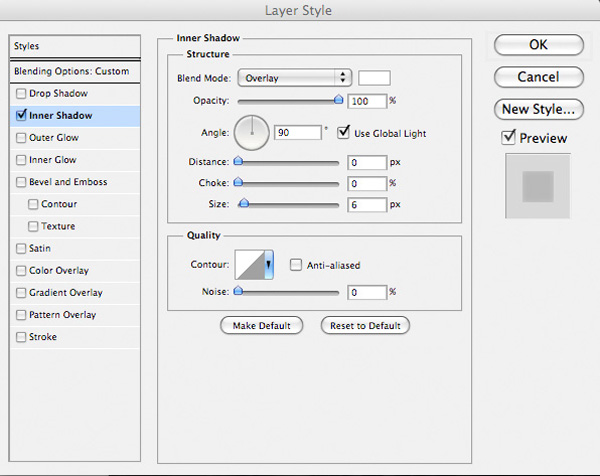
Apply an inner shadow blending option to your disco ball layer.
Inner Shadow Blending Option Settings:
Blend Mode: Overlay
Color: ffffff
Opacity: 100%
Angle: 90
Distance: 0px
Choke: 0%
Size: 6px
Step 6
Create a new layer called 'color overlay'.
Fill your canvas with a linear gradient ranging from 8e0fd2 to c53cf3.
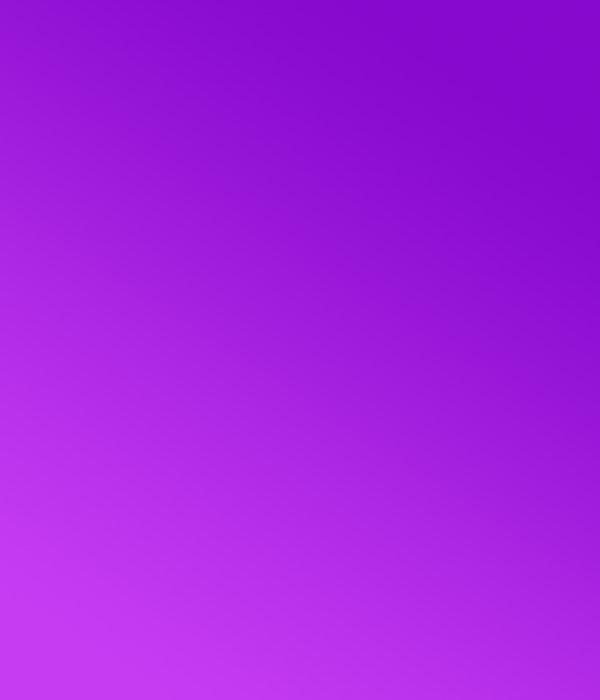
Change this layer's blend mode to 'color' and reduce it's opacity to 40%. This should give your composition a nice purple color tint:

Step 7
Now we want to create a cool pattern for our poster background.
Create a new document (30X30px). I've filled my background layer with black just to let the pattern show up for this tutorial, but very importantly, you want to have a transparent background for creating your pattern:
Create a series of 1px dots going in diagonal patterns across your canvas, until you form a cross:
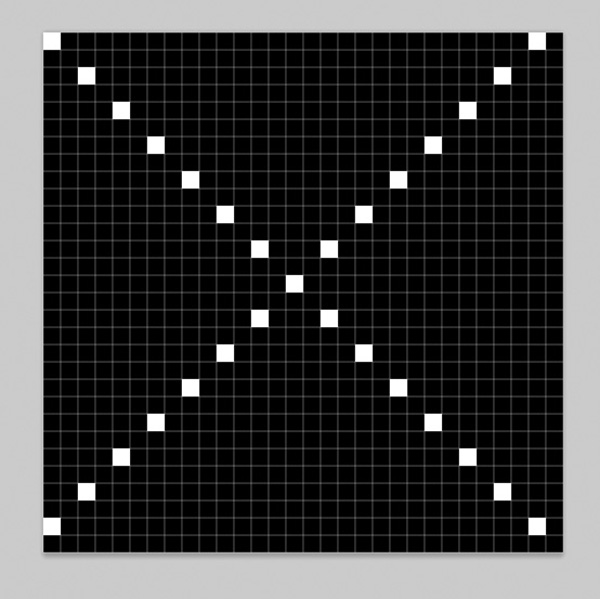
Ensuring that you have a transparent background, go to edit>define pattern.
Call your pattern 'cross pattern'.
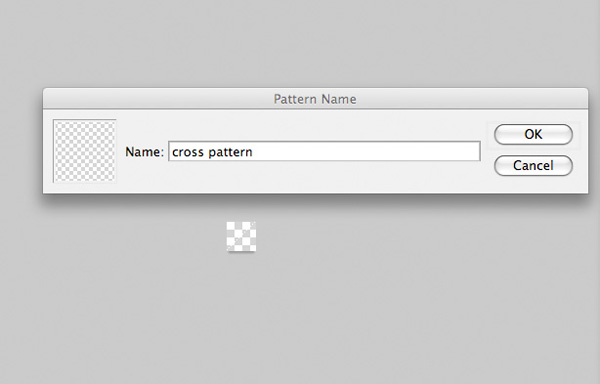
Now return to your original document. Create a new layer called 'pattern top'.
Go to edit>fill and fill your canvas with 50% gray.
Then apply a pattern overlay blending option to this layer.
Pattern Overlay Blending Option Settings:
Blend Mode: Normal
Opacity: 7%
Pattern: (select your 'cross pattern' created earlier in this step)
Scale: 100%
You can see below that due to the low 7% opacity the pattern is barely visible, but it's important to keep it subtle:
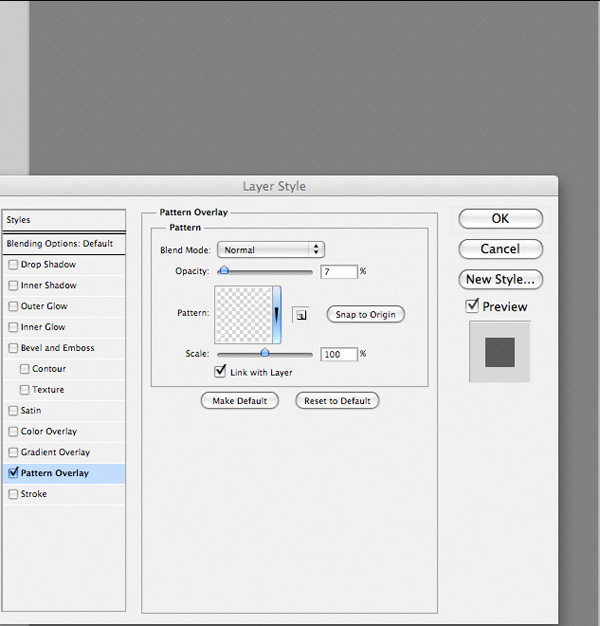
Now hit 'ok'. Change your layer's blend mode to 'overlay' to hide the 50% gray fill, leaving only your pattern showing through. Again, your pattern will be barely visible, but will add a nice extra detail to your poster:

Step 8
Time to add some text!
Download the free font from the resources section for this tutorial.
Type out 'CLUBWORLD' in the top center of your canvas.
Headline Font Settings:
Font Face: FortySecondStreetHB
Font Size: 66pt
Kerning: -50
Color: d9c6e1
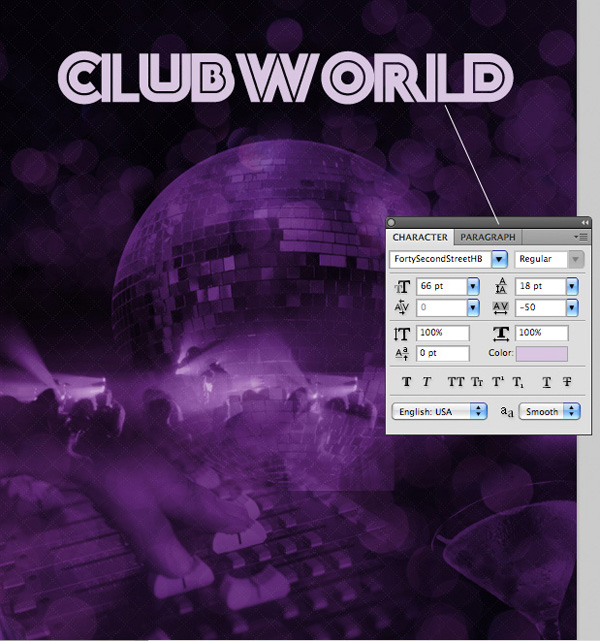
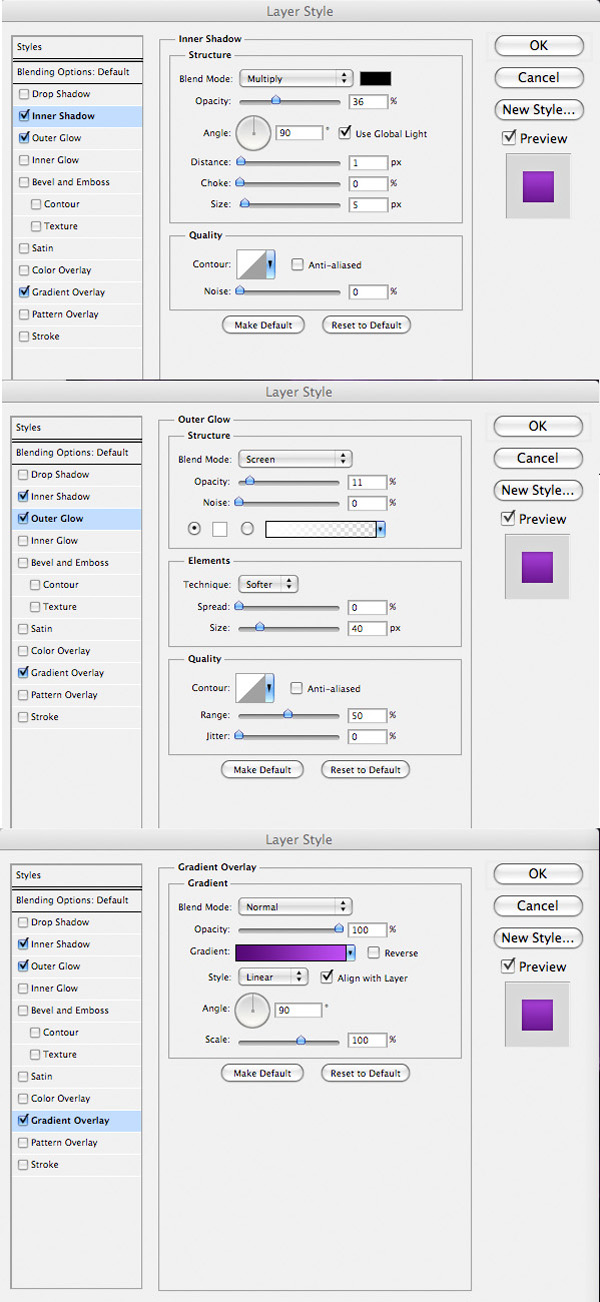
Apply an inner shadow, outer glow and gradient overlay blending option.
Inner Shadow Blending Option Settings:
Blend Mode: Multiply
Color: 000000
Opacity: 36%
Angle: 90
Distance: 1px
Choke: 0%
Size: 5px
Outer Glow Blending Option Settings:
Blend Mode: Screen
Opacity: 11%
Noise: %
Color: ffffff
Spread: 0%
Size: 40px
Gradient Overlay Blending Option Settings:
Blend Mode: Normal
Opacity: 100%
Gradient Ranging from: 550876 to bd4ef3
Style: Linear
Angle: 90
Scale: 100%

Create a new layer called 'clubworld text highlight'. Option+click on your clubworld text layer in your layer palette to select around this text. Then ensuring that you're on your 'clubworld text highlight' layer drag out a white to transparent radial gradient from the center of your text. Due to your active selection your radial gradient won't go outside the bounds of your text.

Now change this layer's blend mode to 'overlay' and reduce it's opacity to 50%. This should give a nice highlight effect in the center of your heading text:

Step 9
Apply some smaller text above and below your heading text.
Smaller Text Settings:
Font Face: Aller
Size: 14pt
Kerning: -50
Color: cf83f0
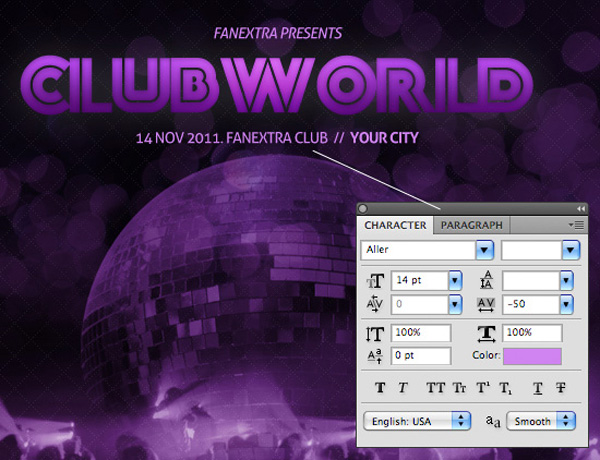
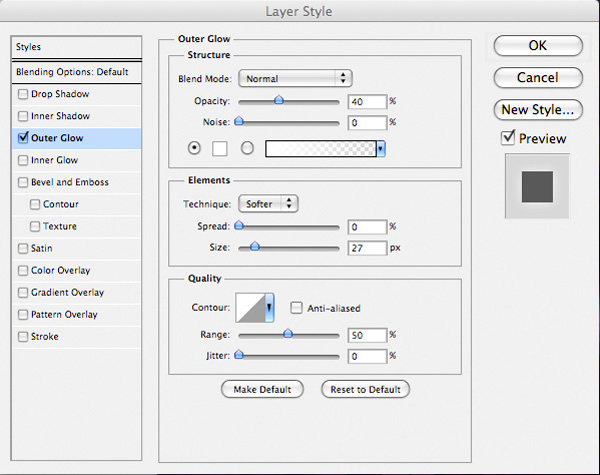
Apply an outer glow blending option to this layer.
Outer Glow Blending Option Settings:
Blend Mode: Normal
Opacity: 40%
Noise: 0
Color: ffffff
Spread: 0%
Size: 27px

Step 10
Extract and paste in the 'cool guy' photo from the resources section for this tutorial.

Apply a layer mask, and use a soft black paintbrush to mask off the bottom of the man's legs, blending the hard edge into the background smoothly:

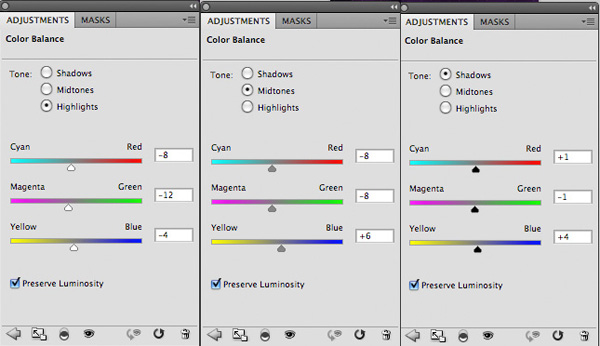
Now apply a color balance adjustment layer, being sure to create a clipping mask.
Color Balance Adjustment Layer Settings:
Highlights: -8 / -12 / -4
Midtones: -8 / -8 / +6
Shadows: +1 / -1 / +4
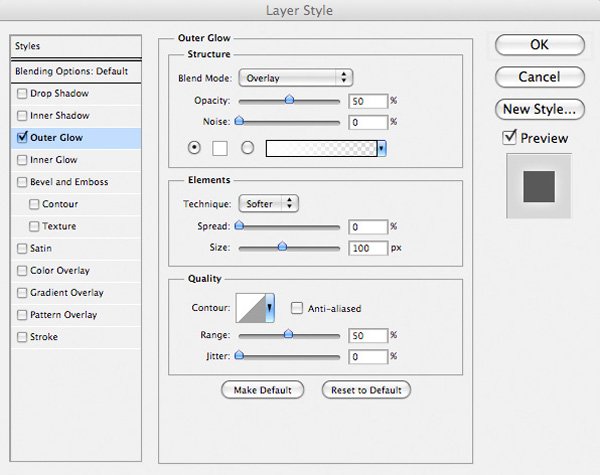
Also apply an outer glow blending option to really make the man pop against his background:
Outer Glow Blending Option Settings:
Blend Mode: Overlay
Opacity: 50%
Noise: 0%
Color: ffffff
Spread: 0%
Size: 100px

Step 11
Select your paintbrush tool and choose a 2px, white, soft paintbrush.
Then create a new layer called 'glowing path'. Use your pen tool to create a weavy line across the figure of your man. Then in your path palette right click on this path and click 'stroke path'. Be sure to check the 'simulate pressure' box for a more natural effect.
This will stroke your path line with your 2px white paintbrush:

Create further lines on seperate layers using your pen tool and paintbrush tool:

Now apply a layer mask to each glowing path layer, and use a soft black paintbrush to mask off some of the path lines, making them seem more random and 3D. Try to give the impression that the lines are wrapping around your male figure:

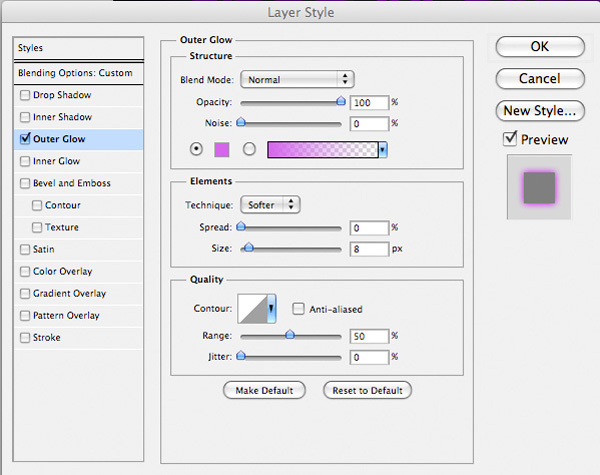
Apply an overlay to create an awesome light effect!
Outer Glow Blending Option Settings:
Blend Mode: Normal
Opacity: 100%
Color: d566ec
Spread: 0%
Size: 8px

Step 12
Time to build up some more light effects!
Use your reflected gradient tool to create a white bar across your canvas:

Now change this layer's blend mode to 'overlay' and reduce it's opacity to 80%

Duplicate this layer several times, positioning the duplicates at various heights up and down your canvas. I also applied a layer mask, and masked off the far left/right edges of each light effect layer to blend it better into my background:

Step 13
We want to create a darker, smokey area around the man's legs.
To do this crease a new layer called clouds. Render some black/white clouds (filter>render>clouds).
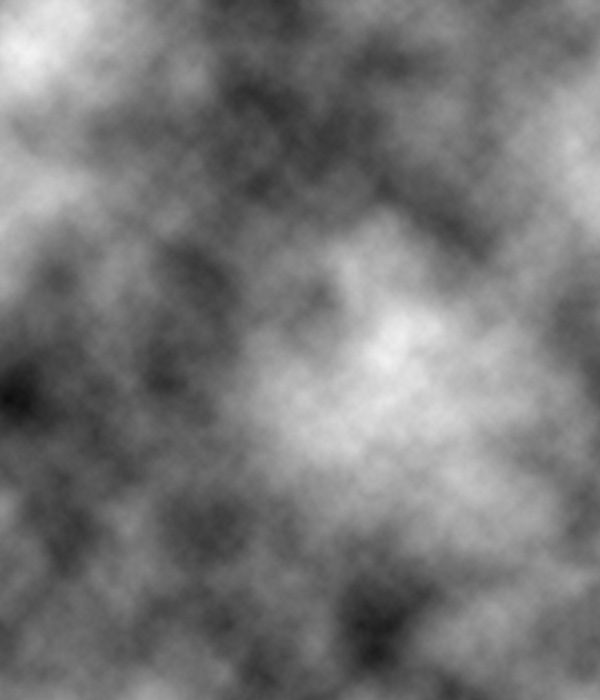
Now change this layer's blend mode to overlay and mask off all of the clouds apart from the area at the bottom of your canvas:

Step 14
Creating a new layer called 'radial lighting overlay'.
Drag out a series of white to transparent radial gradients over key parts of your composition you wish to highlight:

Change this layer's blend mode to 'overlay' and reduce it's opacity to 20%:

Step 15
Create a new layer called 'vignette'. We want to apply a subtle vignette effect around the corners and edges of our image in order to focus attention on the central area.
Use a large, soft black paintbrush at around 20% to paint around the edges/corners of your image:

Step 16
Add some text to the bottom of your canvas. Use the same font as the small text in your heading area:

Step 17
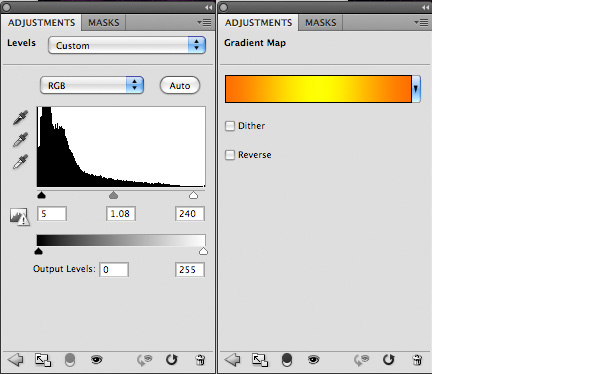
Finally, apply a levels and gradient map adjustment layer. DO NOT apply clipping masks to these two adjustment layers as you want your adjustments to effect your entire composition, not just the underlying layer:
Levels Adjustment Layer Settings:
5 / 1.08 / 240
Gradient Map Layer Settings:
Gradient: Default orange-yellow-orange
Layer Blend Mode: overlay
Layer opacity: 7%

And We're Done!
You can view the final outcome below. I hope that you enjoyed this tutorial and would love to hear your feedback on the techniques and outcome.

About the author
Copyright © . All Rights Reserved
