Neon Records - Animated Neon Sign Photoshop Tutorial
Step 1
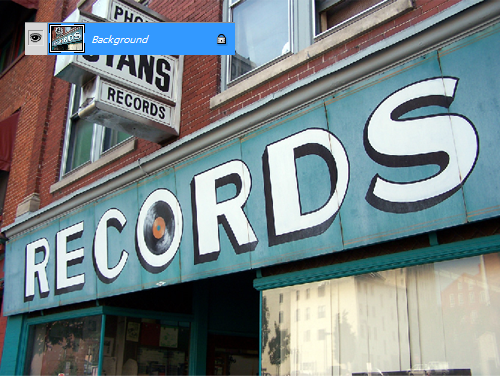
Open the image of the "Record Store" in Photoshop.
Step 2
With the "Background" layer selected press Ctrl+J to duplicate it and name it "Background adjustment".
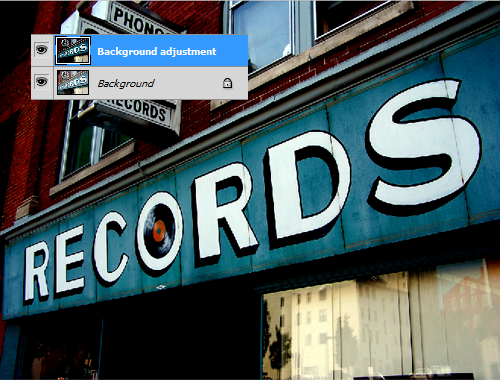
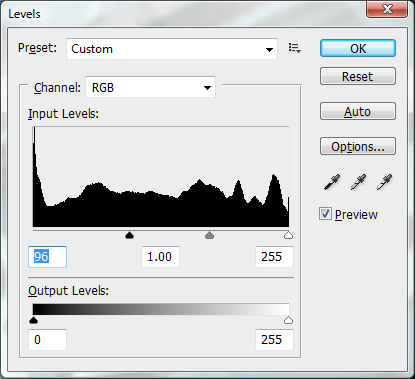
Adjust the levels and darken the image by going to: Image>Adjustments>Levels
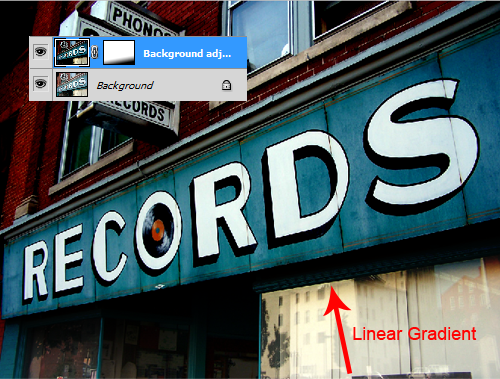
Apply a layer mask to the layer and with the Gradient Tool draw a
gradient mask from the lower bottom right of the canvas to the bottom
of the "RECORDS" sign.
Step 3
Create a new layer above the "Background adjustment" layer and name
it "neon tubes". Select the Pen Tool and draw paths around the
"RECORDS" text on the sign. Right-click on the any of the paths and
choose "Make Selection".
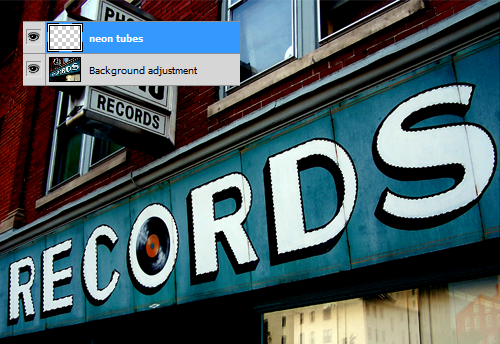
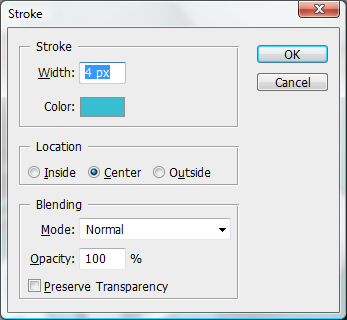
Apply a 4px stroke in the center with the color #37bed0 by going to: Edit>Stroke
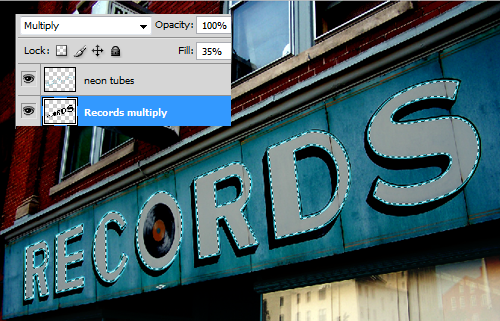
With the selection still in place create a new layer below the "neon
tubes" and name it "Records multiply". Fill the selection with black,
Change the Blend Mode on the layer to Multiply, and reduce the Opacity
to 35%.
Step 4
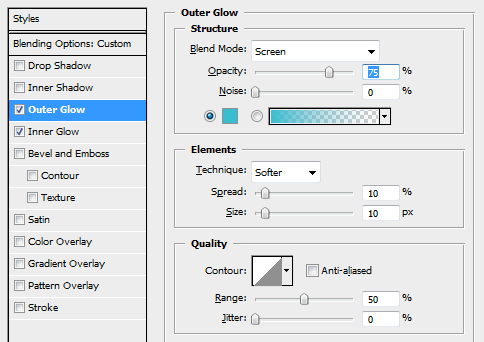
Select the "neon tubes" layer again and add two layer styles. First
add an Outer Glow with the color #37bed0, a Spread of 10% and a Size of
10px.
Next add an Inner Glow with the color #37bed0, with Choke set to 5% and a Size of 3px.
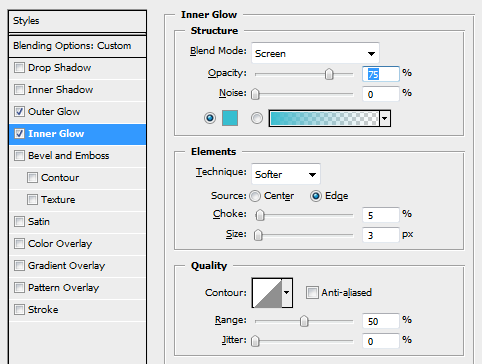
Change the Blend Mode on the layer to Screen.
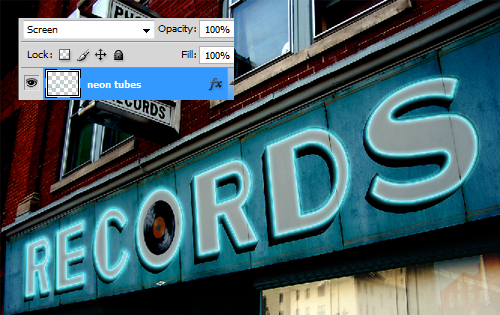
Step 5
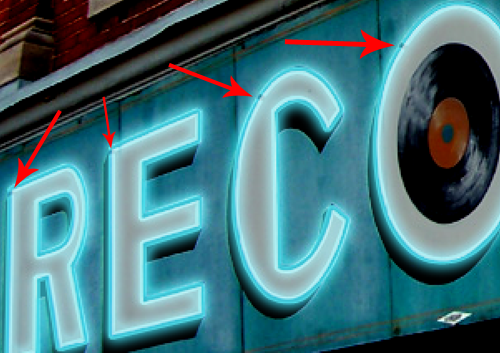
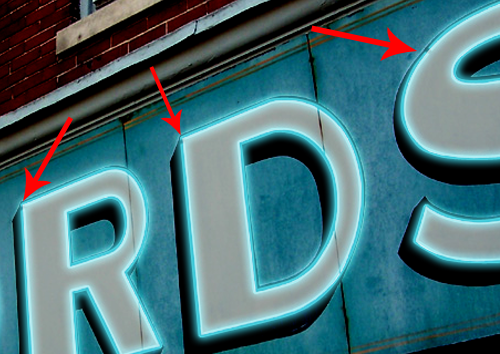
Select the Erase Tool with a 3-4px soft brush and erase just a small section from each neon tube as seen in the examples below.
Step 6
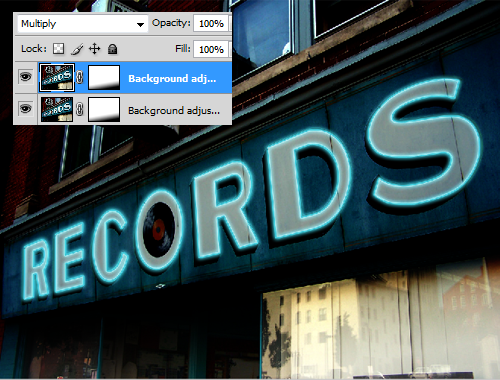
Select the "Background adjustment" layer and press Ctrl+J to copy
the layer. Change the Blend Mode on the copied layer to Multiply.
Step 7
Select the "Background" layer and press Ctrl+J to copy the layer.
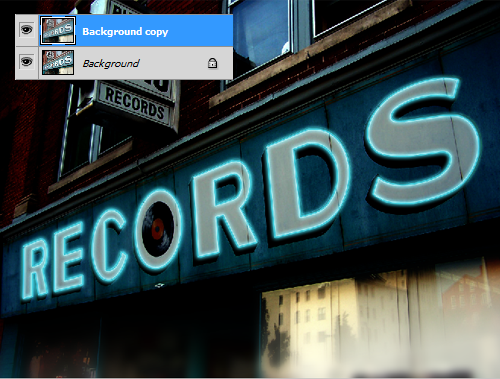
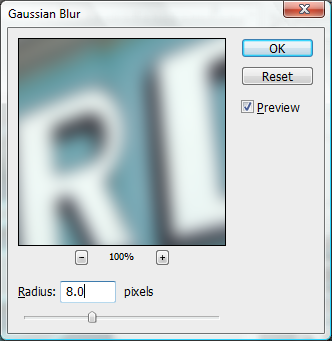
With the "Background copy" layer selected apply a Gaussian Blur with a 8px radius by going to: Filter>Blur>Gaussian Blur
Step 8
Turn the visibility OFF for the three layers above the "Background"
layer. With the Polygonal Lasso Tool draw a selection around the sign
at the top of the image.
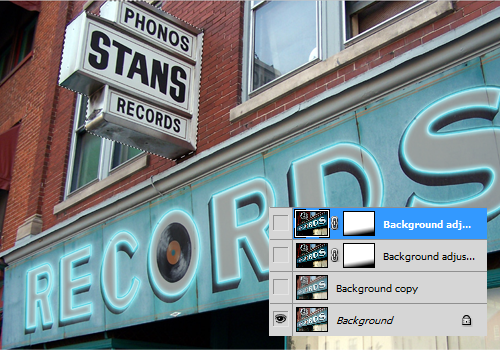
Press Ctrl+Shift+I to invert the selection and then turn the
visibility back ON for the three layers above the "Background" layer.
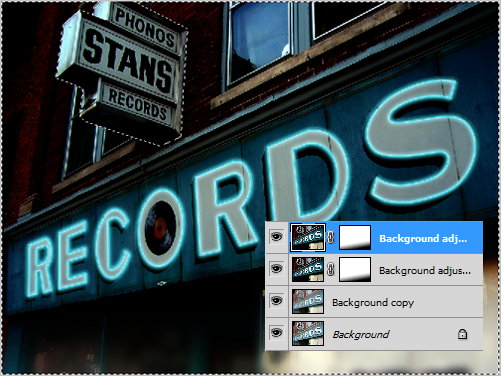
Select the mask for "Background adjustment copy" layer and with the
Gradient Tool and a foreground color of black draw a gradient mask from
the upper left of the "STANS" sign to the lower right of the small
"RECORDS" sign.
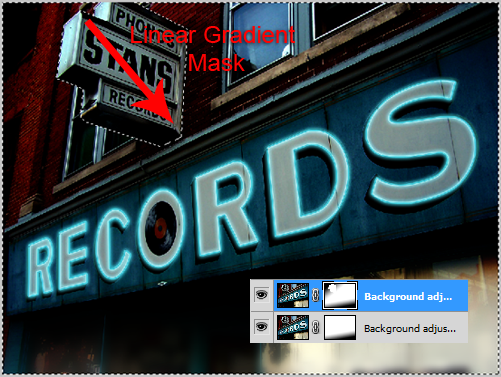
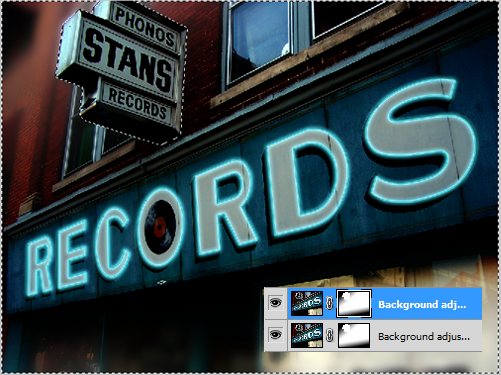
Hold "Alt" and click+drag the layer mask from the "Background
adjustment copy" layer to replace the mask for the "Background
adjustment" layer below.
Step 9
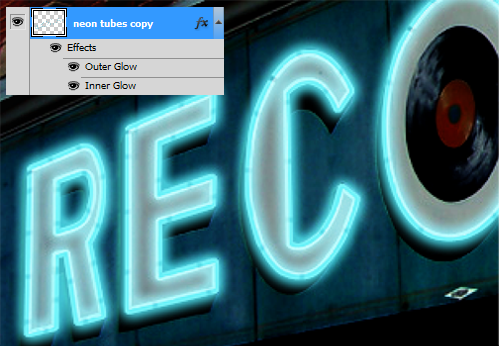
Select the "neon tubes" layer and press Ctrl+J to duplicate it.
Reduce the Opacity for the Outer/Inner Glow on the copied layer to 50%.
Press Ctrl+J two more times to duplicate the "neon tubes copy" layer
twice. Turn the visibility off for the "neon tubes copy 2" and "neon
tubes copy 3" layers.
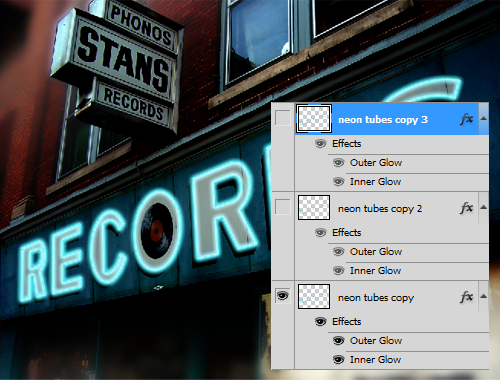
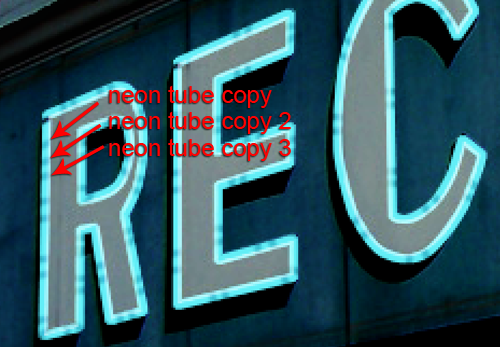
Select the "neon tubes copy" layer and with the Erase Tool erase
across all the neon tubes, using a soft brush set to 3-4px and working
your way around in a counter-clockwise fashion. Leave enough space
between each part you erase for two more erase marks which will be on
the other two "neon tube copy" layers.
Repeat the process for both the "neon tubes copy 2" and "neon tubes
copy 3" layers erasing slightly ahead of the erase mark made on the
previous layer still moving counter-clockwise
*To increase the visibility of were your working temporally turn off
the "neon tubes" layer and the layer styles for each neon tube copy.
Remember to turn them back on when finished!
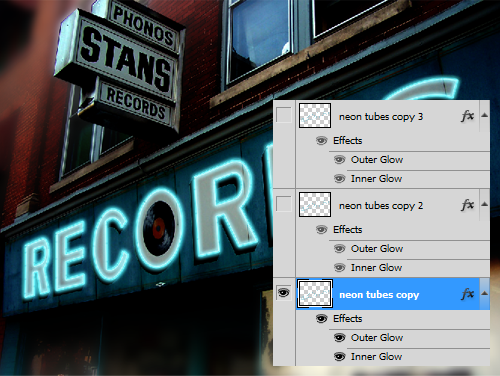
When your finished turn the visibility OFF for both the "neon tubes
copy 2" and "neon tubes copy 3" layers. We'll use them later to animate
the neon sign.
About the author
Copyright © . All Rights Reserved
