St. Patrick's Day Tutorial - Create a Nice Shamrock (Exclusive Tutorial)
In the following simple tutorial you will learn how to create a nice shamrock for St. Patrick's Day.
Following the steps of the tutorial you will develop the skills of working with Custom shapes, Layer styles, and Gradients in Photoshop CS5.
Related Posts:- St. Patrick's Day Roundup of Holiday Stuff
- Cool Collection of St. Patrick's Day Tutorials, Illustrations and Templates
- Wallpapers, Brushes and Photoshop Tutorials to Make This Saint Patrick's Day a Special One
- Create a St. Patrick's Day Postcard in Adobe Illustrator Y
- Create your own Leprechaun for St. Patrick's Day!
- How to create a Leprechaun's shoe in Adobe Illustrator CS4
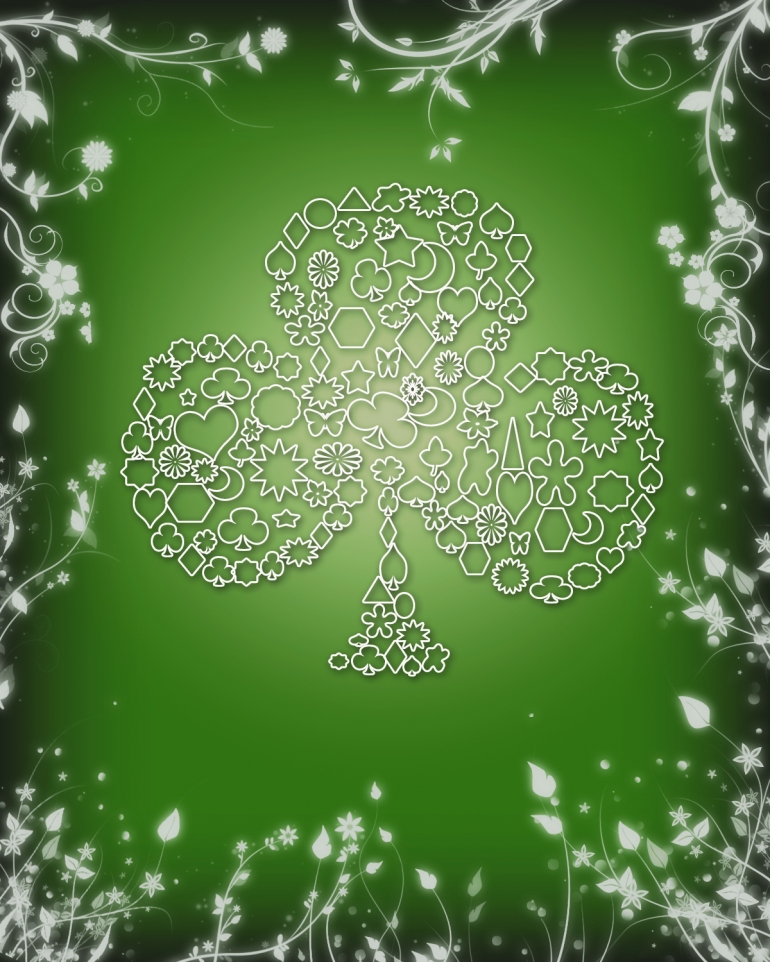
Final Image
Step 1
Create new document and fill the new background layer with any green color you like (Paint Bucket Tool (G))
Then add a layer style (click on the Add layer style ) and choose Gradient Overlay
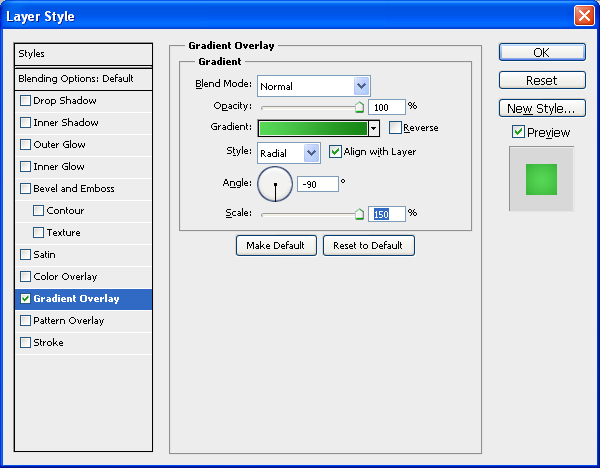
Our result:

Step 2
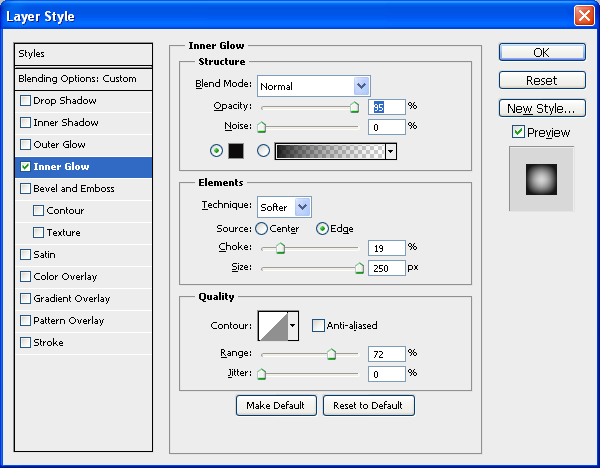
Then we need to add some inner glow. Create a new layer, set Fill to 0% for this layer. Click on the Add Layer Style icon again and choose Inner Glow with the settings like in the image below.
We've got a next result:

Step 3
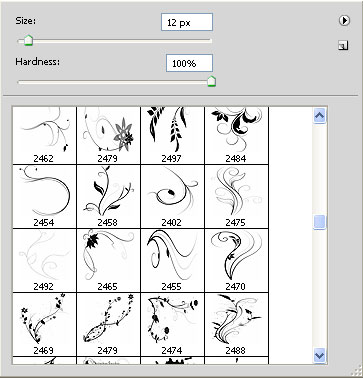
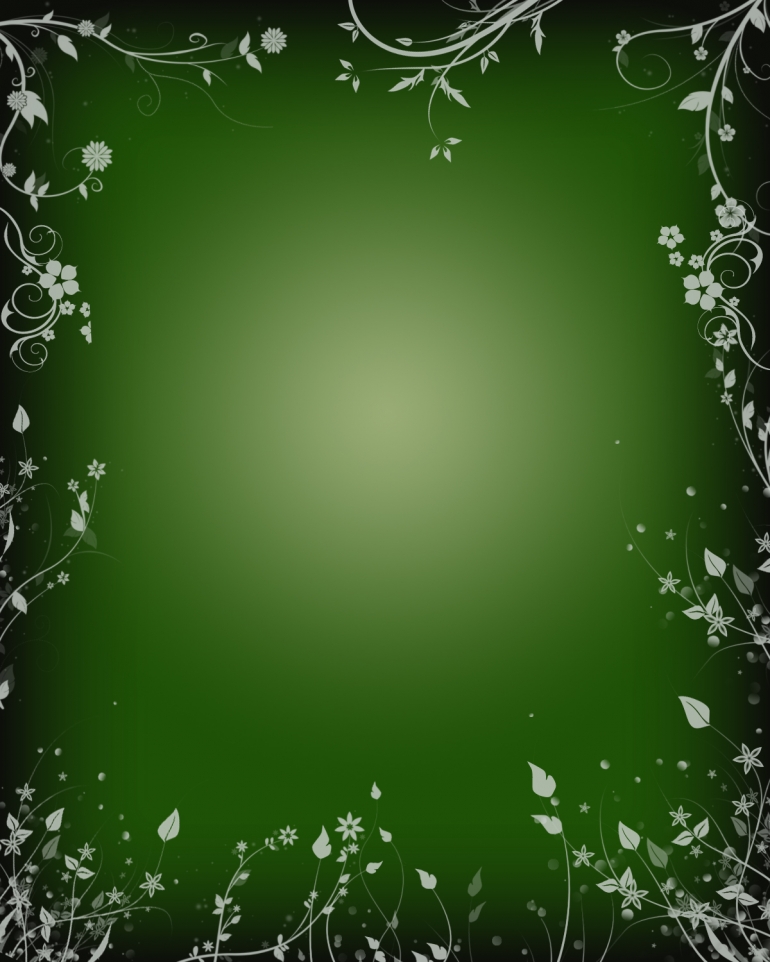
Use the Floral brushes. You may download they here.
Create a new layer and select any brush you like. Change Foreground color for your flowers and use different value for brush's Opacity.
Step 4
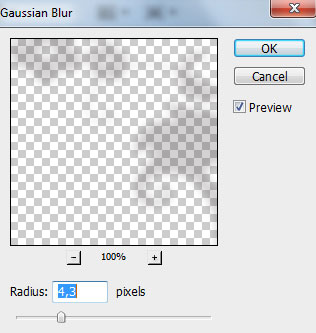
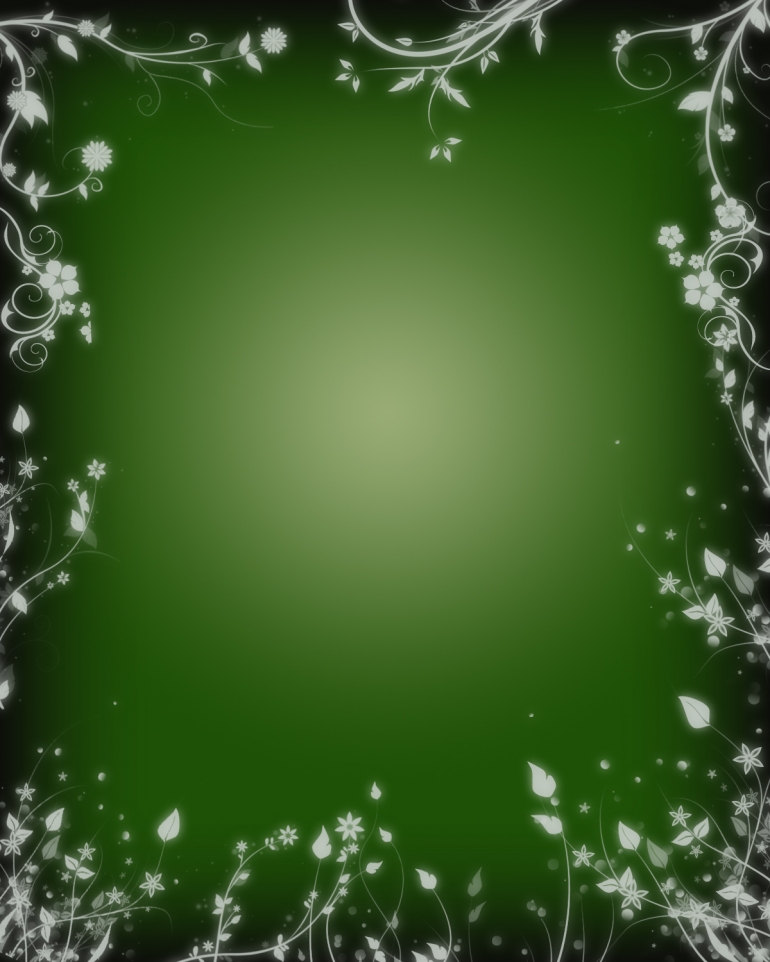
Now make a copy of Layer "Flower". Then apply Filter - Blur - Gaussian blur on the copy. Set the Radius 4.3 of Gaussian blur.
Step 5
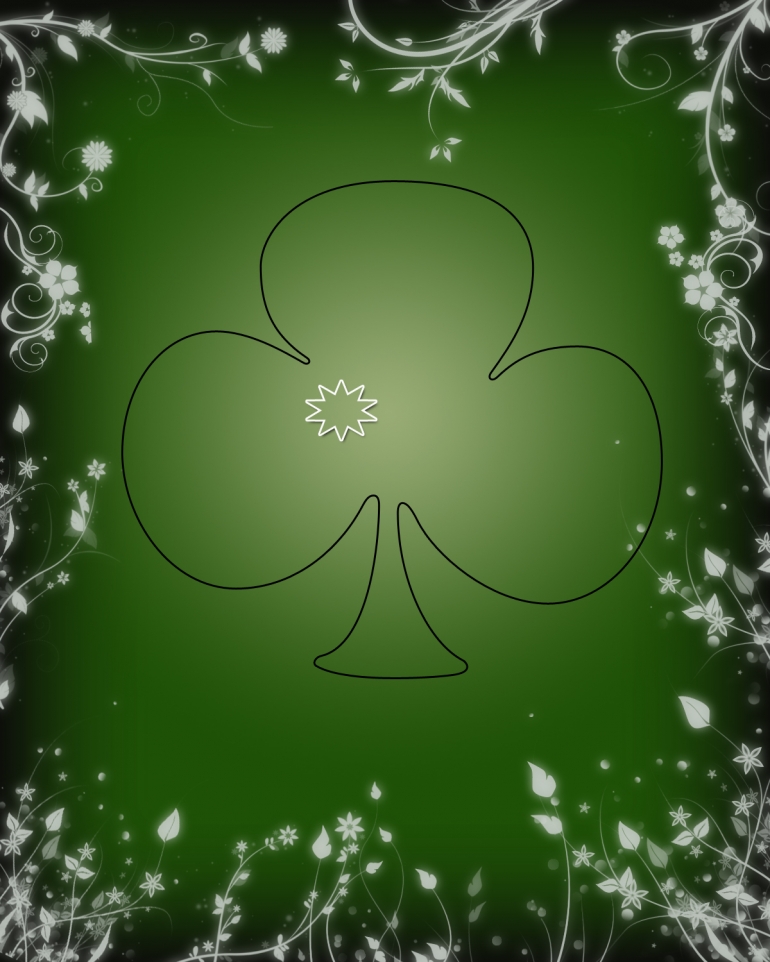
Great! Let's create a nice shamrock ! Choose the Custom Shape Tool (U) in the Tools bar. Find shamrock at the bottom of the menu, and then double-click a shape thumbnail to select it.
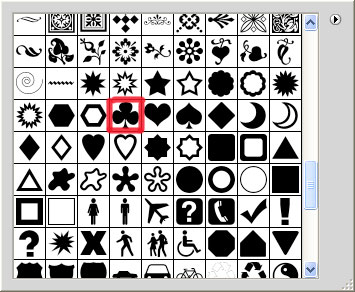
Click on it to draw a shamrock in the middle of your work. Select Stroke layer style icon from bottom part of the Layers panel and set Fill to 0% for this layer .
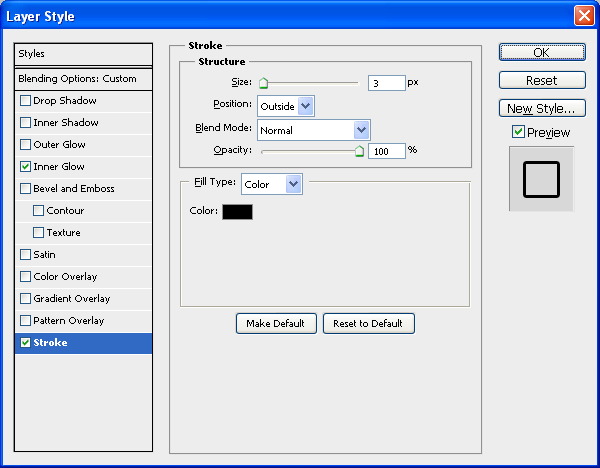
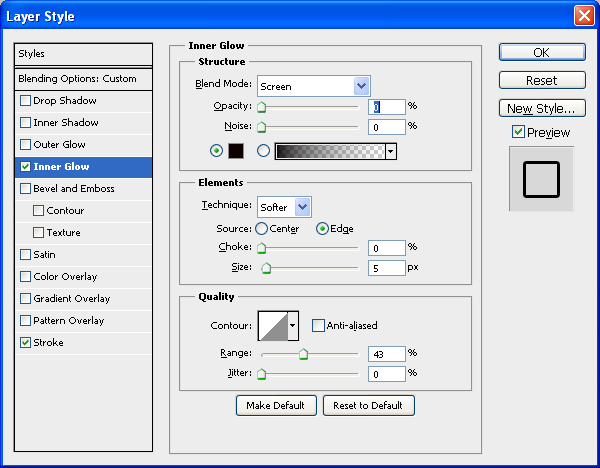
Here is our result:

Step 6
Now we need to fill outline of shamrock with the different ornamed shapes. So go to the Custom Shape Tool (U) again and choose any shapes you like. I used this:
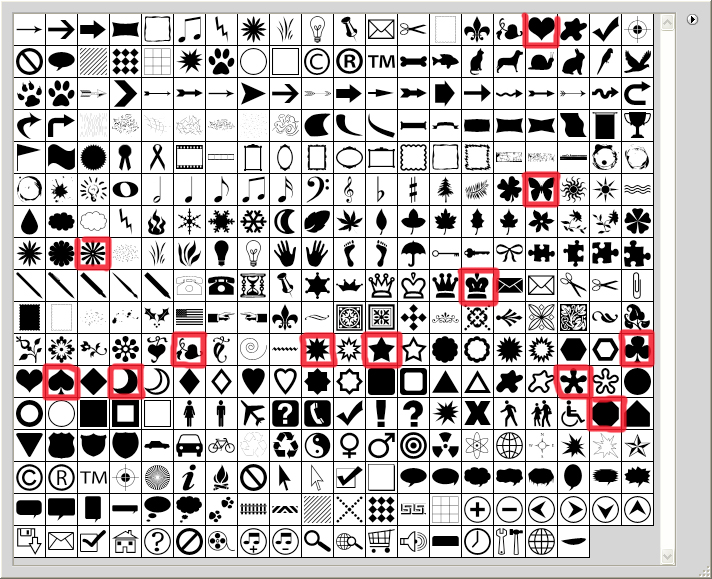
Find the sets for this ornament shapes in the pictures below. Set Fill to 0% for this layer.
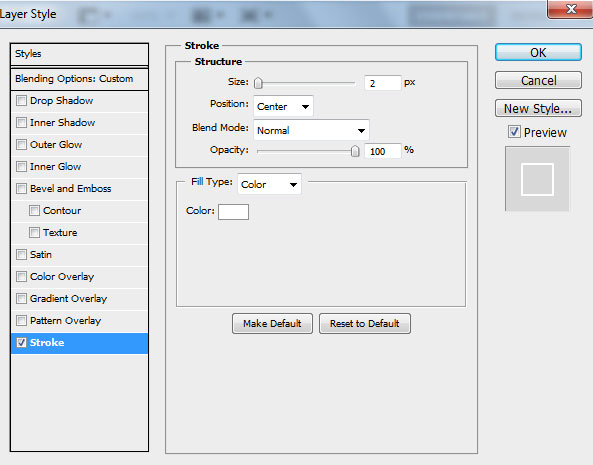
Now we can create our first shape :)
Step 7
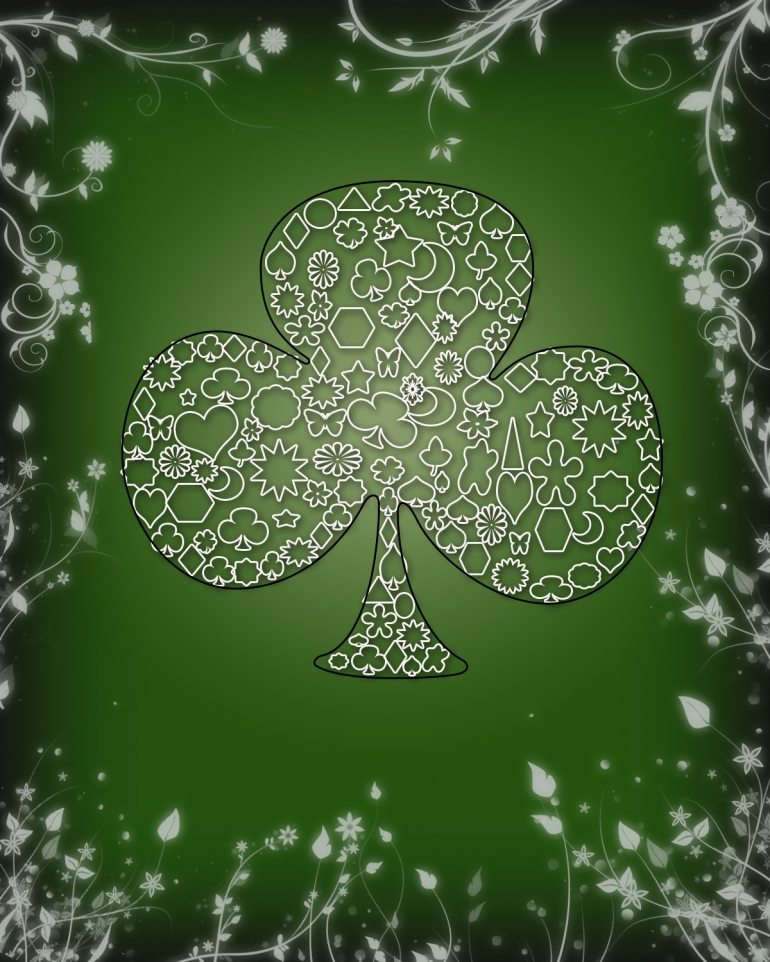
Now we can fill the area of shamrock with variety shapes.
Step 8
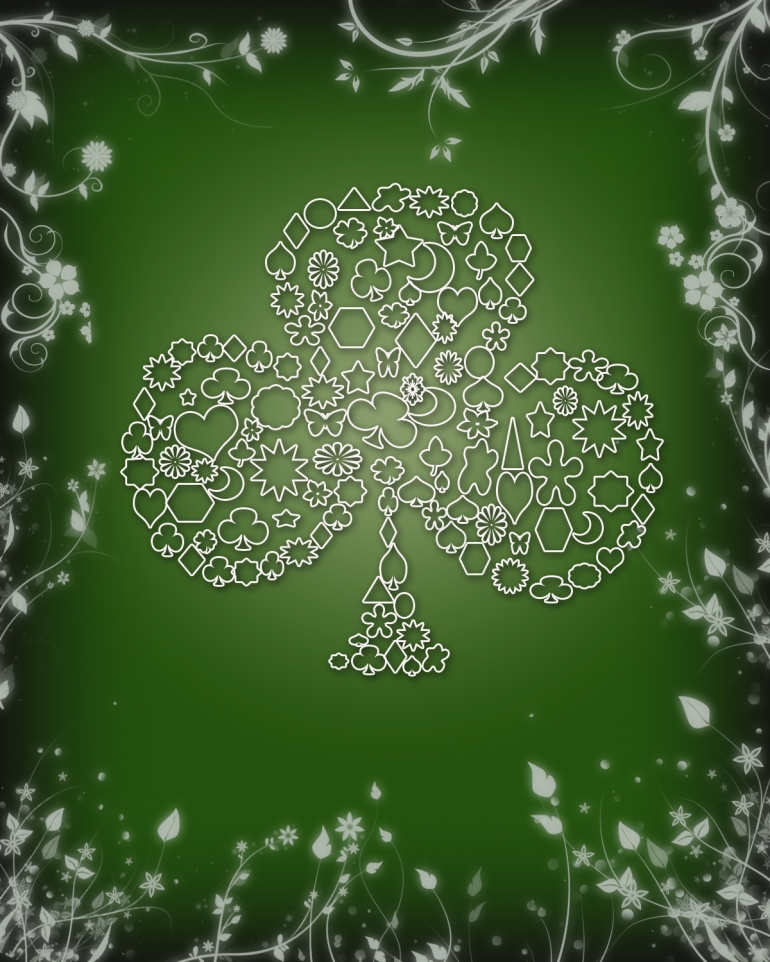
Hide layer with the main shamrock shape. And combine all the layers od ornament shapes in a group.
Step 9
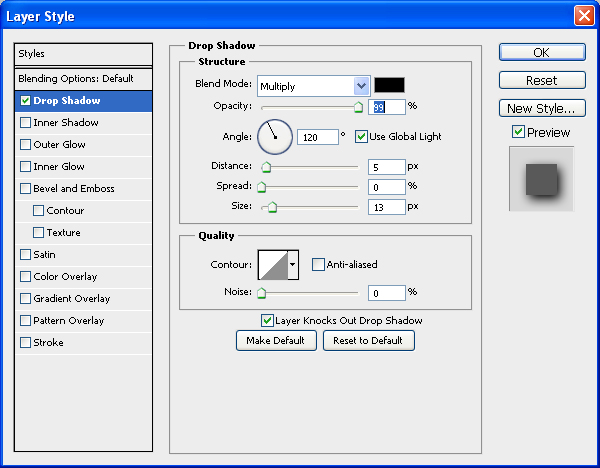
For the more realistic effect add some shamrocks shadow. For this click on the Add layer style button and choose Drop Shadow. Apply settings on the picture below:

Step 10
In conclusion I want to add one more effect. Create a new layer and fill it with the white color. Set Fill to 41% for this layer and change the Blending mode to Overlay
Here is our final result!

Have a nice day!
About the author
Copyright © . All Rights Reserved
