Step 1
Start off with a new document and fill the background with black. I will be using a document that is 400px by 400px.
Step 2
Now use your paintbrush tool, and with a soft brush using different sizes, paint some dots on your canvas.

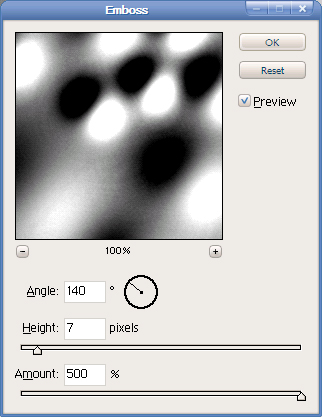
Step 3
Go to Filter>Stylize>Emboss on your only layer and use the following settings:
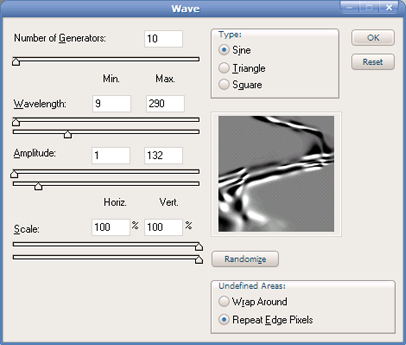
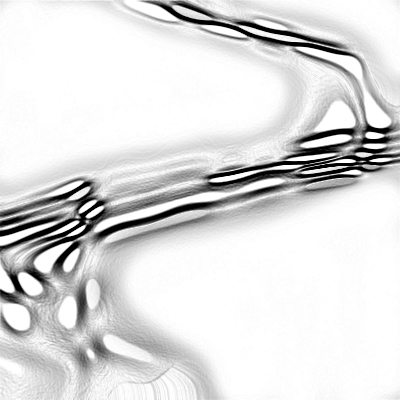
Step 4
Go to Filter>Distort>Wave and use the following settings:
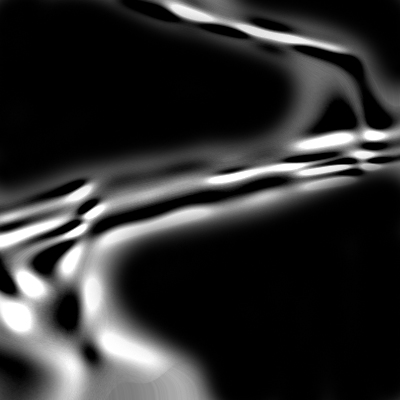
Step 5
Now paint with black around the wavy texture to single it out.
Step 6
Go to Filter>Stylize>Find Edges.
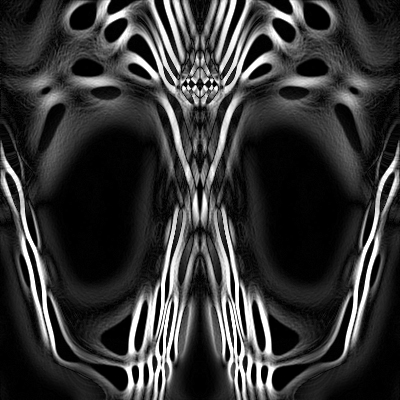
Step 7
Duplicate your only layer, and on that new layer go to Edit>Transform>Flip Vertical. Set this layer's blending property to Difference. Go to Image>Rotate Canvas>90° CW to set everything up.
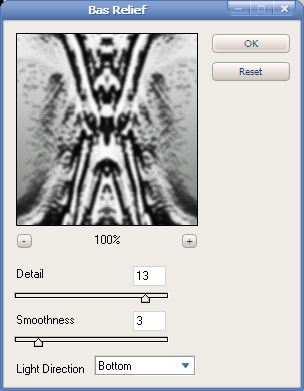
Step 8
You've already achieved a nice abstract, but here's the drastic step we've all been waiting for: merge your two layers by hitting Ctrl+E on your keyboard and go to Filter>Sketch>Bas Relief and use the following settings:
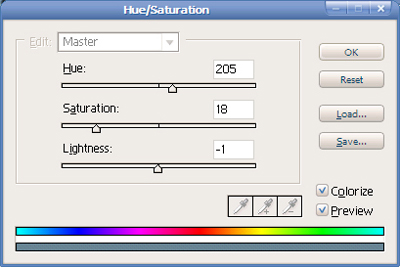
Step 9
Now you're pretty much done. I'm just going to add a slight color to mine to add the illusion of it being in water. To do this, hit Ctrl+U on your keyboard and use the following settings:
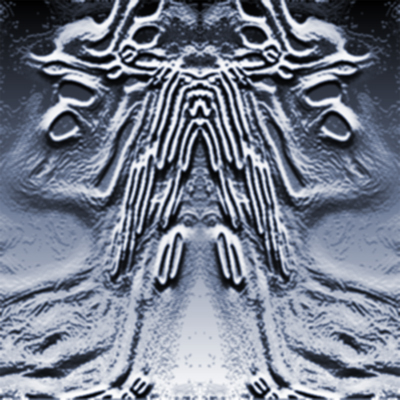
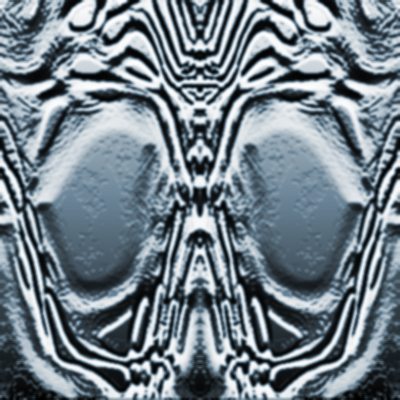
Finished Product
And you're done! Here's my final image:
If you look closely, you can even make out eyes, a nose, and a mouth. Scary!
Interesting Results
If you stick the dots different places and use different sizes, you will get different results. They get more and more interesting as I experiment. It's scary how much of an actual person you can see in the abstract engravings. Here is an example: