Step 1
Open up an image, it can be just about any image. If you choose to use the same image that this tutorial will be using, copy the following into your palette in Photoshop:

Step 2
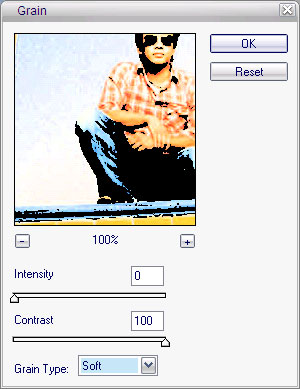
Go to Filter>Texturize>Grain and use the following settings:
Step 3
Hit Ctrl+U on your keyboard to colorize the photo. Make sure Colorize is selected. Each image will vary on what settings to use, but will roughly be the same as the following:

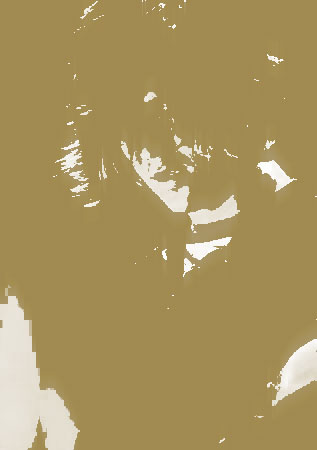
Your image should now look similar to this:
Step 4
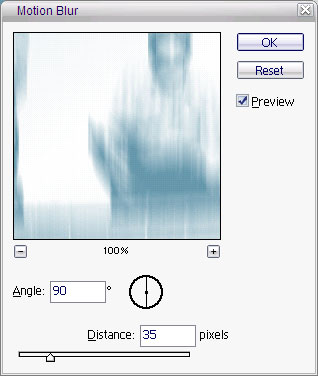
As you can probably see, we're already getting close to our final product. Duplicate your only layer and on your new layer go to Filter>Blur>Motion Blur and use the following settings:
Step 5
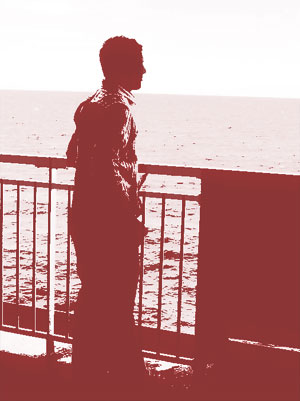
Our last step is to change the blending mode of your new layer to Color Burn. Your final product should look similar to this:
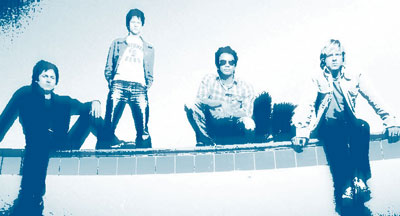
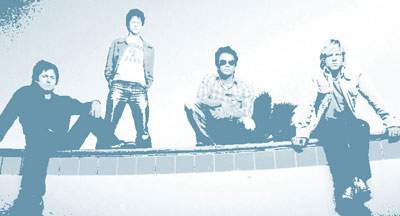
Other Examples
This effect will look differently on different photos depending on shadows and lighting. Here are two other examples and how there are differences, but the outcome is still the same retro effect.