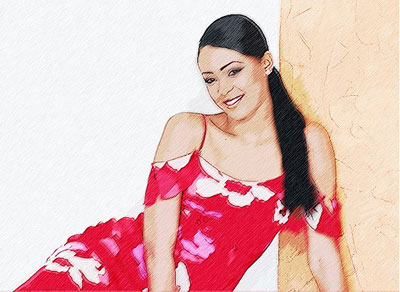
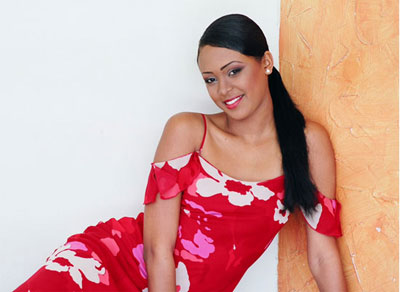
Start by opening a photo or image that you want to convert into color sketch.
The first thing we need to do is duplicate the background layer, so right click on the layer and select "Duplicate Layer"
So now you should have a background layer and a duplicated layer.
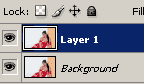

We will be working with the duplicated layer.
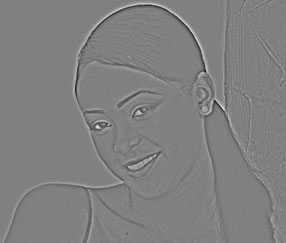
Desaturate the top layer, by going to "Image->Adjustments->Desaturate".
Then go to Filter->Other->High Pass
Depending on the image, adjust the radius so the image looks like mine. I used 2.0 for this image
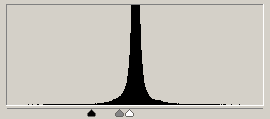
Now open the levels window. CTRL+L or Image->Adjustments->Levels
Adjust the 3 sliders so the image renders like a sketched image.
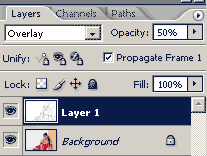
Now change the top layer's Opacity down to about 50 - 60% and set the blending mode to "Overlay"
Now go to the bottom layer, and apply: Filter->Artistic->Cutout.
You can leave it at this, or if you want to add a little texture to the image. Continue reading...
Again, still working with the bottom layer, go to Filter->Noise->Add noise.
Amount: 5%
Distribution: Gaussian
Monochromatic: Checked
Now to go Filter->Blur->Motion Blur.
Set the angle to about 45 degree, and distance: 10px.
And lastly, go to Filter->Sharpen->Sharpen.
Then press CTRL+F to reapply this filter once or twice to sharpen it up a little.

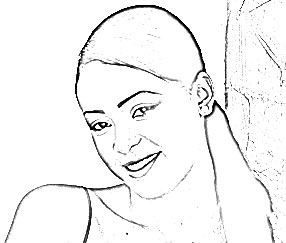
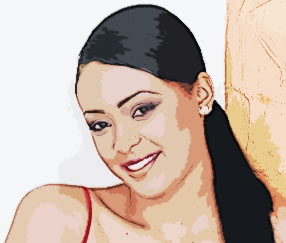
Before
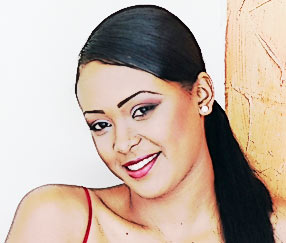
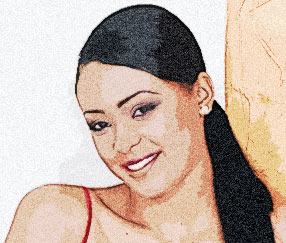
After