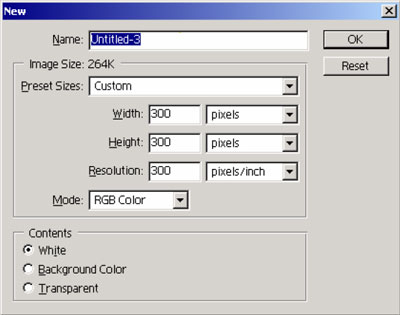
Create a new file to whatever size you want.
I suggest you start with something small, as it gives a more realistic impression.
Just make sure it's in RGB mode.
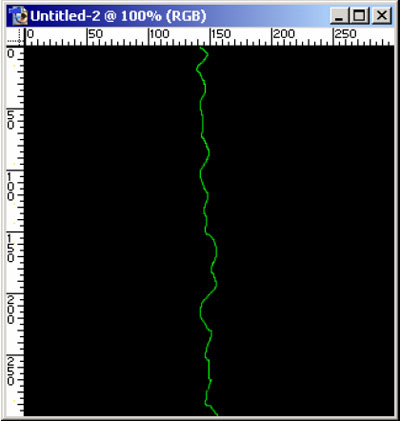
Fill it with black, them draw a 1 pixel thick wiggly line down the middle in bright green. It's not too important exactly what green, but it should be green.
You can always use a Hue/Saturation adjustment layer to change it later.
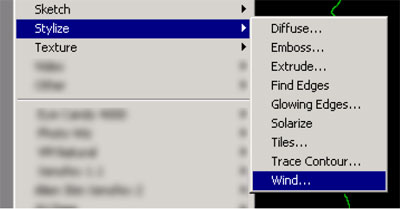
Fire up the Stylize >> Wind filter.
Your settings should be wind, from the right. (You can start with from the left, doesn't matter really.)
Click OK.
Press Ctrl-F to re-run the filter. Keep doing that until you are satisfied you have half your wave form.
Now use the menu to bring the filter up again, and switch to from the left (or from the right if you started with left).
This will complete the other half of the waveform.

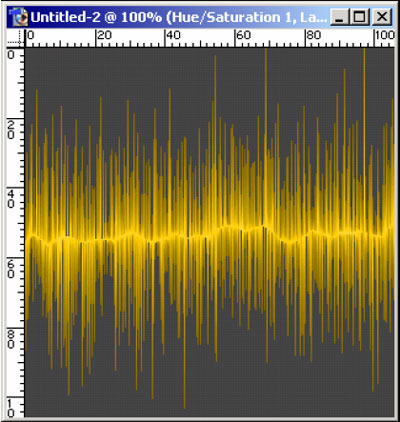
Rotate the layer/canvas 90 degrees CW or CCW (your choice, whatever looks best) and bingo, you have your finished waveform.
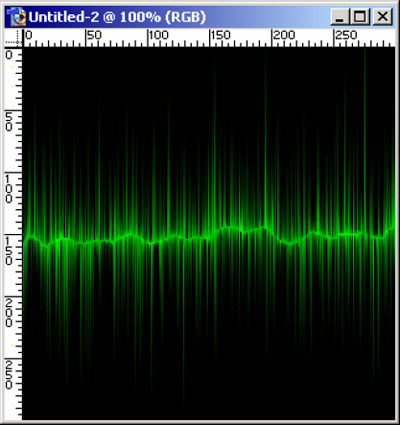
This is just one way to make this effect. You may wish to fine-tune it using the Distort >> Wave or Distort > > Shear filters before you rotate it to horizontal.
At this stage you can use adjustment layers to tweak the colour, etc.
For extra fun, set this layer to screen blend mode, and lay it over another image.