Create a square canvas, about 600x600 gives a good result.
Give it a dash of the Filter >> Noise >> Add noise, you want a medium coverage, I would suggest around the 54 mark is good for this canvas size.
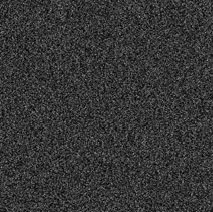
Add a pinch of Filter >> Blur >> Gaussian Blur. 2.7 worked well for my test run.
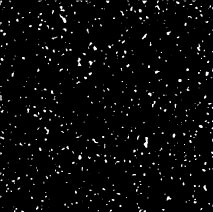
Then head over to Image >> Adjust >> Threshold and shove the slider around until you get a nice light scattering of blobs. Too dense and the effect looks messy, too few and it won’t give much at all.
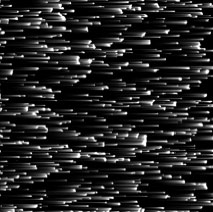
Now, head up to Filter >> Stylize >> Wind, and give it a go on wind, from the right.
Control-F twice more to give it a total of 3 puffs of Wind.
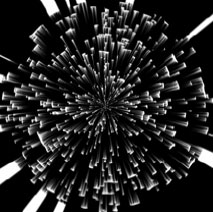
Take your finished flying objects, rotate them counterclockwise by 90 degrees, so that they appear to be flying downwards, then hit them with a Filter >> Distort >> Polar Coordinates, to wrap them up in a circle blasting out from the center.
Now, this is still set as Background so set it to be it’s own layer. (If you don’t know how yet, a bit of homework is now in order.) Control-T to transform, and warp it to the shape you need.
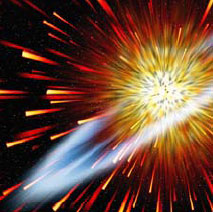
I then create an adjustment layer using Gradient Map, and colors similar to that of fire.
High-speed outbound planetary particles, ready for editing and alteration.
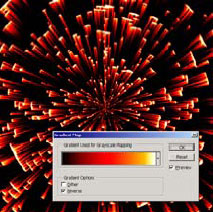
And here is one we prepared earlier. As you can see, it has been fully cooked to a light, fluffy, hot gassy center, and has been iced with a delicate plasma ring garnish.