I started this tutorial not knowing exactly where I wanted to go with it, but in the end I found out there are lots of uses for fuzzy balls. Smooth balls are OK, sure, but the fuzzy ones...well...they can be made into dandelions as in this tutorial, fireworks, explosions, animals, you name it. So off we go...
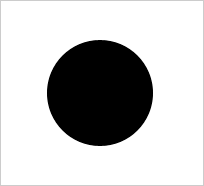
Step 1: Create a black circle using the shape tool (hold Shift and drag to make a circle). If you don't see a circle tool, click "U" and you should see a menu at the top of your screen that has a number of shapes. Pick from that.
Once you've made the circle, right-click its layer in your Layers panel and click "Rasterize".
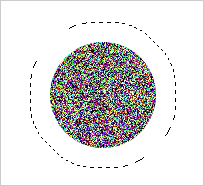
Step 2: Ctrl-click the circle layer to make a selection around it, then go to Select > Modify > Expand, and expand it 20 pixels. You should have something that looks like this:

Step 3: Go to Filter > Noise > Add noise and crank that sucker - add as much noise as you can.
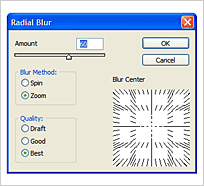
Step 4: Now, with the expanded selection still active, go to Filter > Blur > Radial blur. Select the "Zoom" blur method, best quality, and a strength of 60. Click ok, then hit Ctrl-F if you want to make your ball fuzzier.
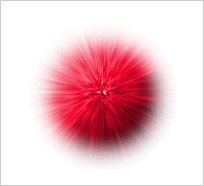
Step 5: If you want a multi-colored ball, skip this step. Otherwise, hit Ctrl + Shift + U to desaturate the ball layer (remove all color). Double-click the layer and click "Color Overlay" in the layer style/effects menu. Set the blend mode to "Overlay" and pick a color!
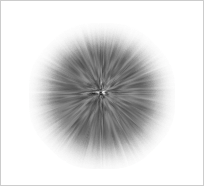
And the final, colored fuzzy ball:
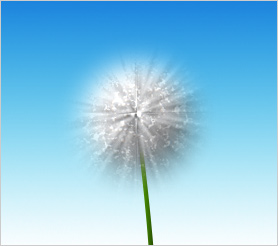
Here's a variation that shows one of the uses of this tutorial - a dandelion! All I did was select white as the color overlay, blend the layer a bit more with the radial blur, and played with the patterns settings in the layer style menu to get the "speckled" effect.