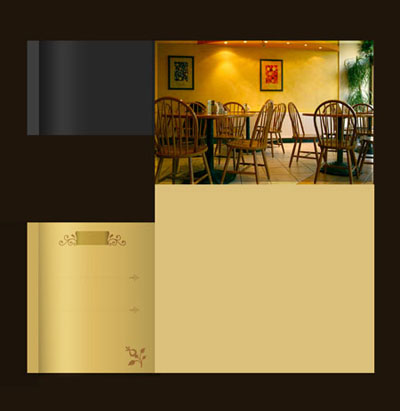
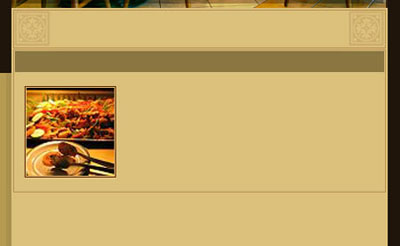
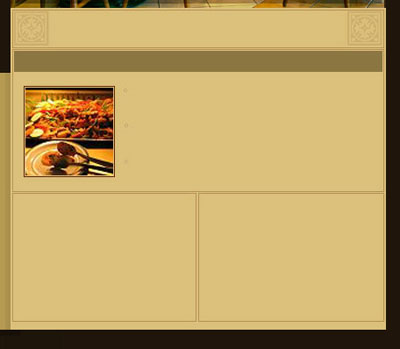
The final result!

Before we'll start check these Italian restaurant website templates:
Restaurant of Italian Food WordPress Theme

Cafe And Restaurant WordPress Theme

Cafe And Restaurant Website Template

Cafe And Restaurant Website Template

Cafe And Restaurant Website Template

Cafe And Restaurant Moto CMS HTML Template

Cafe And Restaurant Website Template

Cafe And Restaurant Joomla Template

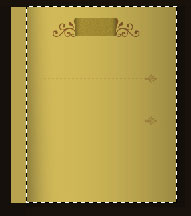
Create a new file of black color with 780х800px and 72dpi.

Take the instrument
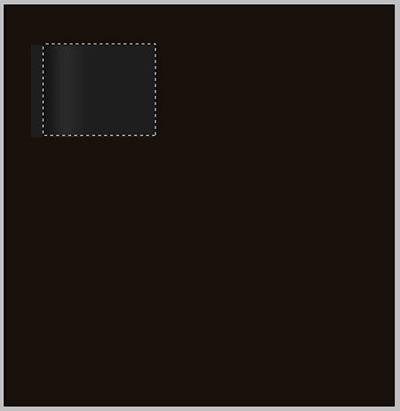
![]() to draw a rectangle with the color 282828, like in the next picture.
to draw a rectangle with the color 282828, like in the next picture.

Use the next tool
![]() to paint it vertically in white with blurred edges, like in the next picture. Opacity – 40%.
to paint it vertically in white with blurred edges, like in the next picture. Opacity – 40%.

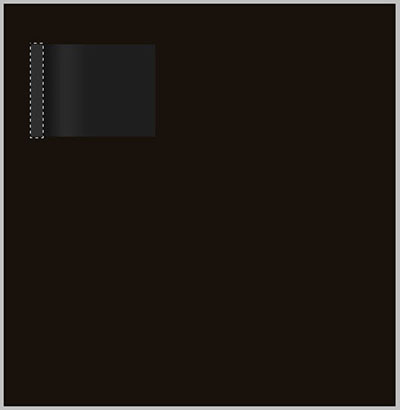
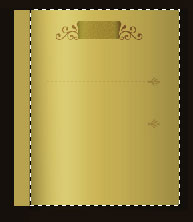
On a new layer. Use the instrument
![]() to mark a part on our rectangle. Use a brush of black color and dark out the left side, like it is demonstrated in the picture.
to mark a part on our rectangle. Use a brush of black color and dark out the left side, like it is demonstrated in the picture.
On a new layer also. Use a gain the same instrument
![]() , mark the necessary part to paint it in 3E3E3E, like in the next image.
, mark the necessary part to paint it in 3E3E3E, like in the next image.
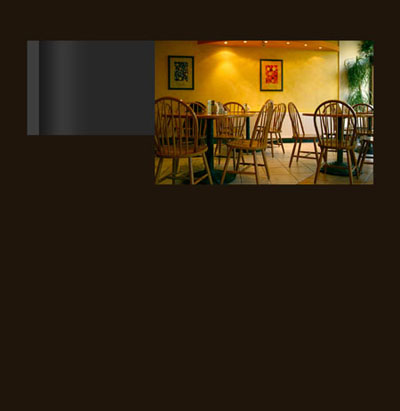
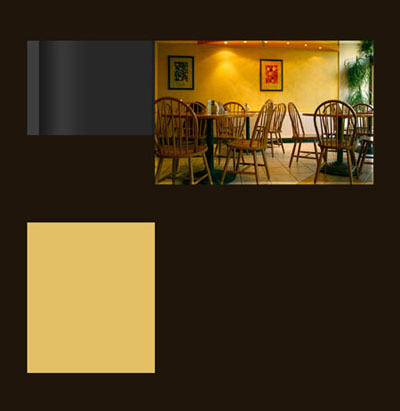
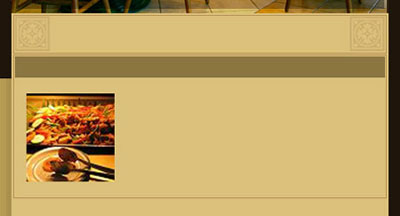
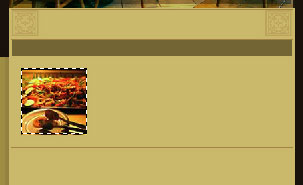
Take a photo that has the appropriate sizes and place it out like in the next picture.
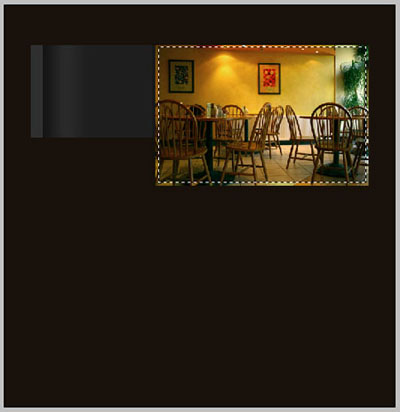
On a new layer. Use the instrument
![]() to mark out the part that is necessary and paint it in black. The opacity must be 30%.
to mark out the part that is necessary and paint it in black. The opacity must be 30%.
Use another instrument
![]() to represent a rectangle, having the color E2C066 and place it like in the next picture.
to represent a rectangle, having the color E2C066 and place it like in the next picture.
Take another instrument
![]() to choose the corresponding cliché, like in the next picture.
to choose the corresponding cliché, like in the next picture.
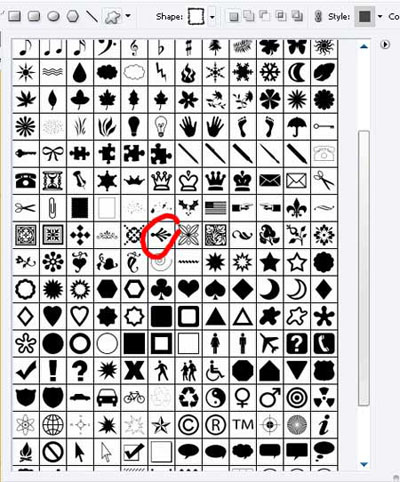
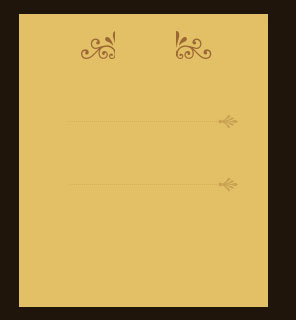
Choose the color C9A152 and the points of the same color with the text points. Place everything out like it is done in the image below.
Using the instrument
![]() , choose the corresponding cliché, like in the next picture.
, choose the corresponding cliché, like in the next picture.
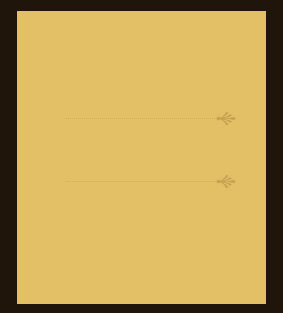
Use the next color – 9C6733 and create a figure on the shown place, then use the instrument
![]() and the color – E2C066. Erase everything that is not necessary, represent again and erase again to look perfectly like in the next image.
and the color – E2C066. Erase everything that is not necessary, represent again and erase again to look perfectly like in the next image.
Take the instrument
![]() to represent a rectangle with the color BA973A, like the next image.
to represent a rectangle with the color BA973A, like the next image.
On a new layer. Apply the instrument
![]() , mark out a part and take a brush of black color to dark out the left side and the right one, like it is shown below.
, mark out a part and take a brush of black color to dark out the left side and the right one, like it is shown below.
On the new layer. Use the instrument
![]() to mark out the necessary part and paint it with the next color – CBAC5C.
to mark out the necessary part and paint it with the next color – CBAC5C.
On a new layer. Use the next instrument
![]() to mark out a part and take the brush of black color. Dark out the left side and the right one. Opacity must be of 50%.
to mark out a part and take the brush of black color. Dark out the left side and the right one. Opacity must be of 50%.
On a new layer. Use the instrument
![]() and mark out the same place from the picture below. Take the brush of white color and make the enlightening. The Opacity – 30%.
and mark out the same place from the picture below. Take the brush of white color and make the enlightening. The Opacity – 30%.
Take the next tool
![]() and choose the necessary cliché, like in the next picture.
and choose the necessary cliché, like in the next picture.

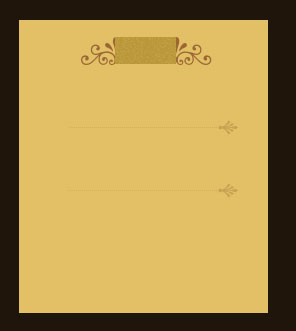
Use the color 9C6733 and make everything look like in the picture below.
Using the instrument
![]() and the color DBC07A, create a rectangle, like in the image below:
and the color DBC07A, create a rectangle, like in the image below:
Apply the instrument
![]() to choose the corresponding cliché.
to choose the corresponding cliché.

Use the color 9C6733 and Opacity of 20%.
On a new layer. Use the instrument
![]() to mark out the necessary side and click on the right button in the middle of the marked place, choose Stroke. Set the color 652501. Opacity – 30%.
to mark out the necessary side and click on the right button in the middle of the marked place, choose Stroke. Set the color 652501. Opacity – 30%.
On the new layer. Take the instrument
![]() to mark again the shown place in the picture and click on the right mouse’s button in the center of the marked place. Choose Stroke and the color – 652501. Opacity – 30%.
to mark again the shown place in the picture and click on the right mouse’s button in the center of the marked place. Choose Stroke and the color – 652501. Opacity – 30%.
Use the following instrument
![]() and the color 8b7641 to represent a rectangle, like in the next picture.
and the color 8b7641 to represent a rectangle, like in the next picture.
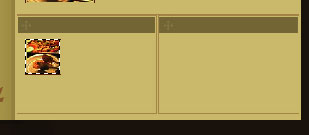
Take the necessary photo that would have the appropriate sizes and place it out like it is shown below:
On the new layer. Take the instrument
![]() to mark out the place shown in the next picture and click again on the right button in the marked place’s center, choose Stroke and insert the color 652501. Opacity – 30%
to mark out the place shown in the next picture and click again on the right button in the marked place’s center, choose Stroke and insert the color 652501. Opacity – 30%
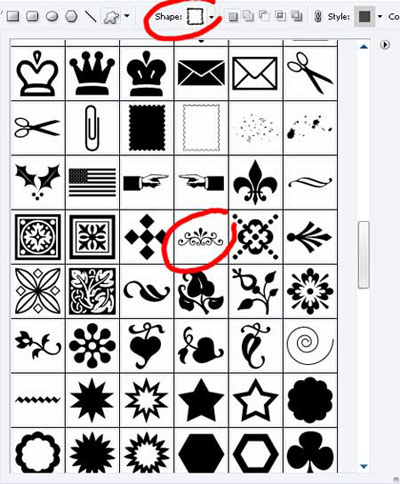
Take another instrument
![]() and the color C4A378 to represent a figure like that from the next image.
and the color C4A378 to represent a figure like that from the next image.
Place it like in the picture. Copy the recently created layer 2 times and make everything look like in the picture.

On the new layer. Use the old instrument
![]() and mark again the necessary place, like it is shown in the picture below and make a click on the right button, choose Stroke. Set the color 652501. Opacity 30%.
and mark again the necessary place, like it is shown in the picture below and make a click on the right button, choose Stroke. Set the color 652501. Opacity 30%.
Copy the new layer and place it like it is demonstrated below.
Take the instrument
![]() and the color 8B7641 to create a rectangle, like in the picture.
and the color 8B7641 to create a rectangle, like in the picture.
Copy the recently created picture and place it like it is done in the next image.
Take the instrument
![]() and chose the corresponding color.
and chose the corresponding color.
Set the white color in the indicated places (copying the layer two times). Opacity – 10% on each figure’s layer.
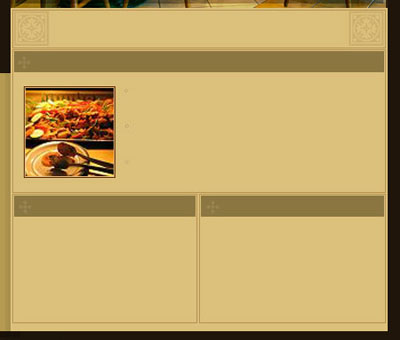
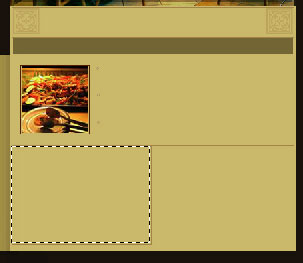
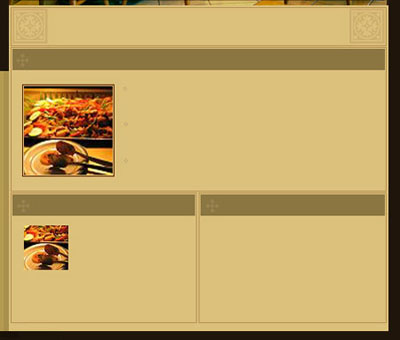
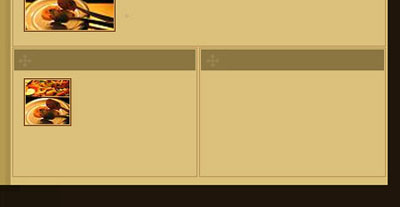
Take the picture then, with appropriate sizes and place it out like it is done below.
On the new layer. Take again the instrument
![]() and mark the necessary place. Click on the right button, choose Stroke and the color 652501. Opacity – 30%
and mark the necessary place. Click on the right button, choose Stroke and the color 652501. Opacity – 30%
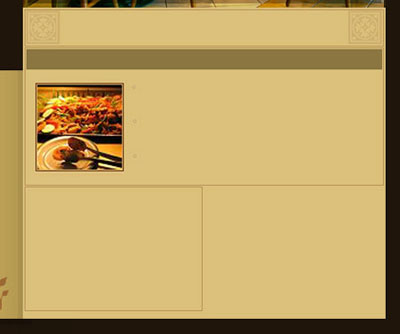
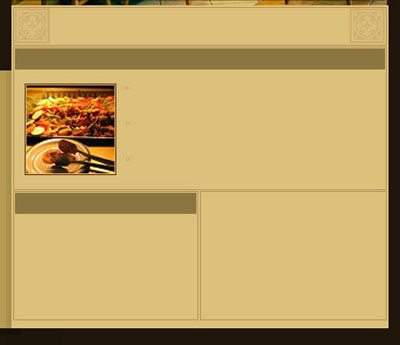
For the convenience merge all the layers, composing the picture and the frame in a group. Copy the group and place out everything like in the next picture.

Take the instrument
![]() and the color 521e01 to represent another rectangle, like it is demonstrated below.
and the color 521e01 to represent another rectangle, like it is demonstrated below.

On the new layer. Use the instrument
![]() to mark out again the convenient place and use the brush of black color to dark out the left side and the right one, like it is done below. Opacity – 50%.
to mark out again the convenient place and use the brush of black color to dark out the left side and the right one, like it is done below. Opacity – 50%.


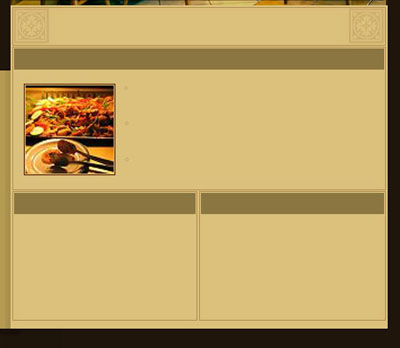
Copy the recently created layer 5 times and place out like it is done next picture.

On the new layer. Use again
![]() to mark out the convenient place and take this time a brush of white color to enlighten the marked place. Opacity – 30%.
to mark out the convenient place and take this time a brush of white color to enlighten the marked place. Opacity – 30%.


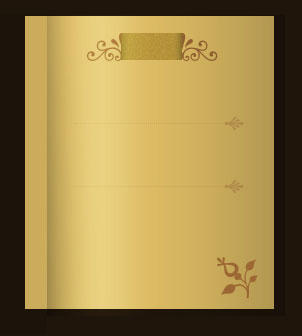
Add the text on the web – headline, like in the next image.

Choose a styli brush looking like a star and decorate the headline, like in the picture below.

The last stage includes adding the text, keeping the type, color and the place like it is done below.
The final result!