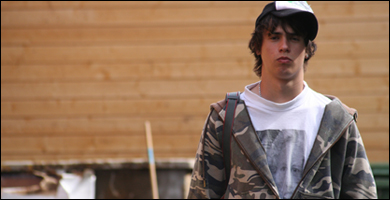
Find a photo on your hard drive and open it in Photoshop (PS).
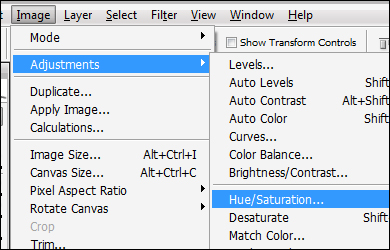
Select the layer containing the photo. We're going to tweak the "Hue/Saturation". So, select "Image" - "Adjustments" - "Hue/Saturation". Or just CTRL+U.
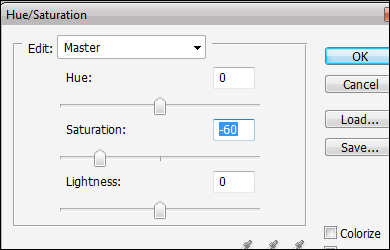
A window will pop up. Set the Saturation to -60. This may depend on the original color settings in your photo. Select OK.
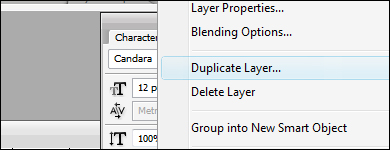
Duplicate the layer containing your photo. You do so by right-clicking the layer name and selecting "Duplicate Layer". And unlock any layer that is locked.
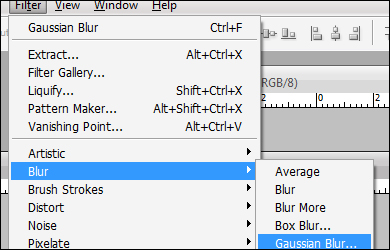
Select the new layer and add a "Gaussian Blur" to it. "Filter" - "Blur" - "Gaussian Blur".
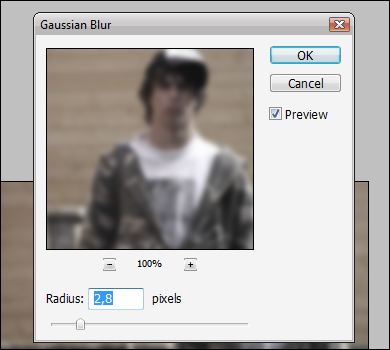
The radius is heavily dependant on the image size. If you have a large image you'll have to set the radius to 11+ or something. But my image size is 390x200 so 2,8 is more than enough for me. Select OK when you're done.
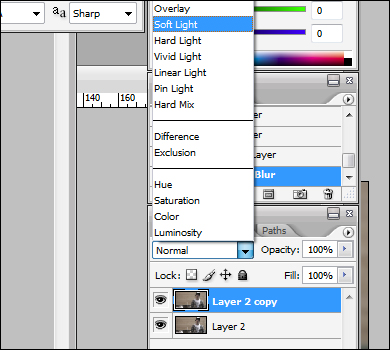
Finally, make sure the copied layer is active. Select "Soft Light" like on the picture.
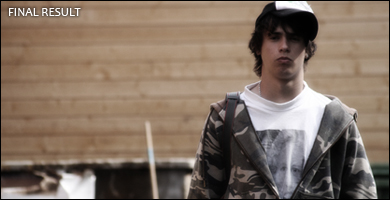
And that's basically it. You can merge the layers and fiddle with the "Brightness/Contras" settings or something like that.