Step 1:
Create a new file. Click File>New and set the width and length to Width: 600 Length: 400. After that click ok.
Step 2:
Press ALT+CTRL+0 to view your work space actual size. Click on the paint bucket
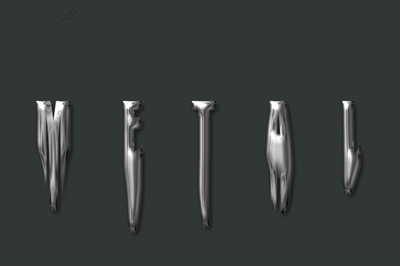
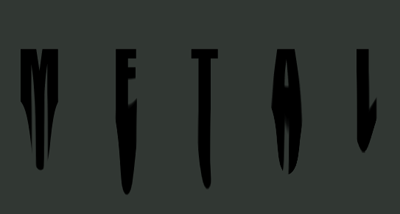
![]() and fill the background color with #313733. Now write something in your work area. I wrote METAL you need a text that is thick text I used Impact font.
and fill the background color with #313733. Now write something in your work area. I wrote METAL you need a text that is thick text I used Impact font.
Step 3
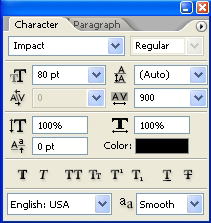
Click on Window> Character. You will see the window below add the setting that I have. This will space out your text.
Step 4:
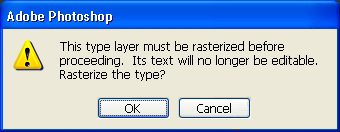
Now click on Filter and Liquify if you see the message below click ok.
See the setting for the Liquify filter.
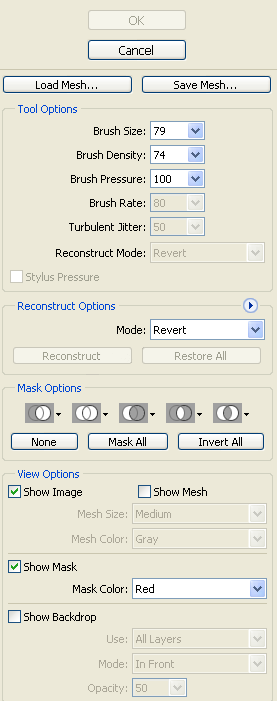
Use the brush to click and drag the letters down. You can play around with this until you get something you like
Step 5:
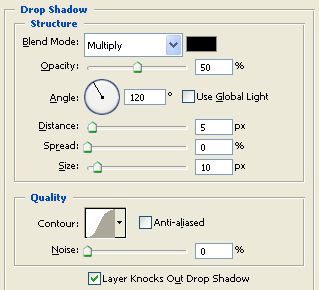
We need to add the metallic look. Right click on your test layer and click Blending Options Add there settings.
Drop Shadow
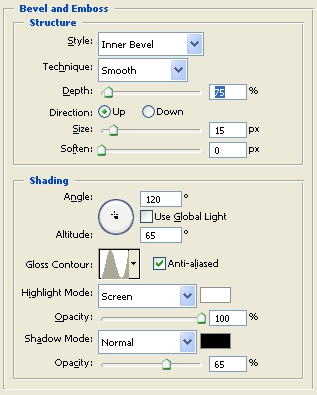
Bevel and Emboss
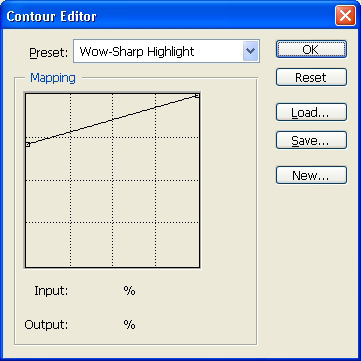
Gloss Contour Setting
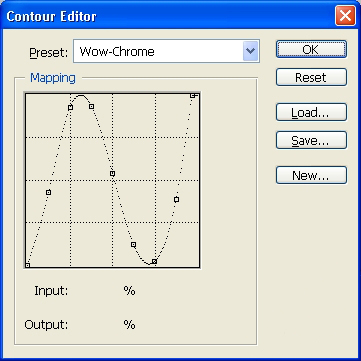
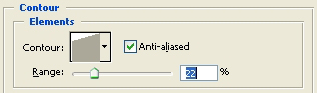
Contour
Contour Editor
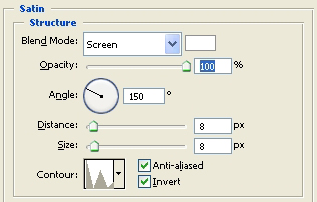
Stain
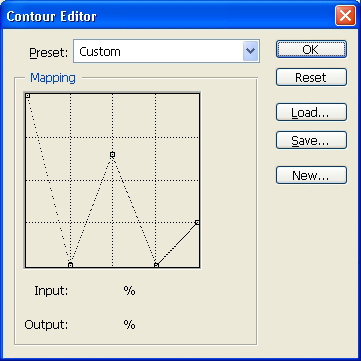
Contour Editor
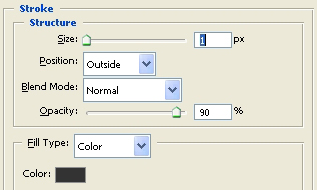
Stroke
Finish:
That's it, here is my finished work.