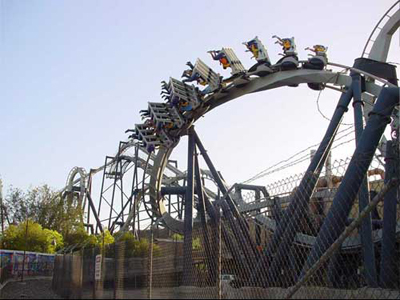
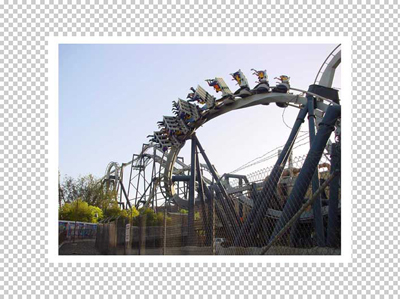
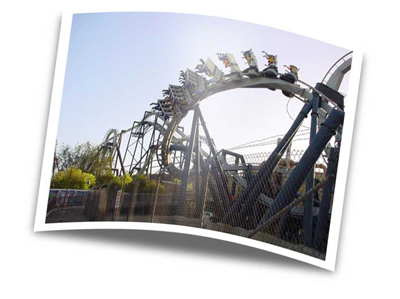
First you need an image. I have chosen the one below.
Now we are going to crop this image to give it a border. (But not in the traditional form)
Grab the Crop Tool and while holding down both the Shift and Alt keys at the same time, drag one of the corner handles out from the center until you are happy with the amount of border you have obtained. Press enter to confirm your selection
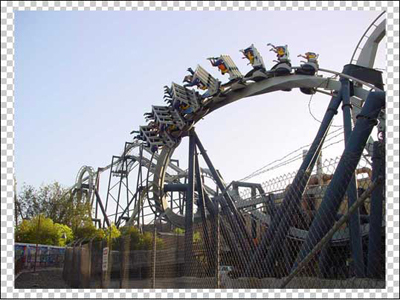
Create a new background layer and fill it with white. Merge these two layers together (Ctrl+E) You should now have something similar to mine below.
We will now make our shadow layer.
Make a selection (Ctrl+A). Create a new Background layer and fill it with black and name this "Shadow"
We are now going to Increase the canvas size by grabbing the Crop Tool again and while holding down both the Shift and Alt key at the same time, drag one of the corner handles outwards until you have increased the canvas by at least half. Here is my example below
Rotate the canvas by going to >Image>Rotate Canvas>90° CW
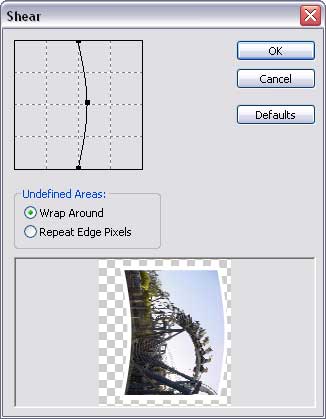
Go to Filter>Distort>Shear and use the following settings (or one's to your liking)
Rotate the canvas back Go to >Image>Rotate Canvas>90° CCW
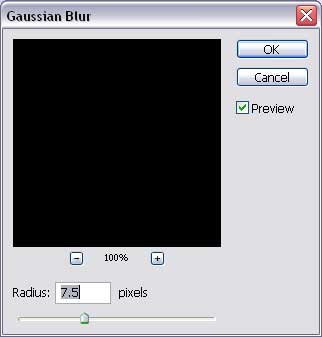
Now go to the "Shadow" layer and give this a Gaussian Blur (Filter>Blur>Gaussian Blur). Here are the settings I used.
Drop the opacity of this layer to around 60%
We are now going to create a "Highlight" for our photo.
Create a new top layer
Grab the Polygon Lasso Tool. Set the feather setting to around 25 pixels and fill it with white. Drop the Opacity of this layer to around 50%.
Deselect (Ctrl+D)
Merge all layers
Create a new background layer and fill this with white
Now, Select the Free Transform Tool (Ctrl+T). Rotate the layer slightly to the right and you're done
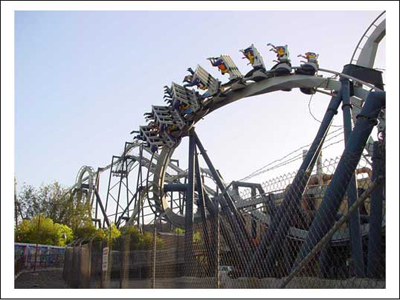
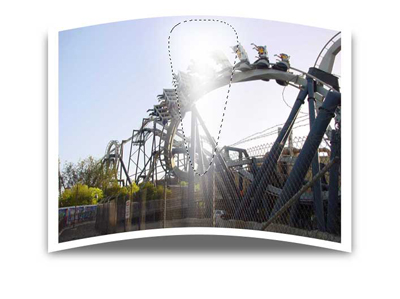
Here is my final result
And here is an example of how it may be applied