This Tutorial will show you quickly how to make an effect like this
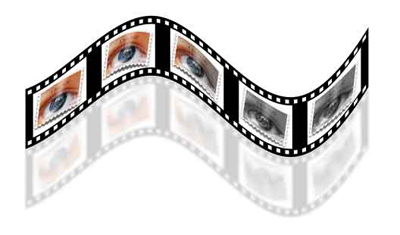
OK, Let's get started.
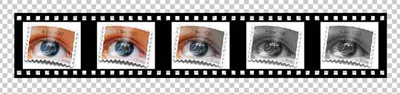
First I duplicated the film strip 5 times
I increased the canvas width by 5 and aligned all the film strips evenly
I then placed images onto the film strips and linked them
Goto>Edit>Select all>Got>Copy Merged.
Create a new doc (Ctrl+N).... keep the default settings PS gives you.
Goto>Edit>Paste (Ctrl+V)
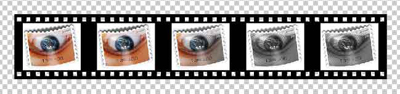
Duplicate this layer and make sure it is aligned exactly with the other layer
Goto>Edit>Transform>Flip Vertical
Zoom out a bit (Ctrl+"-" key a few times)
Grab the crop tool and make a selection around the whole image, and while holding down the Shift and Alt keys at the same time... grab one of the corner handles and increase the canvas size by at least 2.
Rotate the document CCW (Image>Rotate Canvas>CCW)
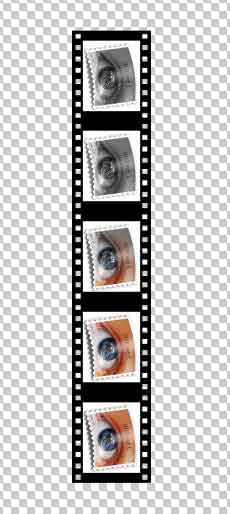
Select a layer (either one it doesn't matter because you will be applying this to both layers)
Go to>Filter>Distort>Shear and use settings similar to these or there about
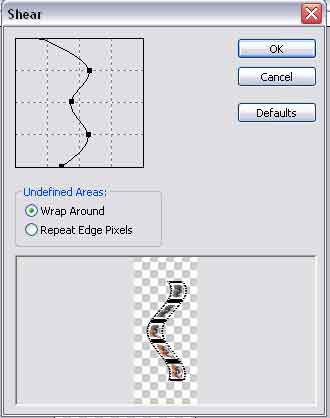
Apply this filter to the other layer (Ctrl+F)..... This will repeat the previous filter along with the settings last used
Rotate the canvas bacK clockwise. (Goto>Image>Rotate Canvas>CW)
Increase the canvas size if you need to like mine below and move the reflection layer down like mine

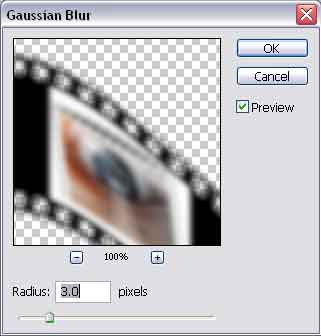
Add a blur to the reflection layer... I used these settings
Drop the Layer opacity down to about 25%
Create a new background layer and fill it with white and you're done
And here is an example of what I've done with this