

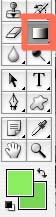
Select the gradient tool with the colors 8DF858 on top and 78D54B as the base color.
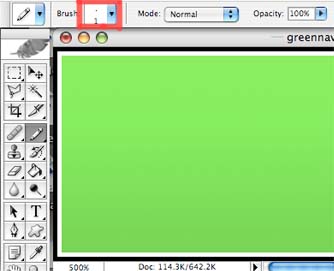
Then drag from top to bottom while holding the shift key
This should give you this effect!
For the next part select a new layer and then you should zoom in by pressing ctrl and + . Now get your pencil tool out and draw a 1px black line around the outside of the navigation bar. When you have done that do the same again but with white this time. Make sure you use a new layer.
Its now time to create the dividers. Again make a new layer. You may find it useful to zoom in and then get your line tool out and draw a line from the white 1 pixel border down to the bottom white border. I was 122 pixels in from the left had side for mine but its up to you how you want to space yours out.
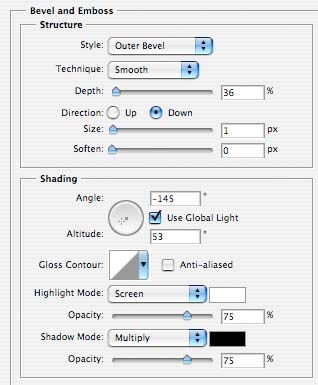
Follow these settings.
Now just duplicate the layers by going to layer duplicate layer . Simply just move the layer over to your desired place. Repeat this as many times as you require.
Last thing left to do is to add that lovely shine.
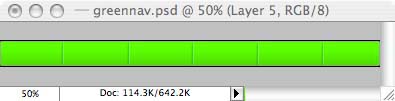
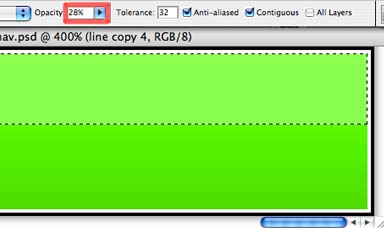
Get the marque tool out and select the top half of your image but only inside the borders (only the green) when you have done this make a new layer and then select your paint bucket tool set the opacity to 28% then fill the selection with the bucket tool and you should have something like below.
Thats it you have a very stylish but basic navigation bar. You could also use this for many other things such as content boxes. I will be writing a tutorial on this soon.
With a few more effects.