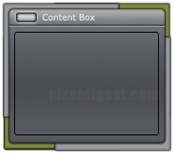
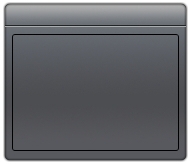
In this tutorial, I will teach you how to create the content box above.
Setting up the workspace.
Step1: Create a new image 800 x 600, and set the background color to white. Create a new layer, Layer > New > Layer... (Shift+Ctrl+N). Click on the Rounded Rectangle tool
![]() , using the dimension below
, using the dimension below
![]()
create a rectangle, same size as shown in the example above. Use #5c5f65 as the rectangle color. At this point, all you should have is just a rectangle in your workspace.

Press Ctrl+J to duplicate the rectangle layer. How hold Ctrl and click on the rectangular layer to select the rectangle.

Click on the Gradient Tool
![]() , its usually hiding behind the paint bucket. Create the gradient shown below.
, its usually hiding behind the paint bucket. Create the gradient shown below.
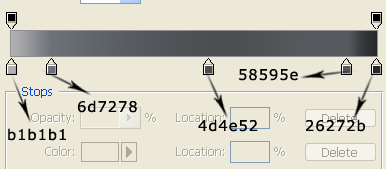
With the gradient created, apply it to the rectangle as shown below. Starting from the top and ending up at the end.
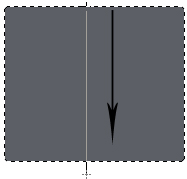
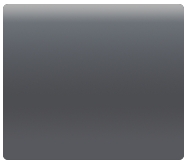
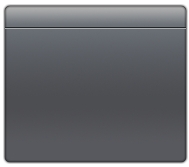
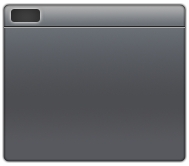
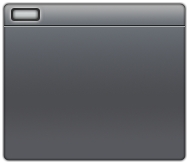
With that, effect added you should have the image below.
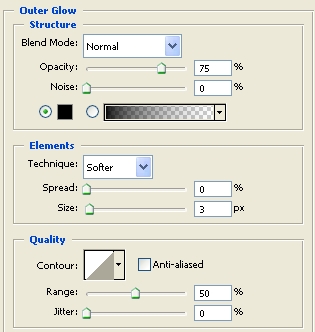
Right click on the rectangular layer and click Blending Options, now add the settings shown below.
Outer Glow
Inner Glow
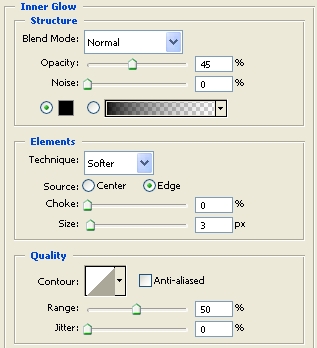
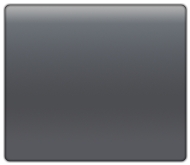
Click ok, to apply the settings.
Your Rectangle should look like the image below at this point.
Step2: Adding the lines and inner boarder.
Create a new layer, Layer > New > Layer... (Shift+Ctrl+N). Click on the Line Tool
![]() change the line color to (gray) #abadac. We need to create another line, so create a new layer, click on the Line Tool and create a line using this color (dark Gray) #232524. Your lines should look like the image below.
change the line color to (gray) #abadac. We need to create another line, so create a new layer, click on the Line Tool and create a line using this color (dark Gray) #232524. Your lines should look like the image below.
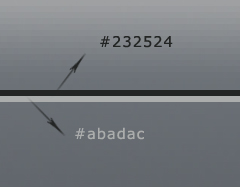
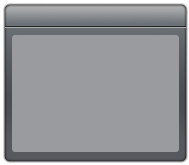
Drag the lines and position it at the top of the content box as shown below.
Create a new Layer, Click on the Rounded Rectangle tool
![]() , using the dimension below
, using the dimension below
![]()
create a rectangle, same size as shown in the example above. Use #9a9b9e as the rectangle color.
Now hold Ctrl and click on the layer to select it.
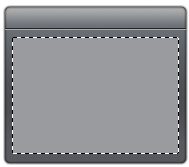
we just want the selection, so you can delete the rectangle. By deleting the layer. Create a new layer, click Edit > Stroke
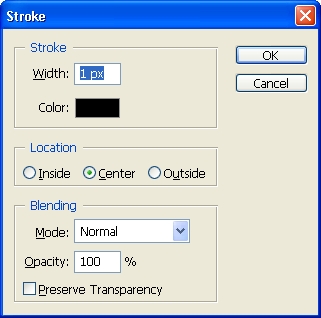
Use the setting above and click ok.
Step3: Adding the button
Create a new layer, Layer > New > Layer... (Shift+Ctrl+N). Click on the Rounded Rectangle tool
![]() , using the dimension below
, using the dimension below
![]()
create a rectangle, same size as shown in the example above. Use #9a9b9e as the rectangle color.

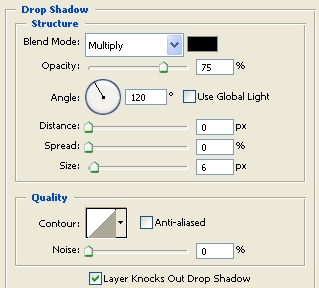
Right click on the rectangular layer and click Blending Options, now add the settings shown below.
Drop Shadow
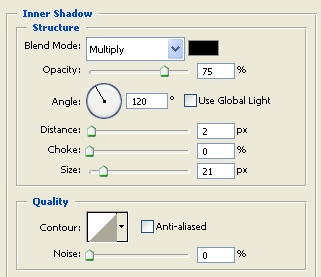
Inner Shadow
Outer Glow
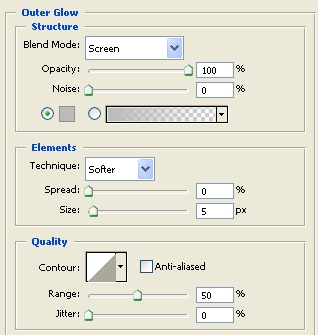
Click ok, to apply the settings.
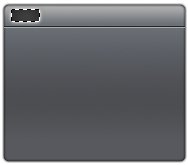
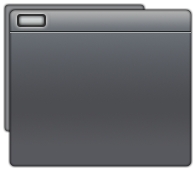
Your Rectangle should look like the image below at this point.
Hold Ctrl and click on the layer you just created to select it.
With the layer still selected click, Select > Modify > Contract, when the contract selection comes up change the setting to 2 Pixel. Create a new layer, Layer > New > Layer... (Shift+Ctrl+N). Click on the Paint Bucket
![]() and fill the selection with #9a9b9e. Now right click on that layer and click Blending Options, now add the settings shown below.
and fill the selection with #9a9b9e. Now right click on that layer and click Blending Options, now add the settings shown below.
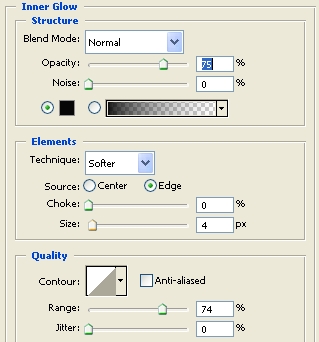
Inner Glow
Gradient Overlay
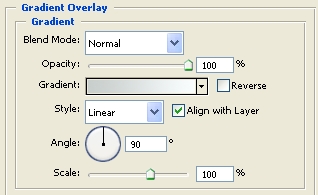
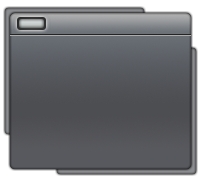
Click ok, to apply the settings. Your image should look like the image below.
You are almost finished.
Step4: Adding the boarders behind the content box.
Create a new layer, Click on the Rounded Rectangle tool
![]() , using the dimension below
, using the dimension below
![]()
create a rectangle, same size as shown in the example below. Use #8b8c8f as the rectangle color. This layer has to be behind the main content box layer.

Right click on the rectangular layer and click Blending Options, now add the settings shown below.
Outer Glow
Inner Glow
Click ok, to apply the settings. Position the rectangle to get the effect shown below.
Press Ctrl+J to duplicate this layer and position the rectangle on the right hand side of the image to get the effect below.
Create a new layer, Layer > New > Layer... (Shift+Ctrl+N). Change the foreground color to #9bab27. This is same as the previous step; I just changed the color of the rectangle from gray to green. Just repeat the step above and you will get the content box shown below.
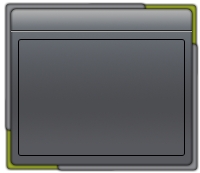
Finished:
Well that is it, hope it came out to what you expected.