


In this tutorial you will learn how to create an amazing starburst abstract background that looks great for darker, maniacal headers, and signatures. The steps in this tutorial can be altered in an uncountable amount of ways to get a completely different result, so do try experimenting with different techniques, and tricks to add your own spin to the final rendition.
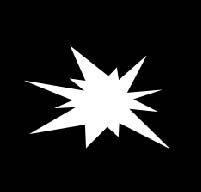
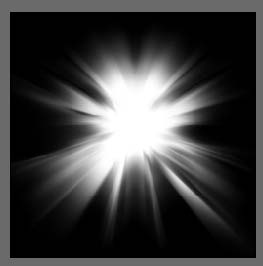
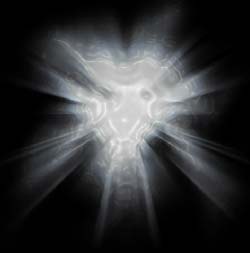
Here is an example of what you will be creating with this tutorial:
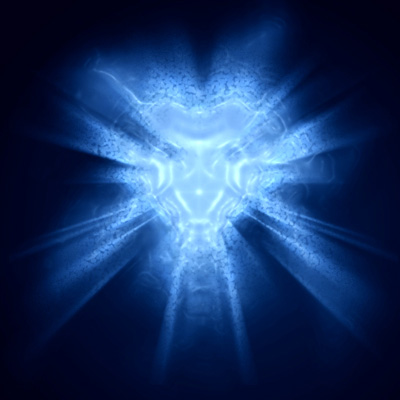
Here is how this type of background would look as a basic forum signature with a game render added to give you an idea of how something like this can be used:

Step 1.
Open a new document in photoshop that is 500 x 500 pixels in size, and fill the background with black (#000000).
Step 2.
Press Ctrl + Shift + N to create a new layer.
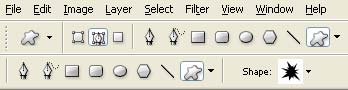
Get out the Custom Shape Tool (
![]() ).
).
Select the default shape named "Boom 1" and apply the following settings to the custom shape tool:

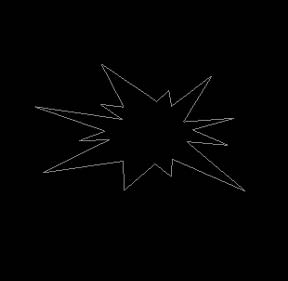
Using these settings, draw a shape in the center of the canvas as I've done here:
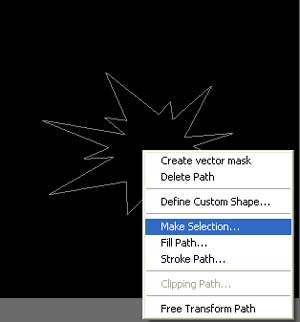
Get out the Pen Tool (
![]() ) and Right-Click in anywhere inside of our shape and choose "Make Selection".
) and Right-Click in anywhere inside of our shape and choose "Make Selection".
Click Okay:

Set your foreground color to white (#FFFFFF), get out the Flood Fill Bucket (
![]() ) and fill this selection:
) and fill this selection:
Press Ctrl + D to deselect the selection.
Result:
Step 3.
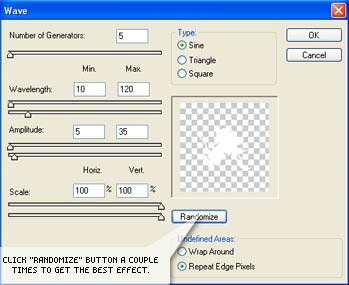
Go to Filter->Distort->Wave and apply the following settings:
Click 'Randomize' a few times to get a good random shape.
Go to Filter->Blur->Radial Blur and apply the following settings:
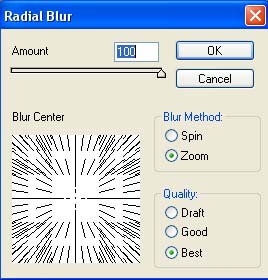
Press Ctrl + F on your keyboard two times to repeat the Radial Blur filter twice more.
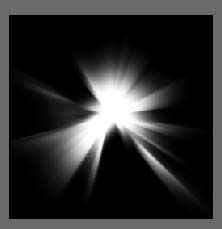
Result:
Step 4.
Next press Ctrl + J on your keyboard to duplicate this layer.
Go to Edit->Transform->Flip Horizontally.
Press Ctrl+ E on your keyboard to merge these two layers into one.
Name this layer "Starburst". I will refer to this layer later in the tutorial.
Your canvas should look something like this now:
Step 5.
Press Ctrl + J on your keyboard to duplicate this layer.
Go to Filter->Distort->Wave, and apply the following settings:
Click 'Randomize' a few times to get a good random shape.
Go to Filter->Artistic->Plastic Wrap and apply the following settings:
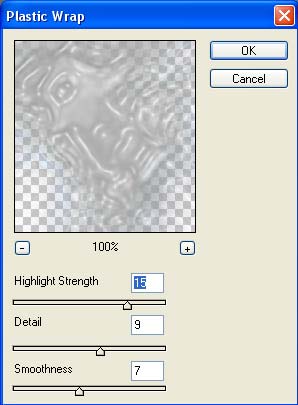
Change the Blending Mode of this layer to "Multiply" and drop the opacity down to 85 percent:
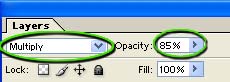
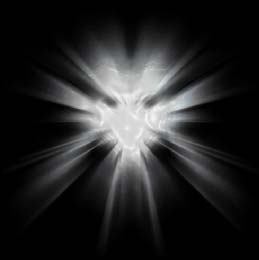
Result:
Step 6.
We're going to repeat the steps preformed in step #5. Click on the layer named "Starburst" again, and press Ctrl + J on your keyboard.
Go to Filter->Distort->Wave, and apply the following settings:
Click 'Randomize' a few times to get a good random shape.
Go to Filter->Artistic->Plastic Wrap and apply the following settings:
Change the Blending Mode of this layer to "Multiply" and drop the opacity down to 85 percent:
Result:
Step 7.
Once again click on the "Starburst" layer to select it, or make it active.
Press Ctrl + J on your keyboard to duplicate this layer.
It is very important that this layer is directly above your Starburst layer, and below the two layers we'd created in steps #5 and #6.
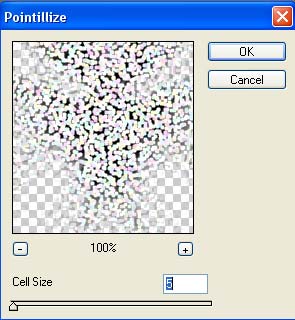
Go to Filter->Pixelate->Pointillize and apply the following settings:
Press Ctrl+ Shift + U on your keyboard to de saturate this layer.
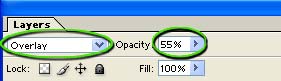
Change the blending option of this layer to "Overlay" and drop the opacity down to around 55 percent.
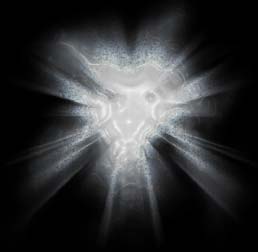
Result:
Step 8.
Finally we'll ad some color to our design. We'll do this by clicking on the top most layer to select it, or make it active. (this should be the topmost layer with the Plastic Wrap applied to it).
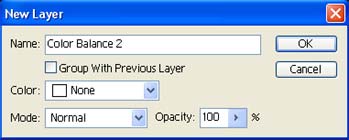
Go to Layer->New Adjustment Layer->Color Balance:
Press Okay.
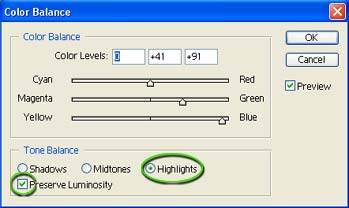
Now apply the following settings:
Highlights:
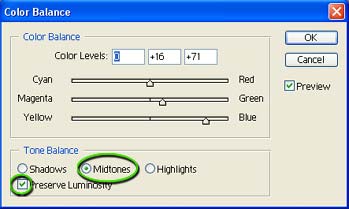
Midtones:
Result:
That concludes the creation of this very abstract starburst background, here I've added some text, and a game render. I have also added a few decals using one of the Tech Brushes. This should show you one way that you might be able to use this type of technique, and hopefully give you some ideas:
Thanks so much for reading this tutorial, and I hope you've enjoined it.