
In this tutorial you will learn how to create a very highly stylized glossy button that you see used all over the internet, as well as high end video games. The techniques taught in this tutorial can be adapted to many uses, and color schemes.
Step 1.
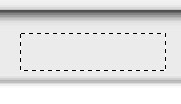
Open an existing document, or a new one in flash. I'll be working with on a very basic header design (future tutorial coming on this). Get out the Rectangular Marquee Tool (
![]() ) and make a square selection as I've done here:
) and make a square selection as I've done here:
Step 2.
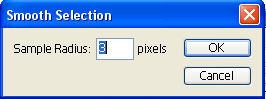
Go to Select->Modify->Smooth and apply the following settings:
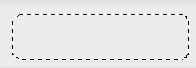
Result:
Step 3.
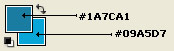
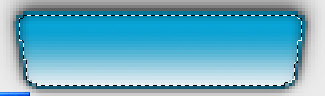
Set your foreground color to: #1A7CA1, and your background color to: #09A5D7:
Get out the Gradient Fill Tool (
![]() ) and fill your selection with a light to dark gradient as I've done here:
) and fill your selection with a light to dark gradient as I've done here:
Press Ctrl + D on your keyboard to deselect the selection.
Step 4.
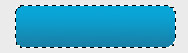
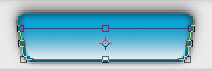
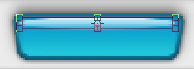
Press Ctrl + T on your keyboard to get out the "Free Transform Tool". Hold down the Shift + Ctrl + Alt keys on your keyboard, place your mouse cursor near the bottom right corner's "node" and drag it inward toward the cEnter of the rectangle as I've done here. This will restrain the proportions perfectly and create a nice inward beveled effect for us.

Press Enter on your keyboard to finalize the transformation.
Result:
![]()
Step 5.
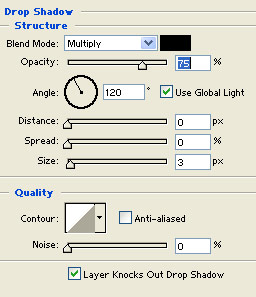
Double click this layer, and apply the following blending options:
Drop Shadow:
Inner Shadow:
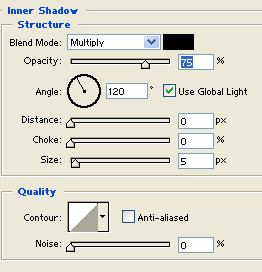
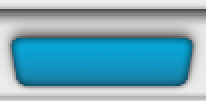
Result:
![]()
Step 6.
Press and hold Ctrl on your keyboard and click on this layer. Doing so should make a selection of everything within this layer.
Next create a new layer by pressing Ctrl + Shift + Alt + N on your keyboard.
Drag this new layer below our current layer:

Fill this layer with black (#000000).
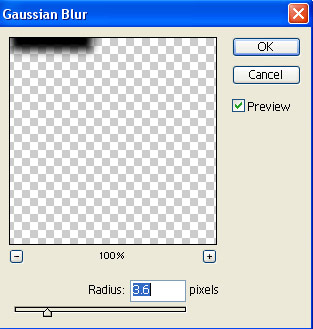
Go to Filter->Blur->Gaussian Blur and apply the following settings:
Press 'V' on your keyboard to get out the "Move Tool" and tap the up arrow on your keyboard 3 times to nudge this section up 3 pixels:

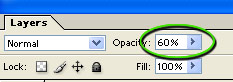
Drop the opacity of this layer to 60%:
Result:
Step 7.
Now create a new layer on top of our rectangular button layer (on top of everything we've done so far) by pressing and holding the Shift + Ctrl + Alt keys on your keyboard and pressing 'N'.
Hold down the Ctrl key on your keyboard, and click on our rectangular button layer, doing so should make a selection of everything within this layer.
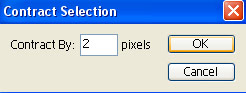
Go to Filter->Modify->Contract with a setting of 1 or 2 pixels:
Set your foreground color to white (#FFFFFF), get out the Gradient Fill Tool (
 ) and fill this selection with a white to transparent gradient:
Step 8.
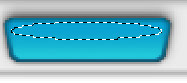
Press Ctrl + D on your keyboard to deselect.
Press Ctrl + T on your keyboard to get out the Free Transform Tool.
Hold down the Shift + Ctrl + Alt keys on your keyboard and (just like before) grab the bottom right corner node of the box, and move it inward slightly as I've done here:
Press Enter on your keyboard to finalize the transformation.
Step 9.
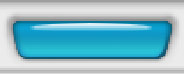
Change the Blending Mode of this layer to "Overlay", and drop the opacity of this layer down to 68%:
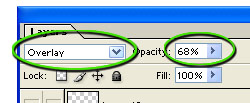
Result:
![]()
Step 10.
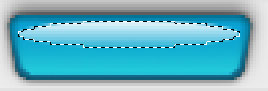
Create a new layer on top of everything else. Next get out the Elliptical Marquee Tool (
![]() ) and make a selection as I've done here:
) and make a selection as I've done here:
Set your foreground color to white (#FFFFFF), get out the gradient fill tool (
![]() ) and fill this selection with white to transparent gradient as I've done here:
) and fill this selection with white to transparent gradient as I've done here:
Press Ctrl + D on your keyboard to deselect the selection.
Press Ctrl + T on your keyboard to get out the Free Transform tool.
Place your mouse near the bottom middle node, click and drag upward slightly to squish this shine as I've done here:
Press Enter on your keyboard to finalize the transformation.
Result:
Step 11.
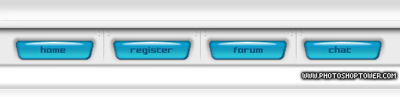
Finally we'll add the text to our button. Set your foreground color to: #07577A and select a good font to use.
The font I'm using here is called "BM Sly". And can be downloaded here. The font size I've used is 10 pt.
Here is how my final result looks:
I hope you've enjoined working on this tutorial and have learned some great techniques to create very interesting, enticing looking web buttons for your layouts and templates.