Here you will be taught how to color inks using photoshop. First you will need to go to google or anywhere else and find a image to color.
1. First open the sketch that you would like to color. I chose an Iron Man sketch done by Sam Liu. Once you have it open, go up to Image > Adjust > Levels. Move the middle bar to the left till the image is black enough. Once your done with that, clean up the smudge that occured from doing that.
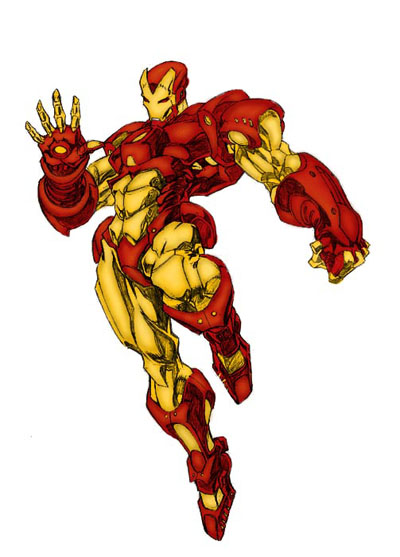
2. First thing is you need to do is set the sketch layer to multiply. Next, go to layer new layer and set this layer underneath the original sketch. Choose the color you want and color it in with the brush tool on 100%. Dont worry about going over the black lines cause it won't matter. Next, once your done with one color, make a new layer and set this one underneath the first color layer and color the same way. Keep making new layers for every new color. What I have so far is shown below.

3. After you have all the colors done you want to add some shading. Usually the sketch is already shaded but you just wanna touch up on it. Go to the dark spots of your sketch and color in the with black. Make sure your brush is between 5-10%. I find it works best that way. Again make a new layer for each colors shading. This step will not be as fast as the others. Its going to take time and patience.

4. Once you have all the shading done, you want to move on to highlighting. This is where your going to have to expiriment on which colors make the image stand out and shine the best. For mine I chose a more whiter yellow for the yellow layer and for the red I chose a red-orange color. As like before you want a new layer for each new highlight on each color. This step as well is going to take a lot of time and patience.
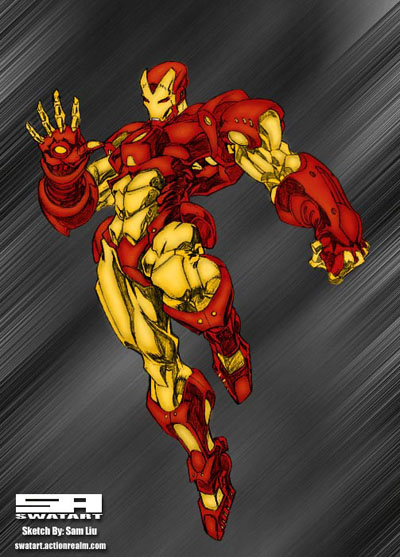
5. Once you have that done and it looks all good you just need to add the finishing touches. My final image is below. Hope yours is better than mine.