


Create a new file having 791x607px and 72 dpi. Choose next instrument
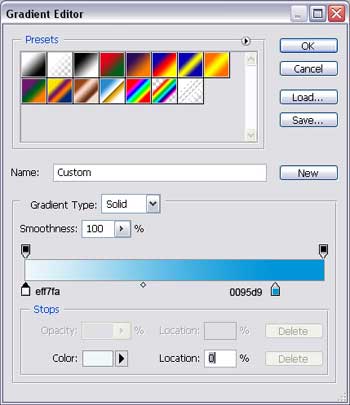
![]() and stretch out a rectangle on the entire space. Give the gradient's parameters in the Blending Options the same way it is shown next picture.
and stretch out a rectangle on the entire space. Give the gradient's parameters in the Blending Options the same way it is shown next picture.
You must get a background like this one.

Get to the next instrument
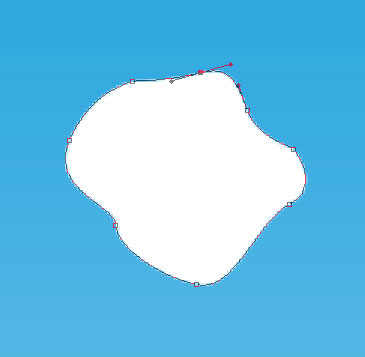
![]() to picture a figure, like that one from below, having the color's code 00B9F2.
to picture a figure, like that one from below, having the color's code 00B9F2.

Make one more of white color this time.
And then several more. As a result you must get the same thing like it is demonstrated next picture.

Pass to representing the fir-tree.

The fir-tree is consisted of two layers, shown in the next image. The first one includes the blue elements with the color 16C2F4 and is possible to be represented by this instrument
![]() .
.

Using the same instrument, picture the second elements' layer of white color.

Having this tool
![]() represent the fir-tree ornaments. You may minimize or enlarge the fir-tree balls, using Free Transform option.
represent the fir-tree ornaments. You may minimize or enlarge the fir-tree balls, using Free Transform option.
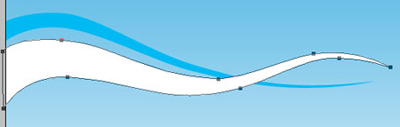
Copy the fir-tree and place it the same way it is indicated below.

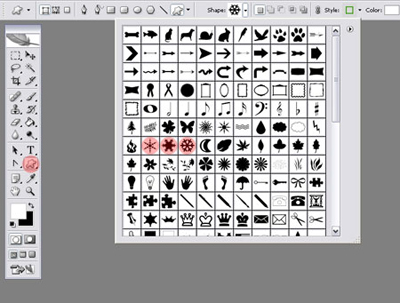
Pass to picturing now the snowflakes.

You may find it here, in the Custom Shape menu.
The color code must be C7F0FD.
Represent now the snow.

Applying the known instrument
![]() , create a figure like in this picture.
, create a figure like in this picture.
Then copy it arbitrarily on the entire sky, minimizing or enlarging some of the figures. All that you've done, copy and move it to the lowest part. Change the Opacity of 70% on each layer.

The final result!