


Create a new file with 450x450 px and 300 dpi of white color.

Take the instrument
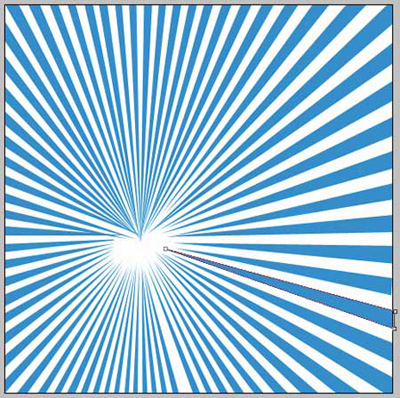
![]() and represent triangles of the same color – 2CA6D7 and place them exactly the same way from below.
and represent triangles of the same color – 2CA6D7 and place them exactly the same way from below.
Take the next instrument
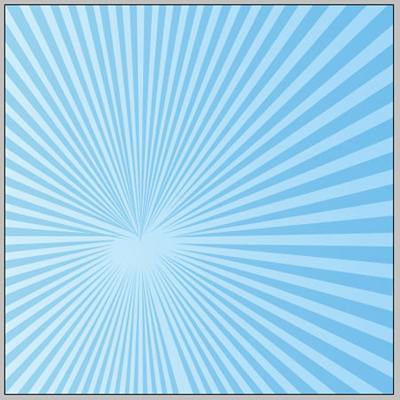
![]() to gradient with the color 97DCFA. Fill 77% on the layers. The gradient's direction must be from left to the right side.
to gradient with the color 97DCFA. Fill 77% on the layers. The gradient's direction must be from left to the right side.
Take the following instrument
![]() and represent a circle of the next parameters.
and represent a circle of the next parameters.

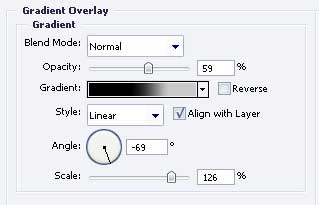
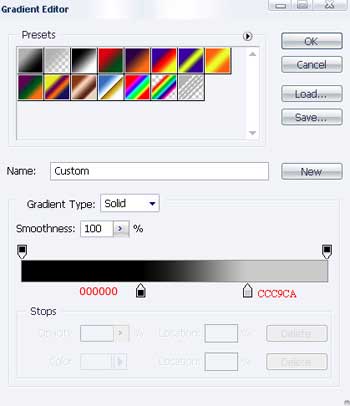
Blending Options-Gradient Overlay
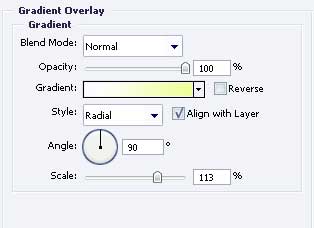
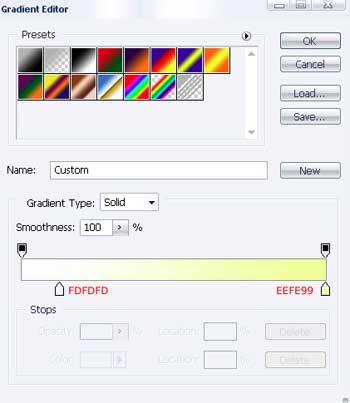
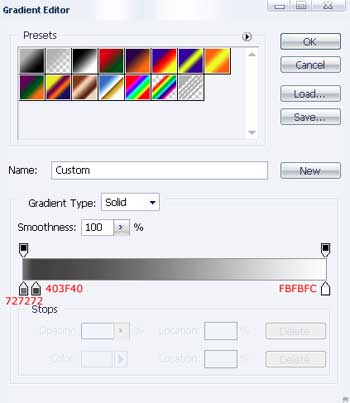
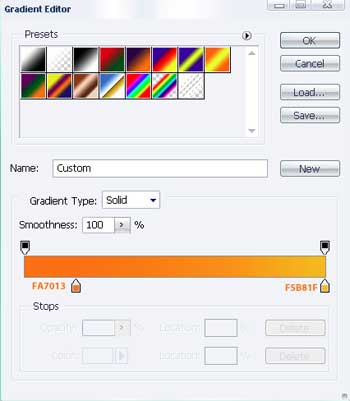
Gradient's parameters.
Take the next instrument
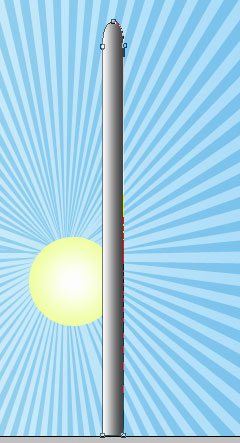
![]() to draw a figure that would have the next sizes.
to draw a figure that would have the next sizes.
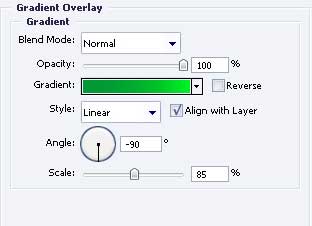
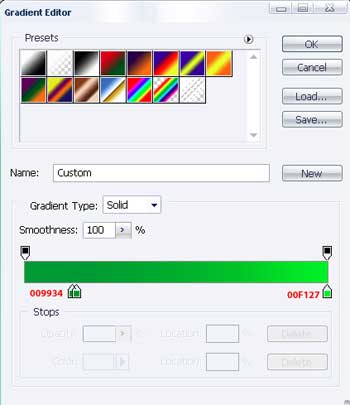
Blending Options-Gradient Overlay
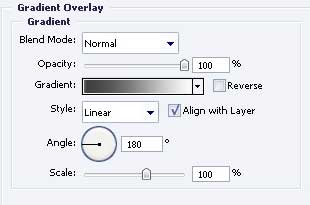
Gradient's parameters.
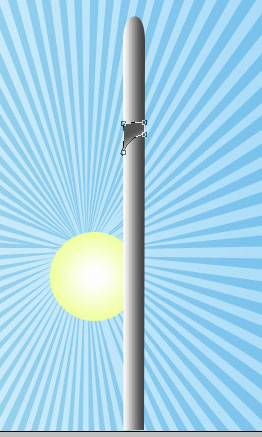
Use the previous instrument to picture one more figure with the parameters form the next image.
Blending Options-Gradient Overlay
Gradient's parameters.
Copy the recently made layer two times and place everything out like in the next picture.

Take the instrument
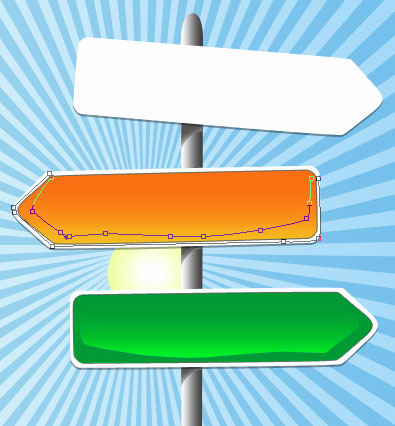
 and represent a picture like the next one.

Blending Options-Drop Shadow

Then copy the recently made layer twice and apply Free Transform to turn them around like in the image below.

Take the previous instrument also to draw a figure like the next one.

Blending Options-Gradient Overlay
Gradient's parameters.
Blending Options-Stroke
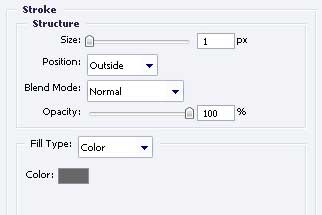
The same instrument will help us to outline the same place like in the picture below. Fill 0% on the layers.

Paint that place with 01A33C.

Get to next indicator. Use also
to picture a figure of the next sizes.

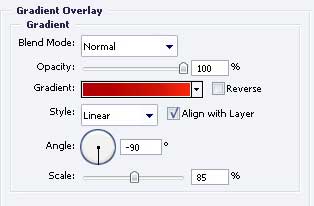
Blending Options-Gradient Overlay
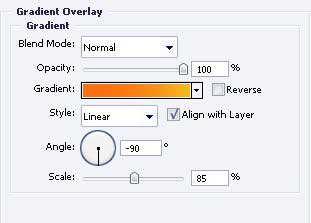
Gradient's parameters.
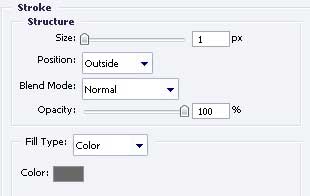
Blending Options-Stroke
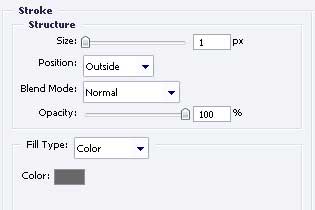
The same instrument will outline the necessary place like in the picture below. Fill 0% on the layers too.
Paint that place with FF7F00

Pass to the next indicator. Use the instrument
![]() to draw a figure like the next one.
to draw a figure like the next one.

Blending Options-Gradient Overlay
Gradient's parameters.

Blending Options-Stroke
Apply the previous instrument to outline another place, the same like in the image below. Fill 0% on the layers

Paint it with C10000

Add the text, keeping the same type, dimensions and the same color from the following picture

The final result!