Step 1.
Start a new document that is 770 x 550 in size and fill the background with #3D3F3E
Step 2.
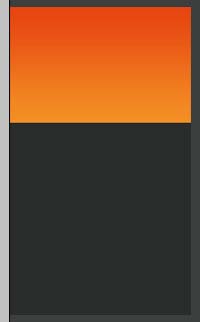
Create a new layer. Using the rectangular marquee tool, make a selection as pictured:
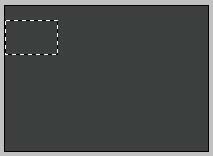
Fill this selection with: #ED6A1A
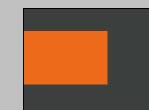
Double click this layer, and apply the following blending options:
Gradient Overlay
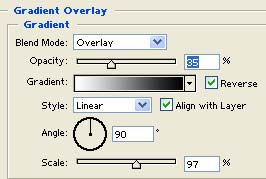
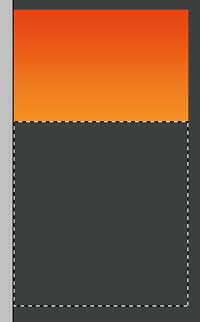
Result:

When we're ready to put on our finishing touches, this will be where our company logo will go.
Create a new layer. Now we'll make the area for the navigation of our site. Get out that rectangular marquee tool again, and make the following selection:
Fill this selection with #2A2C2B
Step 3.
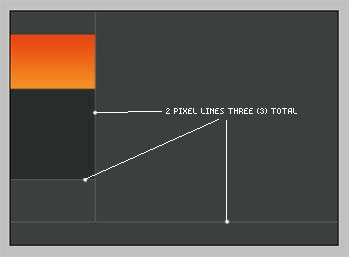
Create a new layer. Next set your foreground color to: #5C5E5D Get out the pencil tool, and set it to 2 pixels in width:
![]()
Now draw the following lines onto your layout. Tip: If you hold down the Shift key on your keyboard while drawing these lines it will ensure that your lines stay straight.
Step 4.
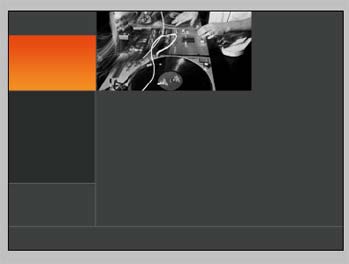
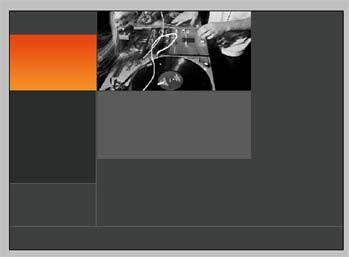
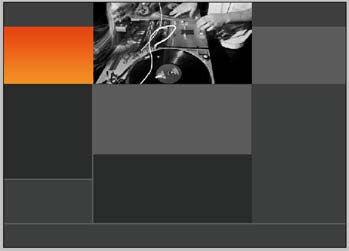
Create a new layer. Now we'll work on the content area of our layout. We'll start up top with a nice picture that encompasses the layout/design. For this exercise we're creating a layout for an online radio station. So a turn table graphic fits in perfectly. But any photo would work.
Step 5.
Create a new layer, get out that rectangular marquee tool again, and make the following selection:
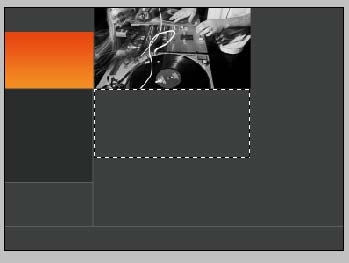
Fill this selection with #5B5B5A
Step 6.
Now create a new layer. Once again make the following selection with the rectangular marquee tool:
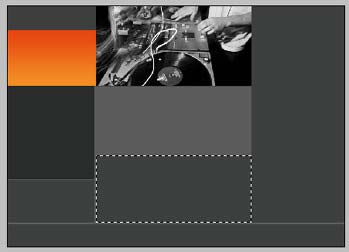
Fill this selection with #2A2C2B
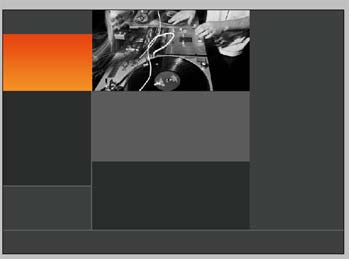
Step 7.
Alright, the layout is starting to take shape. Now lets go ahead and create the right sidebar of the page. Go ahead and create a new layer. With the rectangular marquee tool, make the following selection:
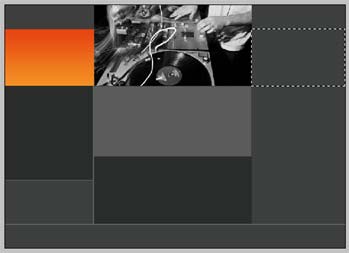
Fill this selection with #5B5B5A
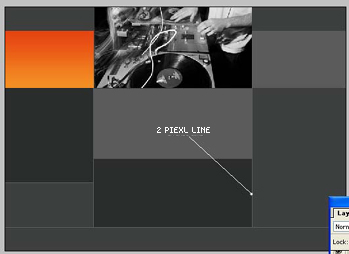
Step 8.
Create a new layer. Now set your foreground color to #5C5E5D and just like we did in step #3 get out the pencil tool and set it to 2 pixels in diameter:
![]()
Now draw a line straight up and down as shown here:
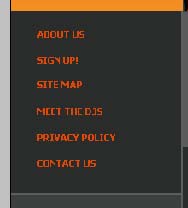
Step 9.
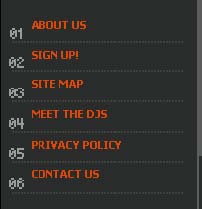
Okay, now we're going to add the text for our buttons, create a new layer and set your foreground color to #DD4708 get out your text tool and type in the text for your navigation. The font I used here is called Tahoma Bold with a size of 11pt
Step 10.
Next I added numbers next to each of the links. The color used is: #9A9C9B
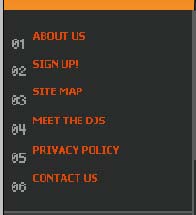
Step 11.
Now set your foreground color to #3D3F3E and create a new text box and fill it with ...'s (periods) to create a dotted line underneath each of your links as shown:
Step 12.
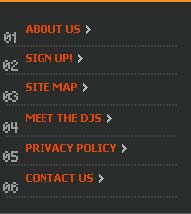
Now we'll add some arrows to the links to make them look a little bit better. Create a new layer, get out the pencil tool and set it to 1 pixel in diameter.
![]()
Set your foreground color to #FFFFFF (white). Zoom in real close by pressing Ctrl and the + sign on your keyboard and draw the following arrow pixel by pixel onto the layout:

Duplicate this layer by pressing Ctrl + J on your keyboard and move it around using the 'Move tool'.
Here's how it looks after each of the arrows are applied:
Step 13.
Next we'll add some icons to the layout in the top left of the template for navigation purposes. You can design your own icons, or might I suggest a great designer resource www.WebsiteIcons.com Which is a great high quality designer resource for website icons. Here's how mine looks after apply the icons with some button text:

Step 14.
Next I added in the company name, and logo into the bright orange box we'd created earlier in the tutorial:

Now at this point you are ready to begin adding your finishing touches to the layout. Here I've added a few headings for the various sections of the page, and navigation links along the bottom of the page. Just continue to add small details to your layout. with the tips and techniques I've taught you throughout this tutorial.
Here's what I ended up with: