


This Photoshop tutorial teaches you to create a Logo for your web pages. The dimensions used in this tutorial is : width 200px, height 200px and resolution 72px. This tutorial demonstrates the use of Elliptical Marquee Tool and the Add to Selection Option for this tool. At the end of this tutorial you will be able to create your own logos like the one shown below using some simple techniques.

Creating Shape for the Logo.
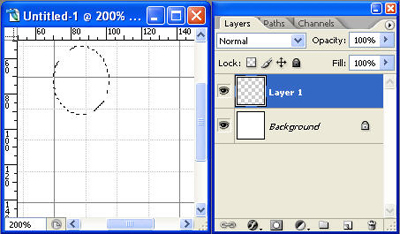
Start by creating a new document of dimension 200 x 200 px with resolution 72px and background color white. First draw a circle using the Elliptical Marquee Tool (M)
![]() .
.
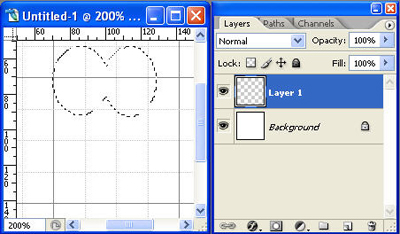
In the Layer options palette click on Add to Selection option.
Draw the second circle next to the first one with their sides just touching each other.
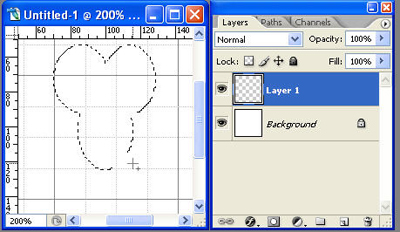
Then draw the third circle below the first and the second. The 1/4th of the top part of the third circle should touch the first and the second circles like shown in the image below.
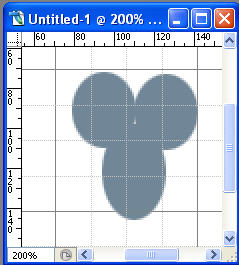
Press Alt + Backspace to fill the circles with any foreground color and press Ctrl +D to deselect the layer. Name the layer as Shape.
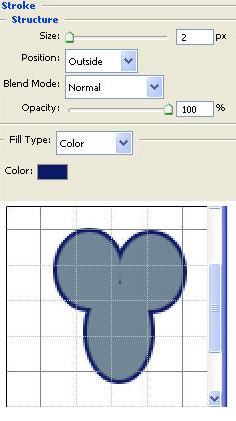
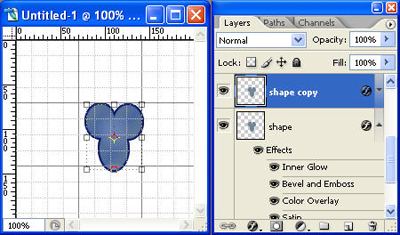
Double click on the Shape layer in the layers palette or right click on the Shape layer in the layers palette and select Blending Options. From the Layer Style window select the Stroke option. Set the fill type to color, stroke color to #0d1a65, size 2px and position outside.
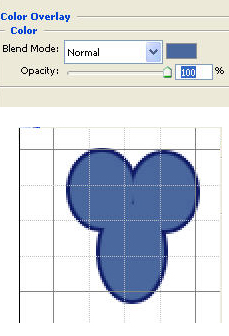
Select the Color Overlay option and set the Blend mode to normal, Color to #48689e and opacity to 100%.
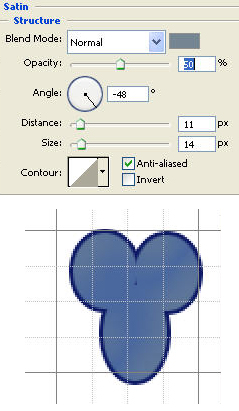
Select the Satin Style and set the Blend mode to Normal, Opacity 50%, angle -45, color #748692, Distance 11px and Size 14px.
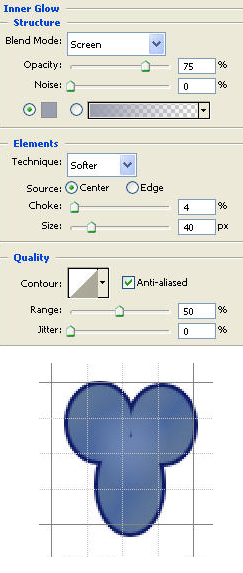
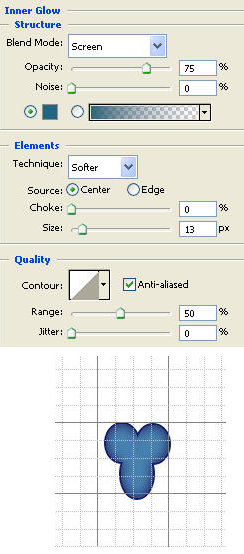
Select the Inner Glow and set the Blend Mode to Screen, Glow color to #9b9eaf, choke 4% and size 40px.
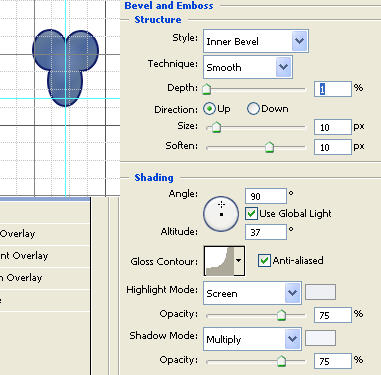
Select the Bevel and Emboss Style and set the style to Inner Bevel, depth 1px, size and soften 10px, Shading angle to 90 and altitude to 37. Set the Highlight and the shading color to #ffffff.
Duplicate the Shape layer.
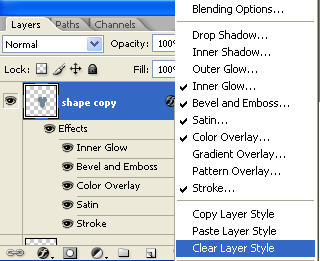
Right click on the Shape Copy layer in the layers palette and select Clear Layer Style.
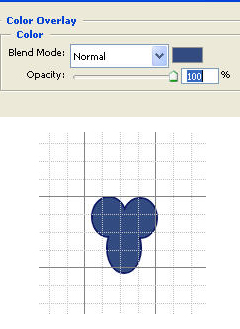
Double click on the Shape copy layer. In the Layer style window select the Color Overlay style. Set the color to #314c81, Blend mode Normal and opacity 100%.
Then select the Inner Glow style. Set the Blend mode to screen, glow color to #1f6780 and size 13px.
Select the Elliptical Marquee Tool (M)
![]() and draw an oval and position it as shown in the image below.
and draw an oval and position it as shown in the image below.
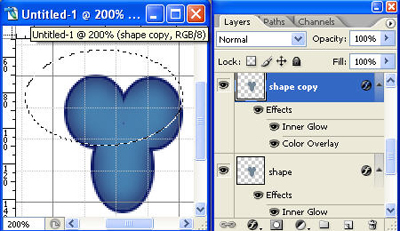
Select the Shape copy layer from the Layer palette and press del.

Select the Text tool
 from the Tool Bar and Type the letter ‘Y’. I have used the text options : font family : Elementary SF Black, font size : 60px and color : #fff500.
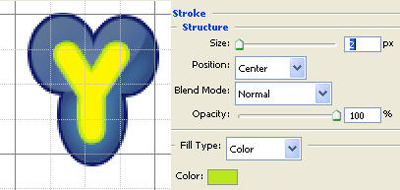
Double Click on the Y layer and in the Layer style window, select the stroke. Set the stroke color to #bbe71e, size to 2px and position as center.
Duplicate the Y layer and place the new layer below the Y layer
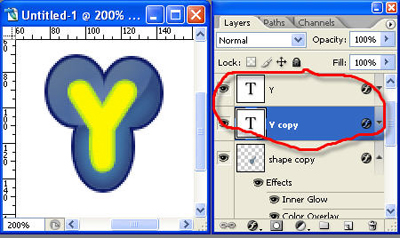
Double click on the Y copy layer and from the layer style window select the Stroke option. Set the stroke color to #364a6b, size to 3px and position outside.
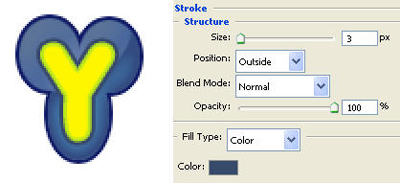
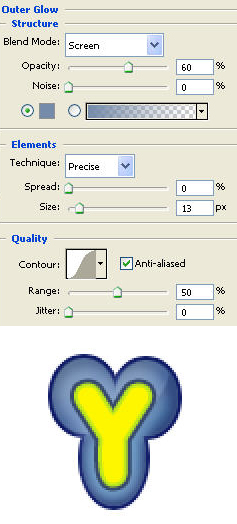
Select the Outer Glow option. Set the Blend mode to normal, opacity 60%, glow color #738caa, technique Precise and size 13px.
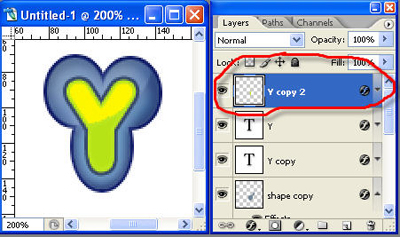
Make a another duplicate copy of Y layer and position it above the Y Layer.
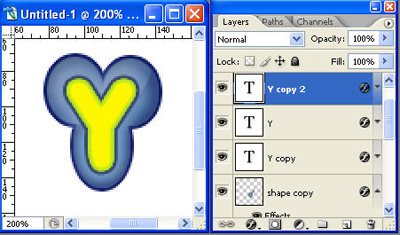
Set the foreground color to #b6e316 and press Alt + Backspace to change the text color of the new layer.

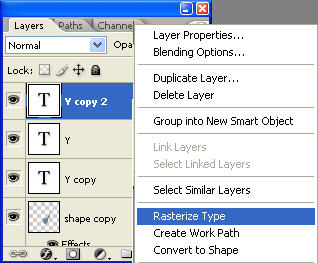
Right click on the Y copy 2 layer and select Rasterize Type.
Select the Elliptical Marquee Tool (M) )
 , draw an oval and position it as shown in the image below:

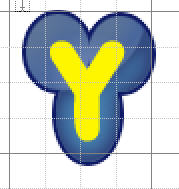
Select the Y copy 2 Layer and press del. The Logo should appear like the one shown below.
Next we will create the bubbles. Create a new layer, name it as bubbles1 and place it below the Shape layer in the Layers palette. Select the Elliptical Marquee Tool (M)
and also click on the Add to Selection in the Tool Options bar.
Draw some circles as shown in the image below.

Set the foreground color to #84bc35 and press Alt + Backspace to fill the bubbles.

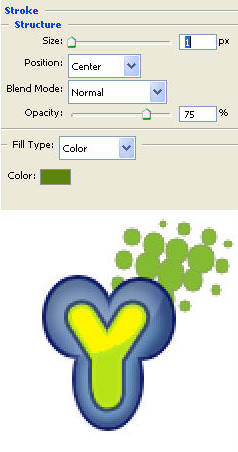
Double click on the bubbles layer in the layers palette and select the stroke option. Set the stroke color to #5b8510, size to 1px and position as center.
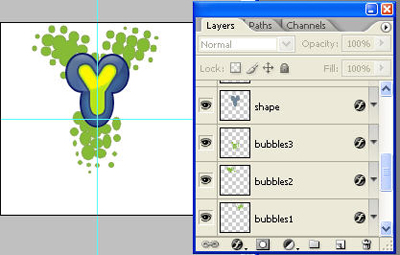
Repeat the step 4 and create the layers bubbles2 and bubbles3 and position it as shown in the image below:
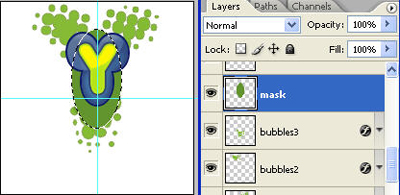
Select the Elliptical Marquee Tool (M)
![]() from the tool bar. Create a new layer and name it as mask. Draw the circle using the Elliptical Marquee tool, set the foreground color to #61952e, press Alt + Backspace to fill the circle and press Ctrl + d to deselect the layer.
from the tool bar. Create a new layer and name it as mask. Draw the circle using the Elliptical Marquee tool, set the foreground color to #61952e, press Alt + Backspace to fill the circle and press Ctrl + d to deselect the layer.
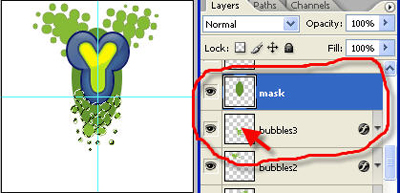
Select the Mask layer and press Ctrl and click on the bubbles3 layer to load the selection.
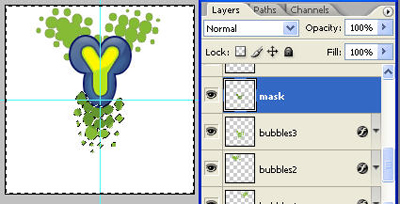
Press Ctrl + Shift + I to inverse the selection and press del. Press Ctrl + D to deselect.
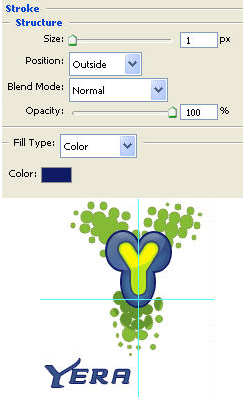
Finally create the Name for the company. Select the Text tool
, set the font family to Elektra, font size to 24px and color to #345387 and type the text Yera.

Double click on the Year layer and open the layer style window and select the stroke option. Set the stroke color to #0f1c65, size to 1px and position to outside.
Select the Text Tool
and set the font family to Elementary and color to #61952e, type the text Designs.
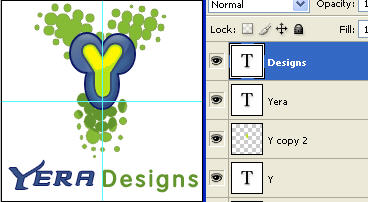
Double click on the Designs layer and open the layer style window and select the stroke option. Set the stroke color to # 3f620d, size to 1px and position to outside.
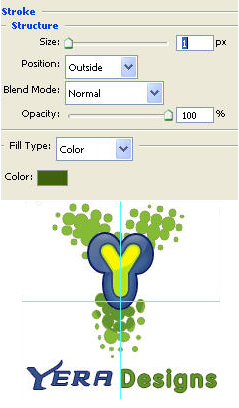
The Final Logo should look like: