Step 1.
Start a new document of any size. But the 1st tip for creating these is to "oversize" your document, so you have room to work. We'll have a lot of objects going off screen and we'll need a lot of room to work with. I'm working with a 1200 x 1200 document myself.
Fill the background with white (#FFFFFF).
Now turn the visibility of your background layer to off, so we'll be able to see what we're doing. Fill
Step 2.
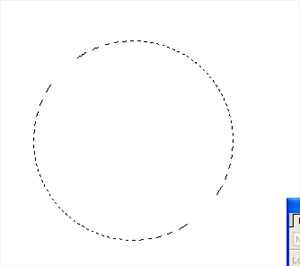
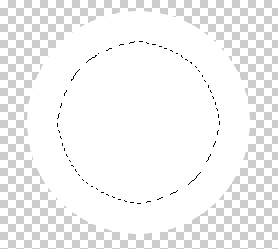
Create a new layer. Now what you'll need to do is use all of your selection resources in photoshop to create several different selections/shapes. To start, using the elliptical marquee tool and while holding shift, create a a perfect circle that is fairly large as pictured:
Step 3.
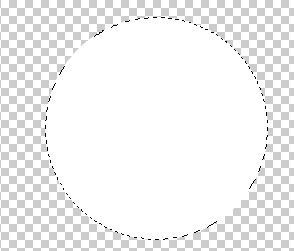
Fill the circle selection with white:
Step 4.
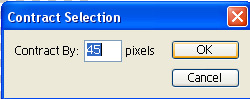
With the selection still active, go to Select->Modify->Contract with a setting of about:
Result:
Tap delete on your keyboard to get rid of the center of the circle:

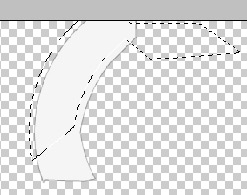
Step 5.
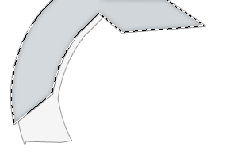
Now using the polygon marquee tool, begin to remove portions of the circle until you have a piece that is similar to this:
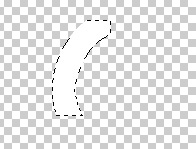
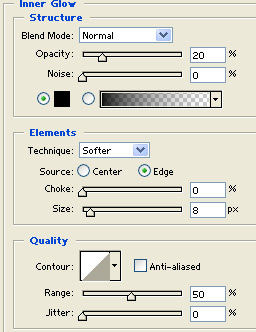
Double click the layer, and apply these blending options:
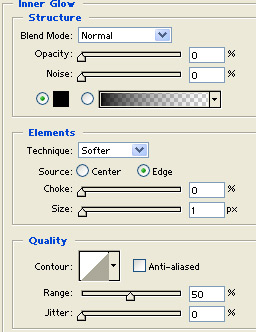
Inner Glow:
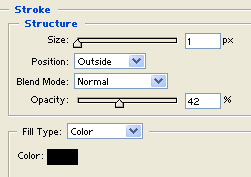
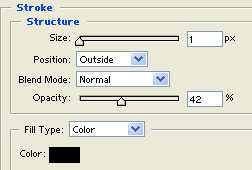
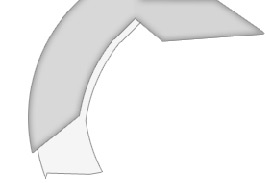
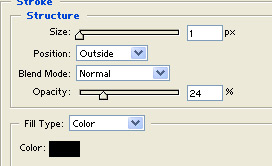
Stroke:
Result:

Step 6.
Now create a new layer, and using the same techniques create another selection on top of our last, and fill it with a slightly darker color:

Step 7.
Double click the layer, and apply these blending options:
Inner Glow:
Stroke:
Tip:
I also decided to go ahead and adjust the color of this layer, and add a slight blue tint to it. This can be done by pressing Ctrl + U, checking the "colorize" box, and adjusting the sliders to the color of your choice.
Result:
Step 8.
Next create a new layer, press and hold the Ctrl key and click on the previous layer to make a selection of everything in that layer.
Fill this selection with a diagonal grid, and drop the opacity of the layer down to:
70 percent
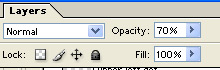
Note: If you're not sure how to create a diagonal grid this step can be skipped, however if you do not know go ahead and write me and I'll do a tutorial on it, it's basically a scan line that's been rotated 15 degrees in one direction or the other.
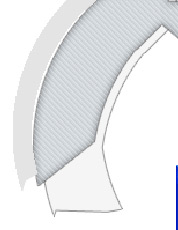
Result:
Step 9.
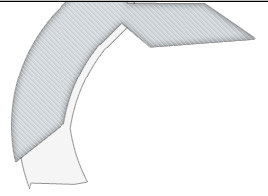
Create a new layer, and using the same techniques create a another selection like so:
and fill this selection with: #E4E4E4
Double click this layer and apply the following blending options:
Stroke:
Result:
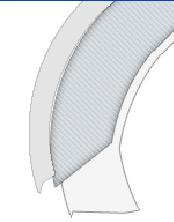
Step 10.
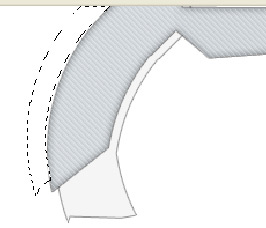
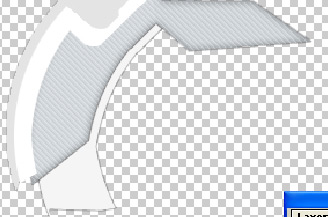
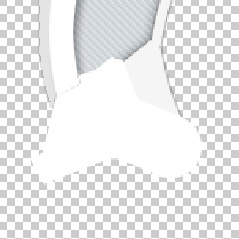
Once again, create a new layer, and using the same techniques create a selection similar to this:
Fill this selection with: white (#FFFFFF):
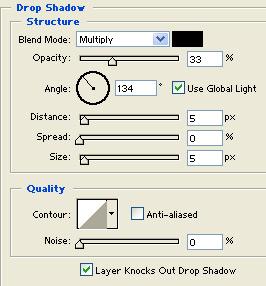
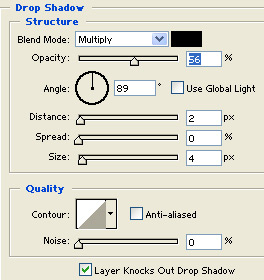
Double click the layer, and apply the following blending options:
Drop Shadow:
Result:
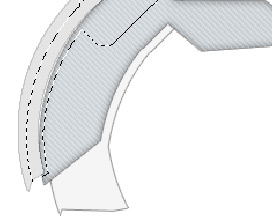
Step 11.
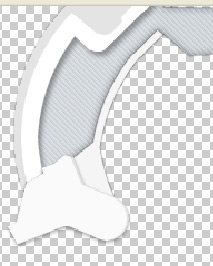
Create a new layer, and using the selection tools available, make a selection like so:
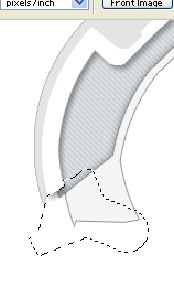
Fill the selection with #FAFAFA
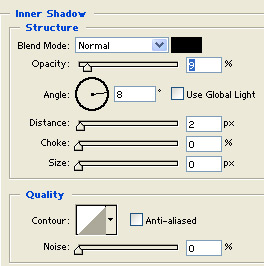
Double click the layer, and apply the following blending options:
Drop Shadow:
Inner Shadow:
Result:
Step 12.
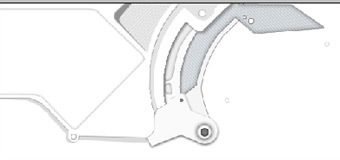
Now just continue to ad pieces with varying colors and effects. The key is to ad different blending options to each layer. You get completely different looks by adjusting the "Inner Glow", "Drop Shadow" and "Stroke" options. Here's an image sequence of the pieces I have added to this side:
New layer, with drop shadow applied:
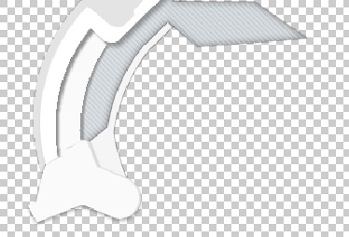
New layer, with: dropshadow, and inner shadow added:
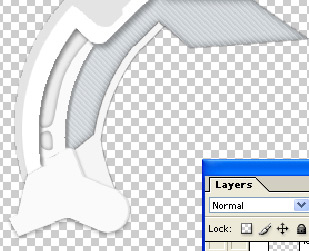
New layer, with: Stroke added:
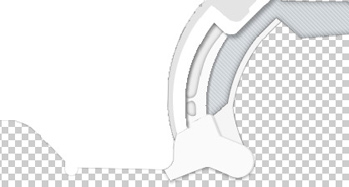
New layer, with: Inner Glow added:
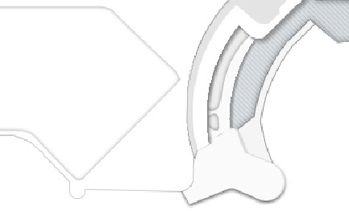
Step 13.
I've continued using the same techniques to complete this side of the image. Like I've said throughout the entire tutorial. You just continue to build new layers, and slightly adjust the color(s) used, and apply various blending options to each layer, paying attention to: Inner Glow, Drop Shadow, Stroke mainly. These types of layouts do take a long time to develop I'm not going to lie about that, but they are very easy to create, and with a little practice you'll have something similar to my final version. The blue circuit boards added to my final version are just basic shapes filled with a light shade of blue. Tech look, very easy to create. Here's what I ended up with: