


Step 1.
Create a new document of any size, I'm using 800x600 and fill the background with black (#000000).
Step 2.
Create a new layer
Tip: press Ctrl + Alt + Shift + N on your keyboard to do this quickly.
Go to Filter->Render->Clouds
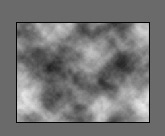
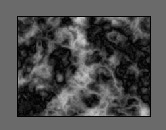
Go to Filter->Render->Difference clouds. Now press Ctrl + F on your keyboard 8 times in a row to repeat the "difference clouds" filter 8 times:
Step 3.
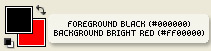
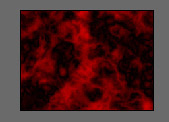
Set your background color to a bright color, I'm using a bright red here (#FF0000) and your foreground color to black (#000000)
Go to Filter->Artistic->Neon Glow and apply these setting:
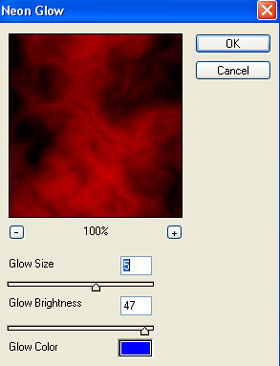
Result:
Step 4.
Go to Filter->Stylize->Glowing Edges, and apply these settings:
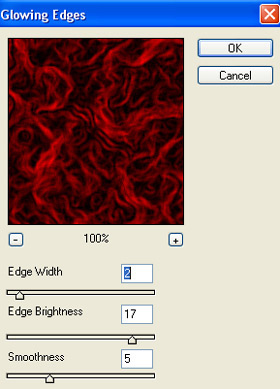
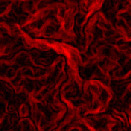
Result:
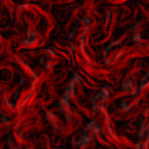
Step 5.
Go to Filter->Artistic->Plastic Wrap, and apply these settings:
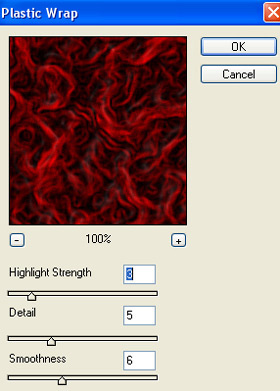
Result:
Step 6.
Press Ctrl + J on your keyboard to duplicate this layer, and change the blending option to "screen":
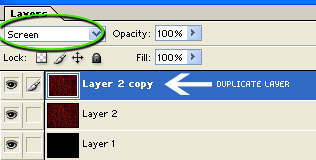
Result:
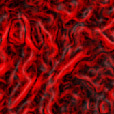
Step 7.
Press Ctrl + E to merge these two layers together. Create a new layer, and press D on your keyboard to reset your color pallet to black (#00000) and white (#FFFFFF)

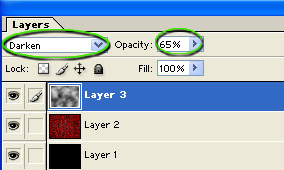
Go to Filter->Render->Clouds
Change the blending mode of this layer to "Darken" and drop the opacity down to 65 percent:
And that completes the tutorial, here's how my final result ended up after touching it up and adding some text and a little border effects:

Just have fun, and experiment with some of the settings in any of the steps. Thanks for reading!