Step 1.
Create a new document that is 778x440 in size. This is pretty much the maximum viewable window area of a computer set to 800x600. (which is what you should design most of your sites for, unless you're using "liquid css" techniques on your page). Fill the background with: #E9E9E9
Step 2.
Create a new layer, and while using the rectangular marquee tool, make a selection like so:
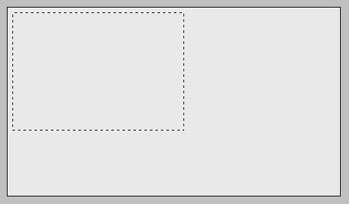
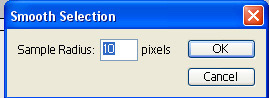
Go to Selection->Modify->Smooth with a setting of: 10 pixels
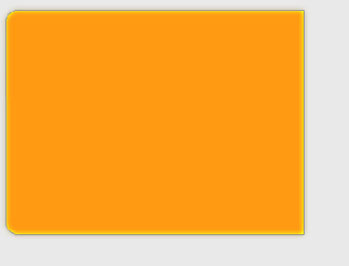
fill this selection with: #FF9A12
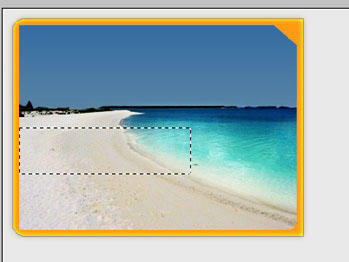
Step 3.
Now with the rectangular marquee tool, make a selection like so:

and tap "Delete" on your keyboard to delete this portion of the box.
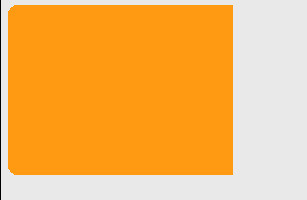
This will give us a box with rounded corners on the left side, and perfect 90 degree angles on the right.
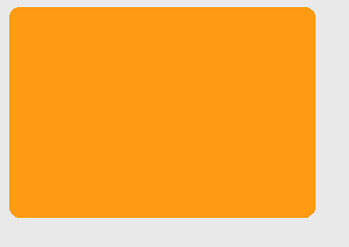
Step 4.
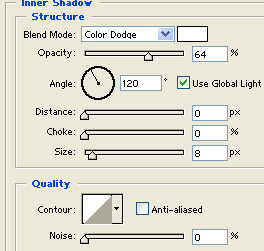
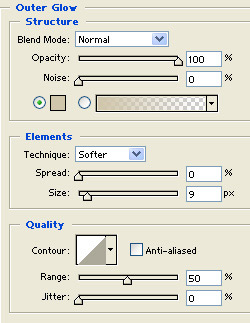
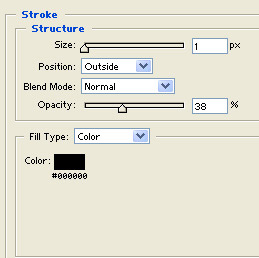
Double click on this layer, and apply these layer settings:
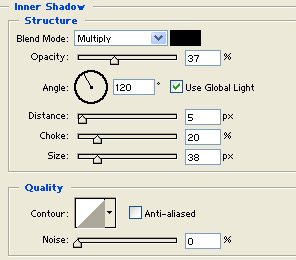
Inner Shadow
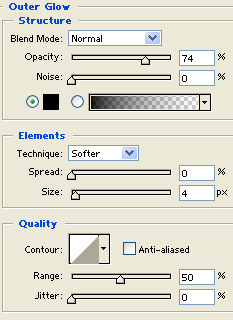
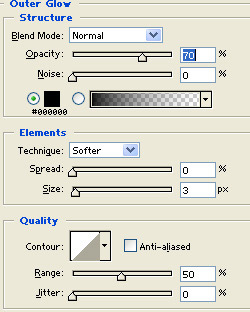
Outer Glow
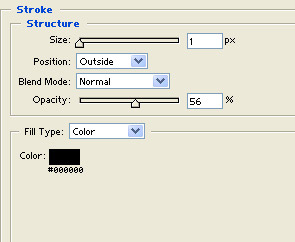
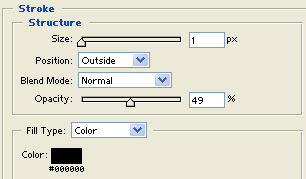
Stroke:
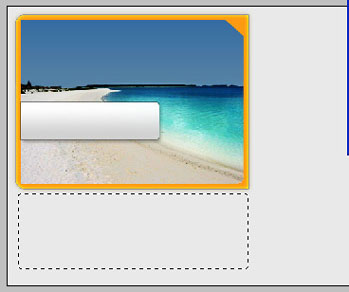
Here's what you should end up with:
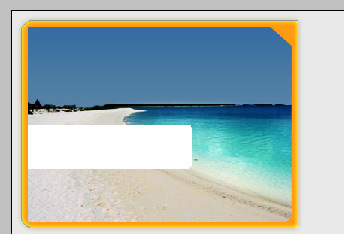
Step 5.
Next I found a nice "vacation" type photo (this one is a beach in Hawaii), and placed it on a new layer above this box. I also clipped the top right corner of the picture off with the polygon marquee tool just to add a little detail.
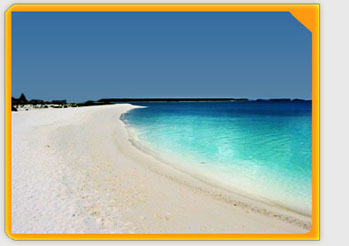
I then applied these blending options to the photo:
Inner Shadow:
Stroke:
Step 6.
Lets create an area to add a "special of the month" content box. Create a new layer, now using the rectangular marquee tool, make a selection like so, and go to: selection->modify->smooth with a setting of 3 pixels:
Fill this selection with white:
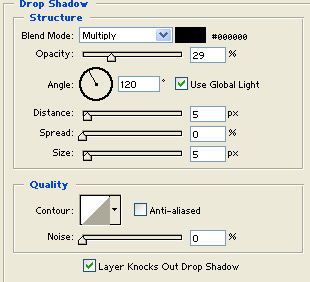
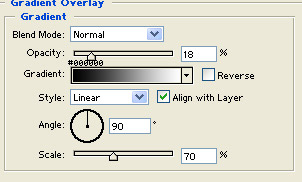
Next double click this layer, and apply the following blending options:
Drop Shadow:
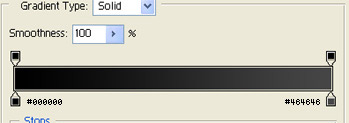
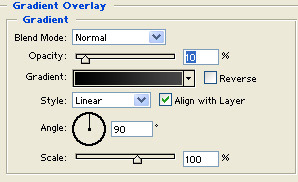
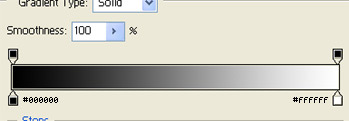
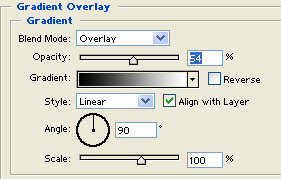
Gradient Overlay:
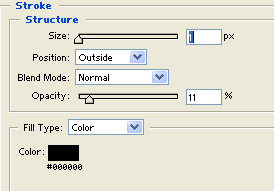
Stroke:
Here's what you should end up with:
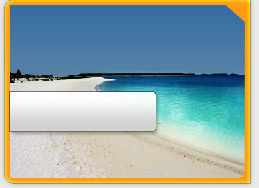
Step 7.
Next make a new layer, get out the rectangular marquee tool and make a selection like this, and once again go to selection->modify->smooth with a setting of 3
Fill this selection with #FFFFFF/white:
Double click this layer, and apply the following blending options:
Outer Glow:
Gradient Overlay:
Stroke:
Step 8.
Next using the pencil tool, set your foreground color to #000000 / Black, and draw a dashed line down the content box like so:
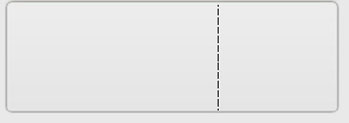
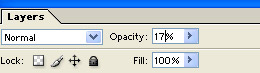
Drop the opacity of this layer to 17 percent.
Press Ctrl + J on your keyboard to duplicate this layer.
Then press Ctrl + I to invert the color. This should change the color from black, to white.
Press 'V' on your keyboard to get out the "move tool" and tap the Right arrow -> key on your keyboard once to nudge this line over to the right 1 pixel.
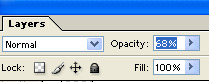
Finally change the opacity of this layer to 68 percent
Here's what you should have:
![]()
Step 9.
Next I found a stock photo of a lounge chair to add a little depth, and positioned it like so:
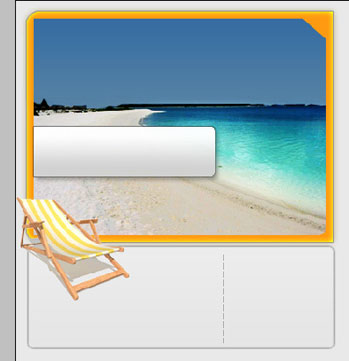
Design Tip: Notice that I have the chair facing inward toward the center of the page, as apposed to outward? Try to position images and elements in your layouts so that they drive the readers eye into your content, and not away from it.
Step 10.
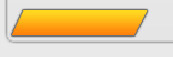
Next we'll add a button to this area, create a new layer and using the polygon marquee tool make a selection like so:

Fill this selection with: #FFAB14
![]()
Double click this layer, and apply the following blending options:
Outer Glow:
Gradient Overlay:
Stroke:

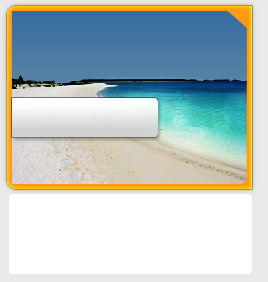
Here's what you should end up with: