


Step 1
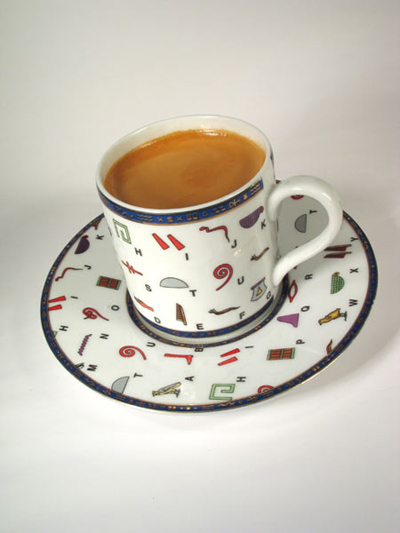
We take figure
Step 2
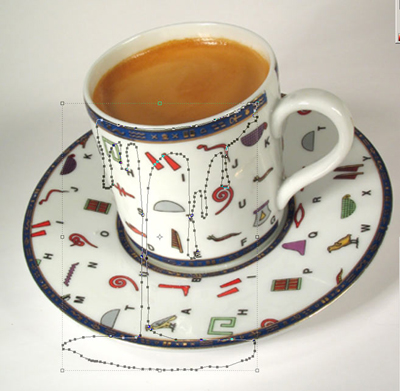
Open a photographic supplies store and first of all draw drops. For this purpose it is the best way to use the tool the Handle (P) but if you not so well own them it is possible to use and a usual brush, but with its(her) help it is difficult to create a smooth contour.
Step 3
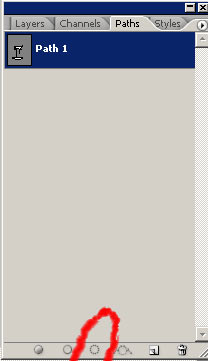
Pass to a bookmark the Path and press on the button Load a path as a choice

Have received allocation
Step 4
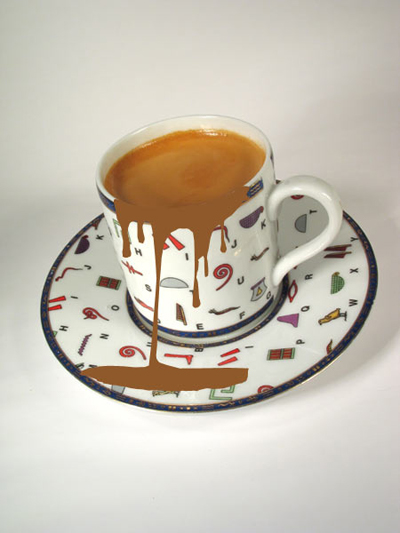
Create a new layer. Fill on it(him) allocation by color R- 143 G- 89 B- 43 (#8f592b)
Step 5
Now we prepare the image for the filter. Take tools Dodge and Burn and allocate with them dark and light sites.
Step 6
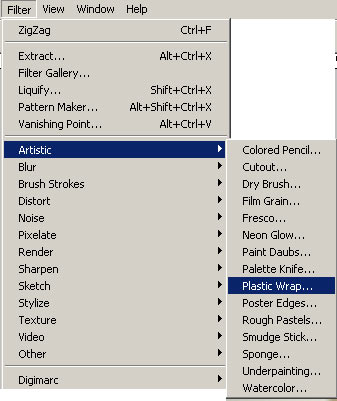
Take the Filter> Artistic> Plastic Wraps up and is tasted. You should select for a long time parameters because all depends on your image.
In this lesson parameters of the filter the following: Force of the Basic moment - 6 Detail - 10 Smoothness - 8
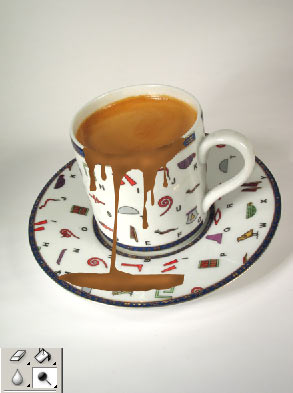
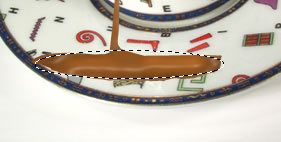
The following should turn out.
Can reduce a little influence of the filter in some areas with the help of the tool the Tool of the Brush of the History (Y).
Step 7
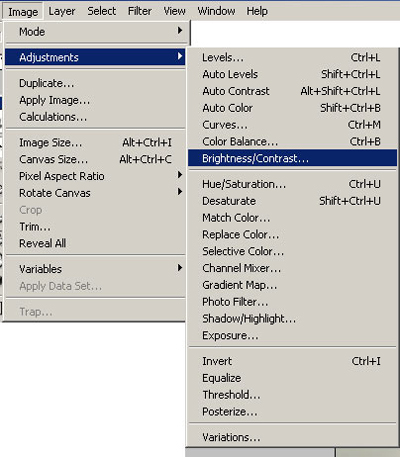
Adjust Brightness / contrast. Make the image little bit more contrastly.
Step 8

With the help of the filter the Zigzag (Filter>Deform> Zigzag) can be added the Zigzag of a few ripples. For this purpose make elliptic allocation around pools and apply the filter the Zigzag c adjustments(options): Quantity(Amount) - 15 Mountain - 9 Style - a ripples of the Reservoir
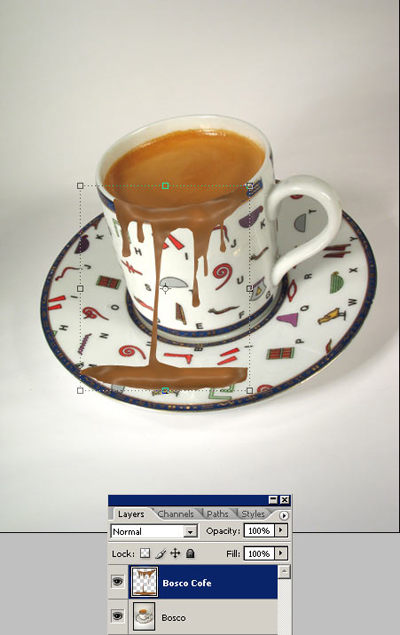
Step 9

Duplicate a layer "Bosco coffee" and we expose adjustments(options) as in figure.
That has turned out
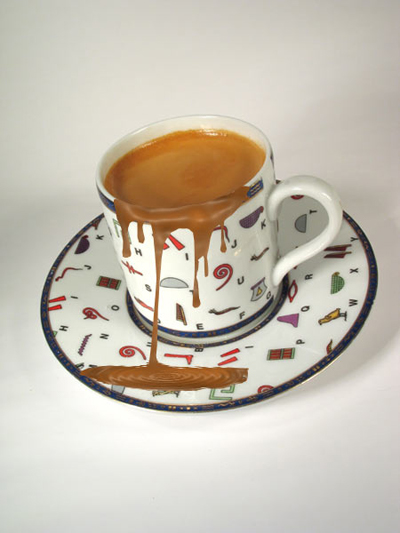
If there is a necessity it is possible to add color of coffee. For this purpose it is necessary to use the HUE (ctrl+U).