


Step 1
We open photoshop and create a file 200x200. A background white. We choose Marquee Tool (M). An obligatory condition - to draw black color not on a new layer, and on a layer with a white background.
Step 2
We remove allocation Ctrl+D.
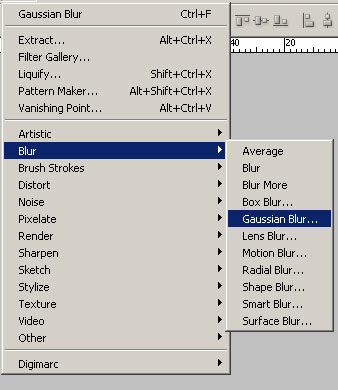
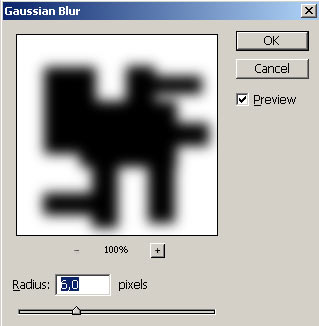
We come into option Filter>Blur>Gaussian Blur and we put value 6.
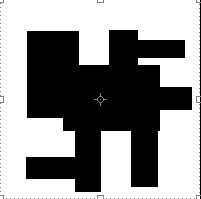
Step 3

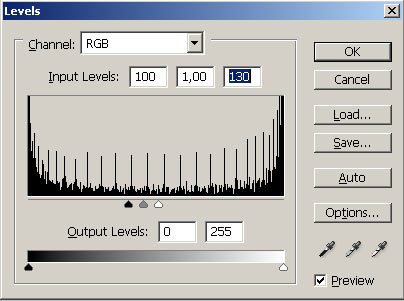
The most responsible(crucial) stroke. We choose an option Levels Image>Adjust>Levels or it is simple Ctrl+L. Also we Operate on figure. I.e. values Input Levels we put 102 - 1 - 145. Essence that two extreme arrows it is necessary to move to the center to average. If you will move, instead of will simply enter digital values - all of you will understand.
Step 4
