


Step 1.
Create a new document of any size. I used 1000 x 1000 for this example, Press 'D' on your keyboard to reset your fore/background colors to white (foreground), and black (background).
Step 2.
Press and hold: Shift + Ctrl + Alt and press the 'N' key four times.
This will create 4 new layers, so you should have a total of 5 layers now.
Step 3.
Double click the background layer, and change it/rename it to 'layer 0'.
Step 4.
Go to Filter->Render->Clouds to create some clouds on this layer.
Step 5.
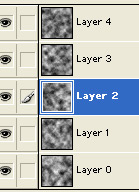
Now go to each of the other 4 layers, and do the same. Filter->Render->Clouds
There should be a different render of "clouds" on each layer. Your layer palette should look similar to this:
Step 6.
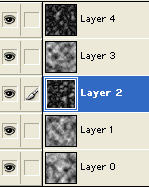
Select layer 4 (the topmost layer) and go to: Filter->Render->Difference clouds, and do the same on 'layer 2' (it should be the 3rd from the bottom). Here's how my layers pallet looks:
Step 7.
Okay next we're going to add the stained glass filter to each of our layers, with slight differences/variances in the effect.
Select layer 0 (the bottom most layer).
Go to: Filter->Texture->Stained glass
and apply these settings:
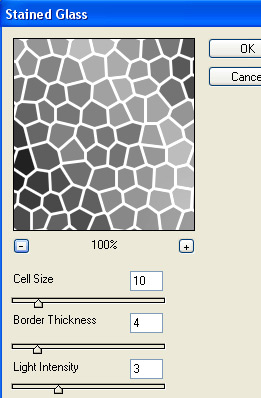
Set the Cell to 10, Border to 4 and Light to 3
Now on to layer 1:
Filter->Texture->Stained glass
Set the Cell to 15, Border to 8 and Light to 4
layer 2:
Filter->Texture->Stained glass
Set the Cell to 30, Border to 16 and Light to 10
layer 3:
Filter->Texture->Stained glass
Set the Cell to 5, Border to 2 and Light to 5
and finally layer 4:
Filter->Texture->Stained glass
Set the Cell to 10, Border to 5 and Light to 10
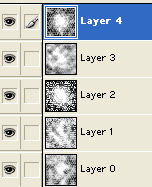
Your layer pallet should look similar to this when finished:
Step 8.
Now we'll adjust the blending options for each of the layers.
- change layer 4 to "multiply", and set the opacity to: 65 percent
- change layer 3 to "multiply", and set the opacity to: 86 percent
- change layer 2 to "multiply", and set the opacity to: 44 percent
- change layer 1 to "overlay".
- leave layer 0 as it is "normal".
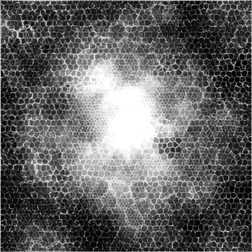
Your image should look something like this now:
Step 9.
The only thing left to do is add color to your image.
Do this by going to each layer, and pressing Ctrl + U and adjusting the Hue, Saturation, Lightness settings to your liking.
Note: just make sure you check the colorize box each time.
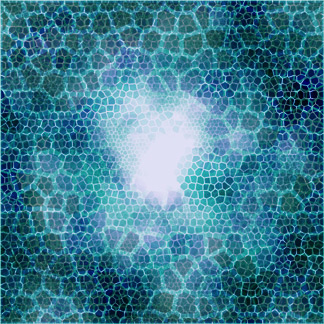
Here's the image I came up with after playing with the color settings a little using various hues of aqua blue:
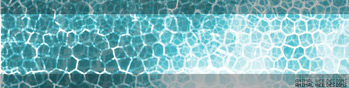
These are also great for sig/banner backgrounds too:
Enjoy and have fun!!