

Step 1.
Create a new document of any size, l used 300x300. and fill the background with a medium grey, l used #626262
Step 2.
Using the rectangular marquee tool, make a square selection for your button. Then go to "select->modify->smooth" and apply a setting of 1 pixel
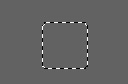
Step 3.
Fill this selection with white:

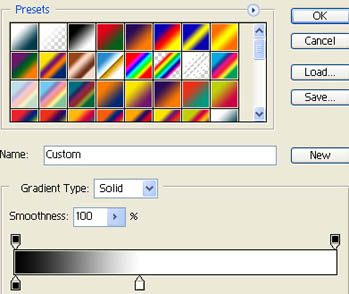
Step 4.
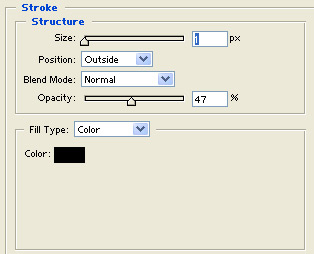
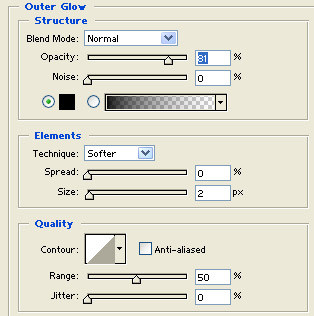
Next apply the following blending options to this layer by double clicking on the layer:
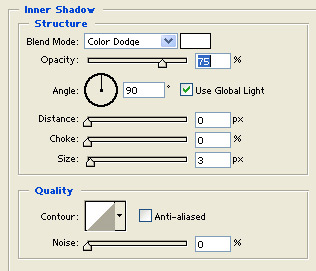
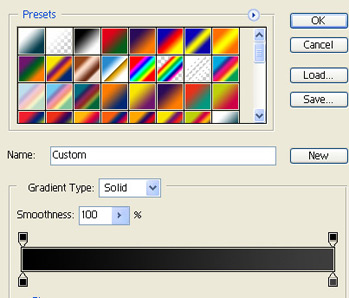
Colors used for gradient are:
#000000 on the left
and
#3E3E3E on the right
Heres what you should end up with:

Step 5.
Next we'll apply the button's function icon. Here l'll use the universal icon for "italicize" with a white color:

Note: If you're not comfortable creating your own function icon's, might l suggest a great designer resource: Websiteicons.com has a massive selection of website icons at an affordable price.
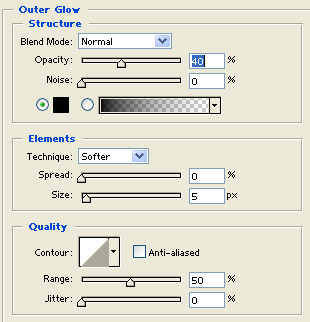
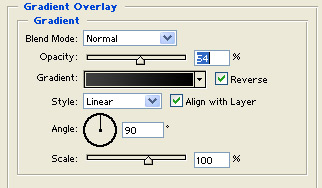
Step 6.
Apply these blending options to this layer
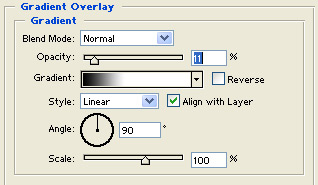
Colors used for gradient are:
#000000 on the left
and
#FFFFFF on the right
Here's what l ended up with

Step 7.
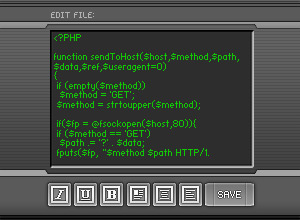
And that's all there is too it, just duplicate the original button layer, and apply each of your CMS icons over top of the buttons. Here's what an actual application of the CMS button usage looks like with a little window dressing:
For great website icons at an affordable price (similar to the ones used in this very tutorial) check out: www.websiteicons.com. I highly recommend their service.