Step 1.
Start with a new document that is 500x500 and fill it with black (#000000)
Step 2.
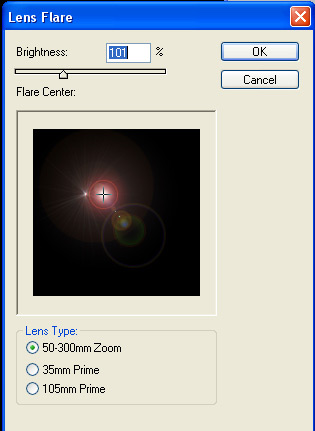
Go to Filter-Render-Lens flare and apply these settings:
Step 3.
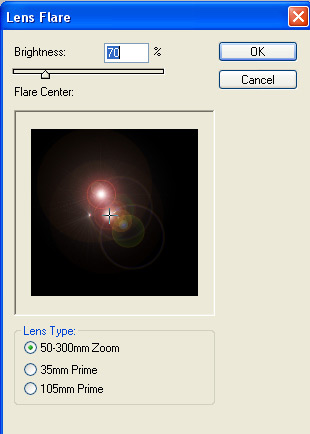
Next apply a smaller lens flare, using these settings:
Step 4.
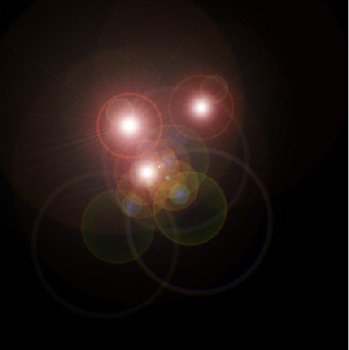
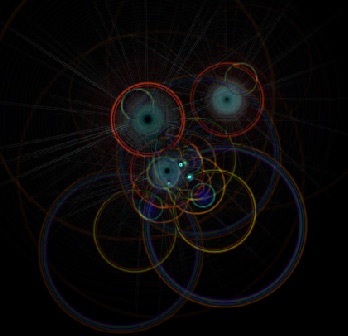
Apply one more lens flare with the same settings, here's what you should have so far:
Step 5.
Next go to: Filter->Stylize->Find edges.
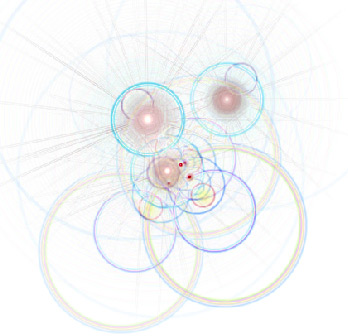
Step 6.
Then press Ctrl + I to invert the colors
Step 7.
Next press Ctrl + U and apply these settings.
Note: make sure 'colorize' is checked
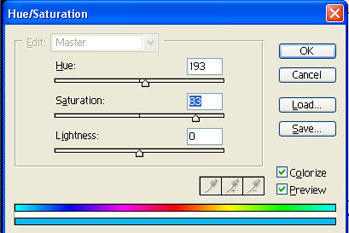
Here's the result so far:

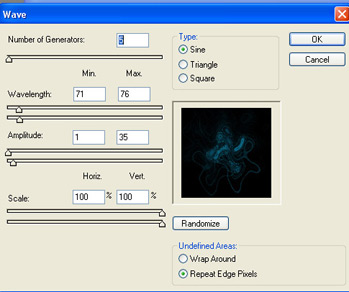
Step 8.
Next go to: Filter->Distort->Wave and apply these settings:
Step 9.
Right click on this layer, and select "duplicate layer" and change the blending option to "screen".
Step 10.
Go to: Edit->Transform->Flip vertically
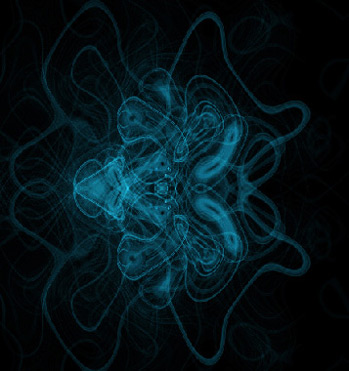
Step 11.
Press Ctrl + E to merge these two layers. and go to:
Image->Apply image
and use these settings:
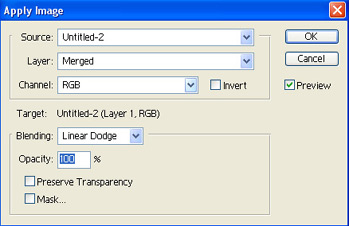
this should lighten up the highlights a bit.
here's what I finished up with: