Here we will use specially blending options of layer.
1. Open a new document in Photoshop of any size (here I use 640 / 480 px) and fill with Gradient Color (Foreground = #74a6d7 and Background = #3e679b color).

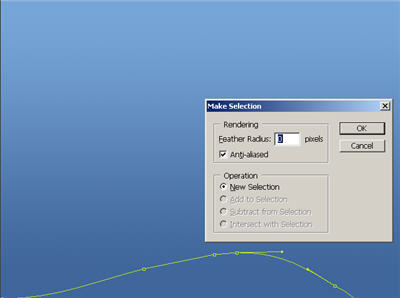
2. To add a nice grass to your canvas, create a shape using Pen tool as shown then Right-click > Make Selection then apply the settings as shown below:
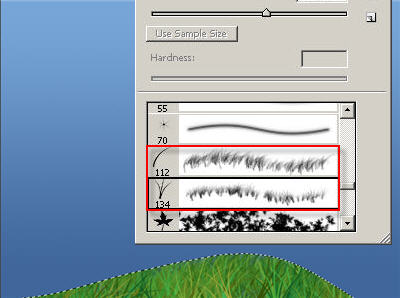
3. Now create a new layer then using Brush tool (set the Foreground #78b943 and Background #0f4b00 color) apply in the selected area. Use the combination of two brushes as shown below to create grass.
4. Now to add railway track Ctrl + Select the Grass layer and go to Select > Modify > Expand by 20px. Fill with #414141 color on a new layer. Again Ctrl + Select the grass layer and with the new layer selected press Delete.

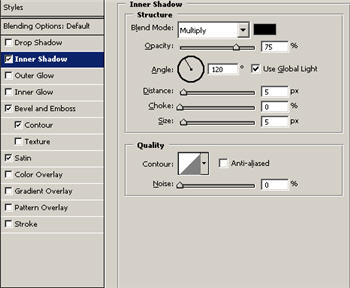
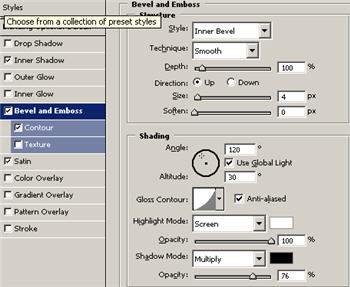
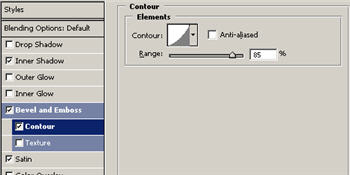
5. Right-click on the new layer and select Blending Options (or double click on the layer). Select the options as shown below:
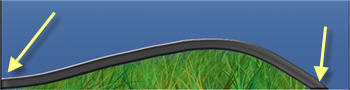
6. Then press the Down Arrow 2 times to hide the unwanted areas.

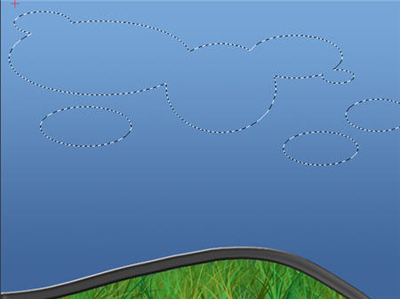
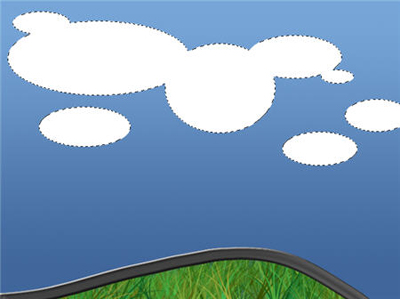
7. Now to create cloud press Shift + Elliptical Marquee tool create shapes as shown and fill with White color on a new layer.
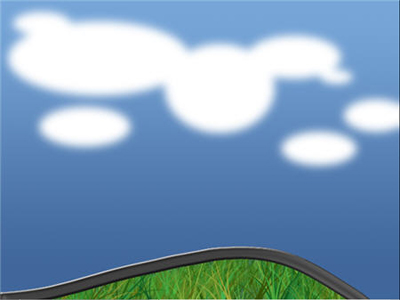
8. Then press Ctrl + D to deselect and go to Filter > Blur > Gaussian Blur = 7%.
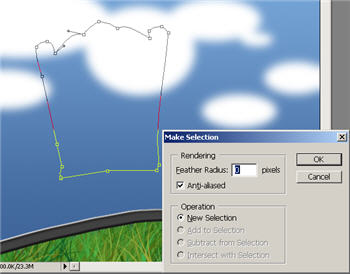
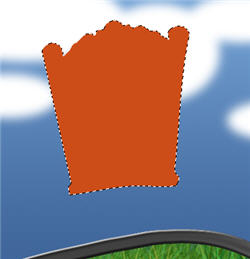
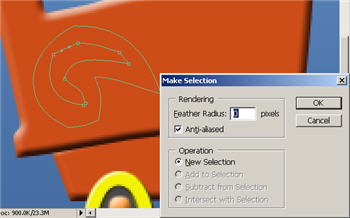
9. To create a frame for the Scrapbook I use Pen tool make a shape as shown, then right-click on it select Make Selection. Select the options as shown below:
10. Create a new layer and fill with a nice color (Here I use #d24a18). Now create a rectangle using Polygonal Lasso tool in the middle of the new shape then press Delete.

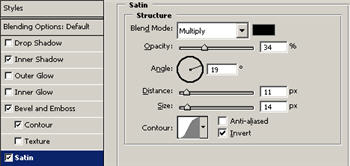
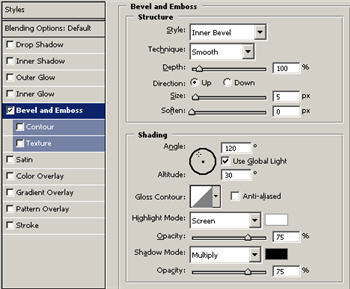
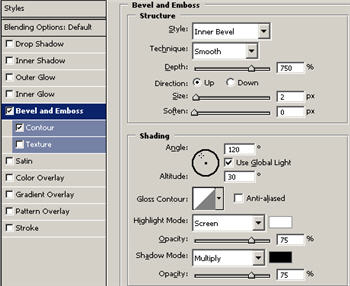
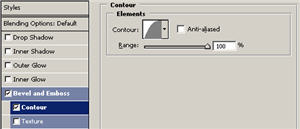
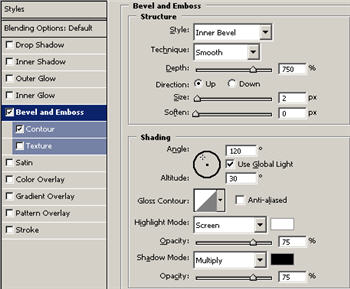
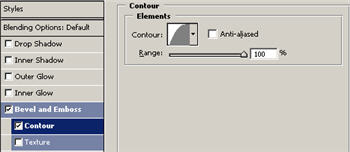
11. Press Ctrl + D then double-click the shape layer and apply the Blending Options as shown below:

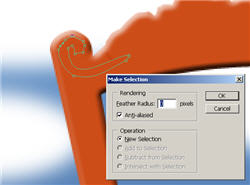
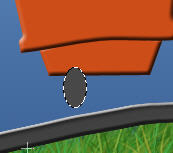
12. With Pen tool create a shape as shown on the left hand of the frame then Right-click > Make Selection> select the default options.
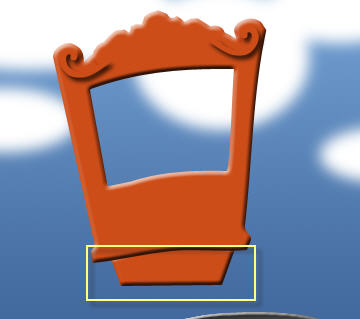
13. Fill with desired color on a new layer, set Fill = 0% then double-click the new layer select default Drop Shadow options.

14. Duplicate the new layer go to Edit > Transform > Flip Horizontal then place it on the right site of the frame.

15. Create a new shape by following the above steps and place it just below the frame layer.
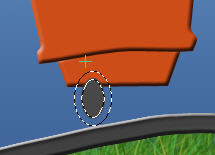
16. Now to add wheel to the frame create a circle using Elliptical Marquee tool and fill with a dark color on a new layer (here I use #494848). Go to Select > Modify > Border = 10px.
17. Now fill with a light color on new layer (here I use #f4f104) then double-click the new layer apply the settings as shown below:

18. Now duplicate the layers and place it on the opposite site. Put dots on both the wheel and apply the default blending options.

19. Now create a shape as shown using Pen tool then right-click > Make Selection then click on OK.
Fill with a nice color (here I use #ff993b) on a new layer, apply the Blending Options as shown below:

20. Similarly create different shapes by applying same blending options with different color. For your convenience unite all the layers, forming in a group.

21. Duplicate that Group apply Free Transform selection where it is necessary to turn it. Place it on the right site of frame.

22. Place two circle shapes on the middle of the two figure. Remember this steps because same steps can be helpful in representing the next image.

23. I create more shapes by following the above steps and place it on the top of the frame.
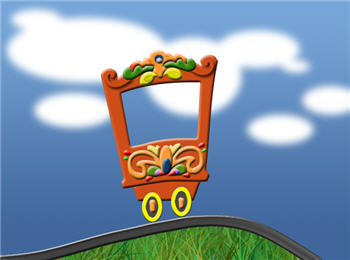
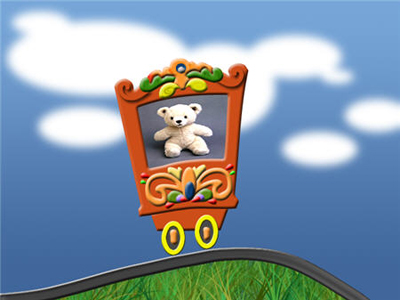
24. Now we're very close to being finished. Finally put your desired image just behind the frame layer. Your finished image should look something like this: