This Photoshop tutorial teaches you to create a Professional corporate business website banner or logo. The dimensions used in this tutorial is : width 300px, height 150px and resolution 72px. This tutorial clearly demonstrates the use of Custom Shape Tool. You will also learn the techniques to create Logo using simple mathematical shapes.
Create a new document of dimension 300x150px with background color as #eaedf3.

Select the custom shape tool (U) and from the shapes select the triangle shape and drag the cursor on the document to create a triangle. You can use any color for the background. I have used #747578. Then right click the shape layer from the layer palette and rasterize the layer. Name the layer as Triangle1.

We will then add the following layer effects to the triangle layer. Right click on the Triangle1 layer in the layer palette and select Blending options:
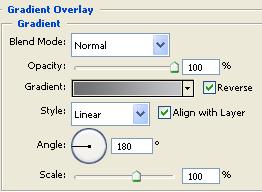
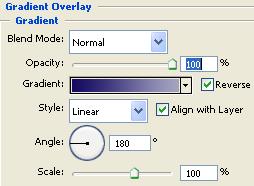
Gradient Overlay : First select the Gradient overlay style from the Blending options palette. Set the gradient colors from #c2c4c9 to #6c6e70 and set other options as shown in the image:
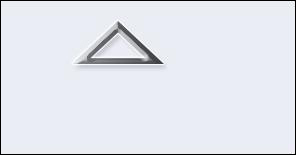
The Image should appear like:

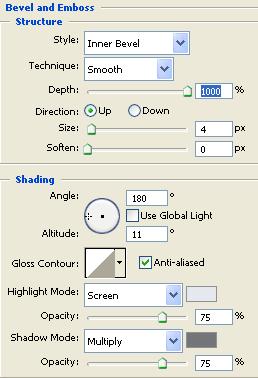
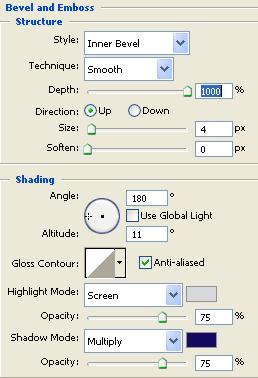
Bevel and Emboss : Select the Inner Bevel from the Bevel and Emboss style with Highlight mode and the shadow colors as #e5e8ee and #747578 respectively. Set other options as in Image:
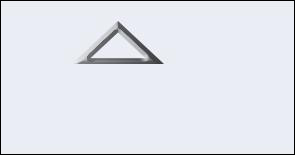
The Image should appear like:
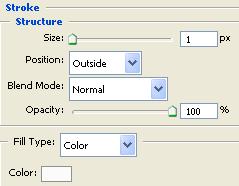
Stroke : Select the Stroke option and set the size as 1px, color as #ffffff and position as outside.
The Image should appear like:
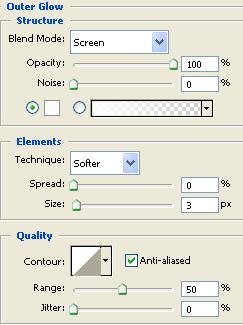
Outer Glow : Set the outer glow color as #ffffff.
The Image should appear like:
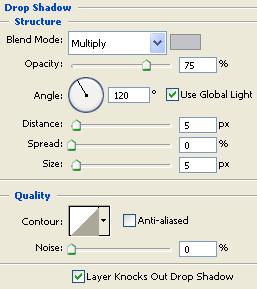
Drop Shadow : Finally select the drop shadow style and set the shadow color to #c1c3c8.
The Image should appear like:
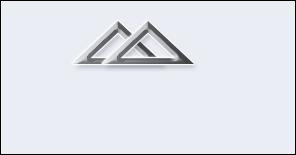
Duplicate the Triangle1 layer, press shift + right arrow 3 times to move the image to right, name it as Triangle2. You should have the image like below:
Make changes only to the following styles and leave the rest of the styles as such:
Gradient Overlay : Set the new Gradient colors from #a5a4c2 to #150a60.
The Image should appear like :

Bevel and Emboss : Only change the colors of the Highlight and the shadow mode as #d7d8db and #150a60.
The Image should appear like :

Once again select the custom shape tool and select the fill circle and drag on the document to draw a circle as shown in the image:

Rasterize the layer and name it as Circle. Right click the Triangle2 layer in the layer palette and select Copy Layer Style then select the Circle layer in the layer palette, right click the layer and select Paste Layer Style.

Now that we have created a logo next we will create company name. Using text tool type the Name of the Company. I have used the name Global Networks. First we will type the letters Global. Copy the layer style of the Triangle1 and paste it to the Global layer. From the layer styles remove the Bevel and Emboss and the Gradient overlay and add color overlay with the color #6c6e70.
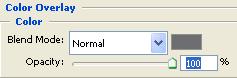
The Image should appear like :

Next create another text layer with the word Networks. Copy the layer style of the Triangle2 and paste it to the Networks layer. Remove the Gradient overlay and the Bevel and Emboss style and add Color overlay style with the color #191452.
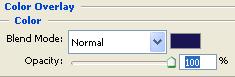
The Final Image should appear like :