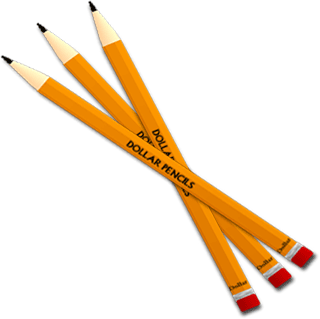
1. Start with your new document and Create a New layer. Select Rounded Rectangular tool and set its radius up to 5 PX and draw a pencil shape. Select your Pencil shape. Create new layer and set foreground color to #FF9900 and background color to #CC6600.Fill the selection with linear gradient tool from top to bottom.
![]()
Go to Filter>Pixelate>Mosaic
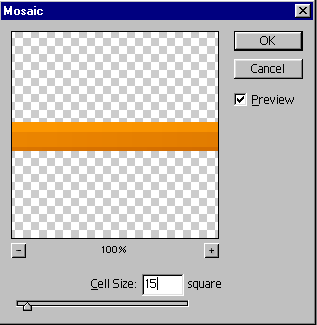
After applying Mosaic filter, Your image should look like this:

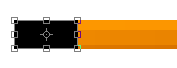
2. Now again select Rounded Rectangular Tool and set its radius to 2 Px. Draw a small rectangular at the end of the pencil like this:

Now select Linear gradient tool and set your gradient color like this:

Select it and fill with linear gradient tool from top to bottom.
3. Now again select rounded rectangular tool and set its radius to 5 PX. Draw

Rasterize the layer and select it. Select linear gradient tool and use the following gradient:

Fill the selection with linear gradient tool.
4. Create new layer. Select marquee tool and draw a rectangle at the other end of the pencil to make a pencil nip. Press Ctrl+ T to transform the layer, right click and select "Perspective". Merge the two upper left and right points to the middle like this:

5. Set your foreground color to #FFFFCC and background color to #FFCC99. Select the nip shape and fill it with linear gradient. Now Zoom the nip area up to 300% and with the help of pencil tool from the tool bar, with brush size of 1 PX, Fill it so it will look like a pencil carbon.
![]()