This Tutorial shows you how to create the side view of an ipod which is on the box art of ipods and is used to show how thin apples sleek ipod is.
Step 1.
Start a new document that is 100 pixels wide and 400 pixels tall. Select the rounded rectangle tool and input these settings.
Step 2.
Draw a figure about this size.

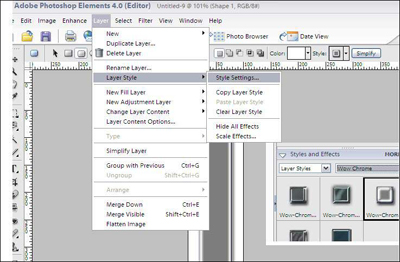
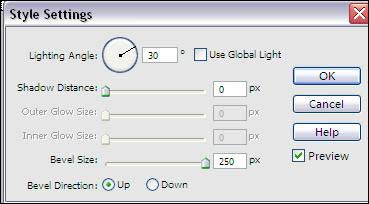
Open the styles and effect window and apply a "Shiny Edges" chrome effect, and input these settings.
Step 3.
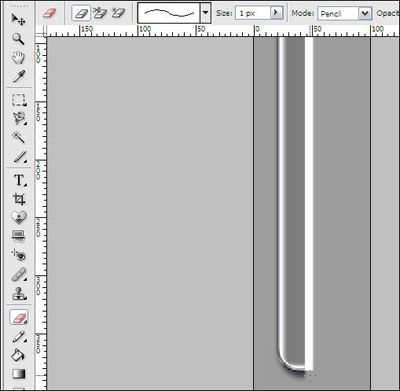
Simplify the layer.
Take the rectangular marquee tool and select everything up until the spot where it stops curving.
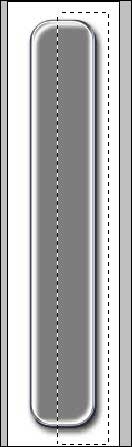
Delete this selection.
Step 4.
Create a new rectangle and resize it to be thin and match it up to the chrome measurements. (This rectangle should be the top layer.) line the rectangle up with the chrome strip so it slightly overlaps.
Step 5.
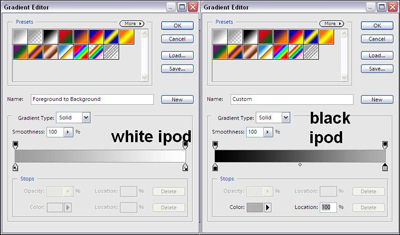
Using the magic wand, select the rectangle and use the gradient tool. if you want a white ipod, use a white-to-light grey gradient, for black use a blake-to-dark grey gradient.
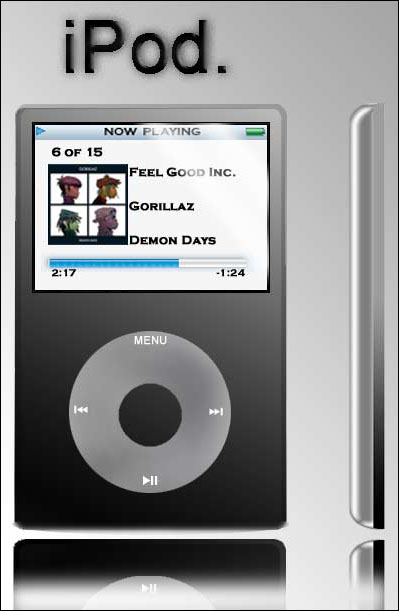
This is the final product of the white one
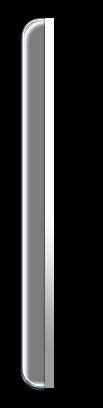
and the same technique used in a fake black ipod ad I made.