

1. Open the picture you want to work with and click the quick Mask tool in the toolbar.
2. Use the paint bucket to fill the mask and draw a selection with the Marquee tool. Press delete and deselect. These are the basic steps, and you can now use almost any filter to apply cool edge effects.
3. Apply the Filter > Distort > Glass filter and press "Q" (edit in standard mode)
Select inverse and press delete.
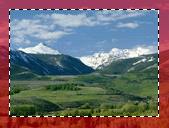
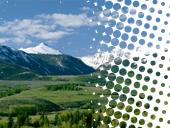
This was made with Filter > Pixelate > Color Halftone
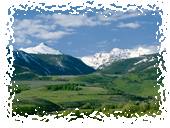
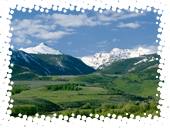
This was made with Filter > Distort > Ripple
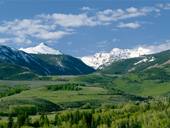
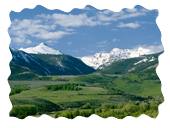
Here I used the gradient tool on the mask. Black foreground and white background.