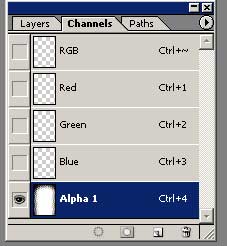
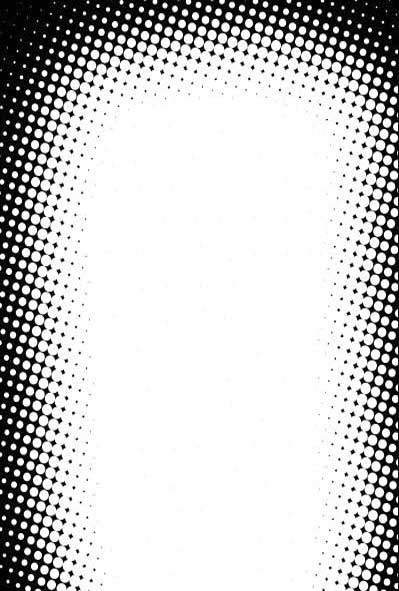
Create a new layer. Go to the channels panel and create a new channel (it should be called alpha). You want to take a white brush and color the approximate area of the person of this alpha channel. Gaussian blur the channel to a fairly decent amount. Go to Filter> Pixelate> Color Halftone (you should have the effect below). Set it to default and set the pixels to anything from 11 to 20. Select all on the alpha channel by command-a for the mac or ctrl-a for the pc. Edit>Copy the channel to a new layer.
Create a new layer and create a vertical gradient. I made mine yellow to red. Set this to the top layer.

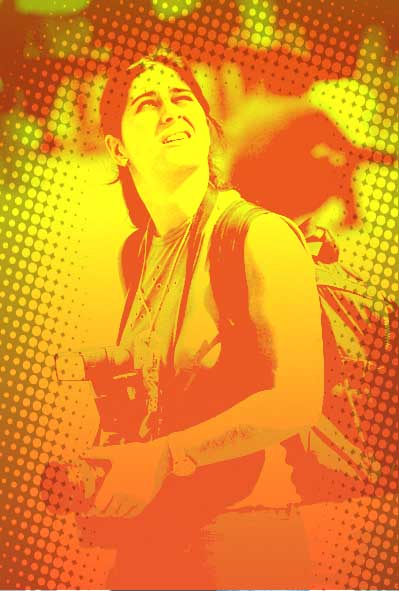
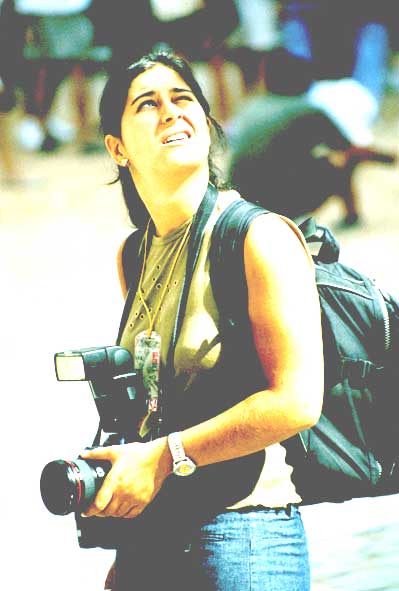
Go back to the photo layer and go to Image>Adjustments> Levels. Basically drag the white slider to the middle and then drag the grey slider next to the white slider.
Now set the gradient to Pin Light. Set the retro dots to Linear Burn at 30% opacity.