Here are the source files.
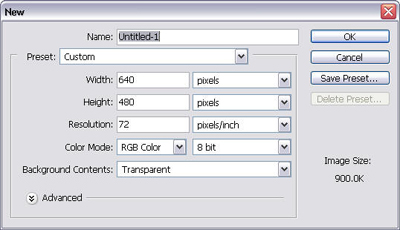
1. Create a new document. The size is 640 x 480 this time, because the source files are 640 x 480 images.
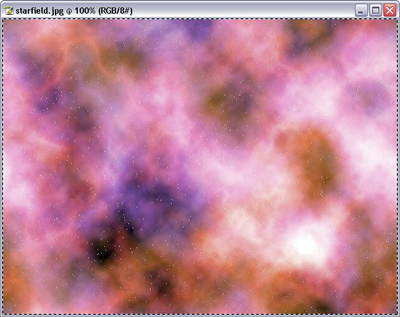
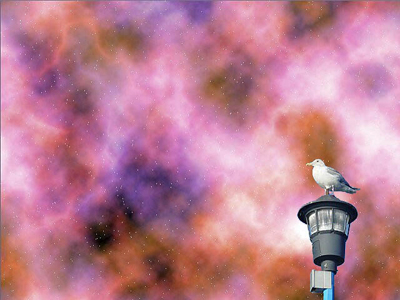
2. Go to File -> Open and select Starfield.jpg and Seagull.jpg.
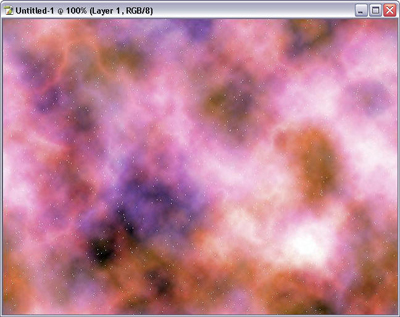
3. Go to Starfield.jpg window and Press [Control + A] to select everything.
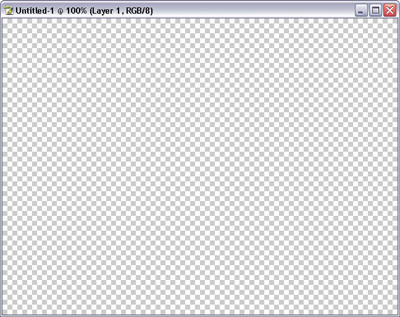
4. Press [Control + C] to copy the image to the memory and select Untitled1.psd file (blank 640 x 480 image) you have created.
5. Press [Control + V] to Paste the Starfield image into Untitiled1.psd.
6. Go to Seagull.jpg window, and Press [Control + A] to Select all.
7. Press [Control + C] to copy the image to the memory and select Untitled1.psd file and press [Control + V] to paste it to a new layer.
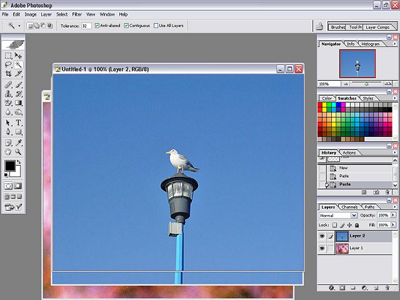
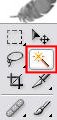
8. Select Magic Wand Tool, and click the blue background.
9. Press 'Delete' Key on your keyboard to delete the background.
10. Press [Control + D] to deselect. (You could use magic wand tool to remove the blue background between the sea gull's legs, if you like.)
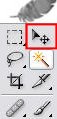
11. Select Move Tool and move the sea gull to any place you like.
It's done. Now we have a space sea gull. =)
Good luck.
On the next tutorial, we'll be making a Vector Mask image like below.