


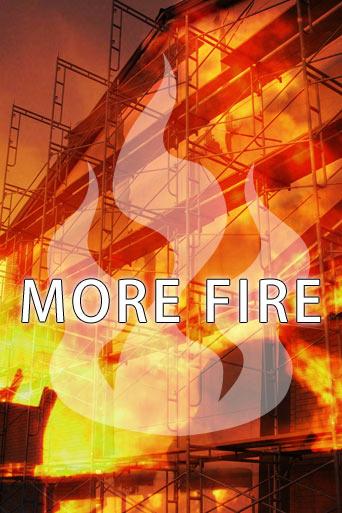
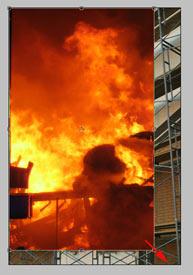
Learn how to blend an image (a construction site in this case) with a fire image to make it look like it's on fire.
Somebody asked me to help him come up with a cool graphic for a project he was doing, the theme of which was fires on construction-sites. We sat for ages searching through the stock photo sites trying to find such a picture but had no luck. Of course, there were plenty of pics of construction sites and *loads* of pics of fire, but none of an actual construction site on fire. This got me thinking - why not combine the two to make the picture myself?
Now, the principles of this this will of course work with different types of pictures - not just construction sites, so feel free to work with something else :-)
Alright, let's get started now.
Step 1
Choose your photos
The first thing you need to do is choose your photos. I bought a couple from iStockPhoto for this project. You can save & use the following images for this tutorial if you want, or pick two of your own images.
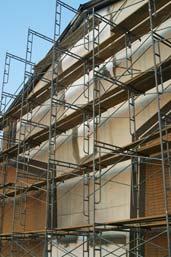

It's important that the size of your fire picture is large enough to completely cover your chosen main picture. This will become more apparent soon.
Step 2
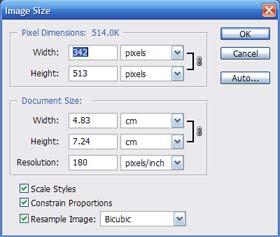
Resize your main image
Particularly if you've acquired a picture from a stock photo website, you'll need to resize the image to suit your project. So, open up the image in photoshop then choose Image > Size. Set the width or height to the desired value and be sure to tick "constrain proportions" which will keep the resized image in proportion with the original without distorting its aspect.
Step 3
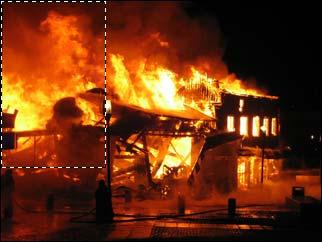
Make a selection from your fire image
Open up your fire image in photoshop and make sure you set the zoom level such that you can view the entire image on your screen without scrolling. If necessary, right-click on the image with the zoom tool
![]() and choose "fit on screen".
and choose "fit on screen".
Next, use the select tool
![]() to draw a rectangle around the area of fire that you plan to use. On my image i avoided the areas that had details of an existing background - remember, we're only interested in the actual fire!
to draw a rectangle around the area of fire that you plan to use. On my image i avoided the areas that had details of an existing background - remember, we're only interested in the actual fire!
Once you've made your selection, press ctrl+c on the keyboard (or Edit>Copy).
Step 4
Paste the fire into your main image
Now, focusing back on your main image, you need to paste the fire area that you just copied. First, select the Move Tool
 and choose Show Bounding Box
as we'll need that in a moment.
Next, click on your main image to make sure it's in focus then press Ctrl+V (or Edit> Paste). This will drop the fire straight into the image.
Use your move tool at one of the corners of the fire image to manually resize the fire taking care to make it fit entirely over your main image. It should completely cover the main image.
Step 5
Change layer blend mode
If you don't already have the layers palette open hit F7 on your keyboard (or select Window> Layers) to open it.
Locate the blend mode drop-down box and scroll through the list until you find a mode that works for you. I found that "Multiply" and "Hard Light" had a good effect for this. If you find the effect too strong, change the fire's layer opacity.
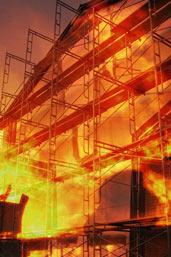
Completed
Okay, we're pretty much done - just add some text if you need to and perhaps a standard photoshop shape and voila!
Experiment with different photos and see what you come up with - the key to this tutorial is playing with the fire's layer blend mode to achieve the effect. Have fun!