
This tutorial will teach you how to use Clipping Masks.

Step 1
Make a new document any size, for this one I made it at 1680px x 1050px.
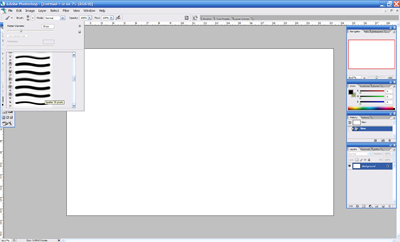
Select a brush any basic one. I choose the splatter 59 pixel. Basic brush that comes with photoshop.
Step 2
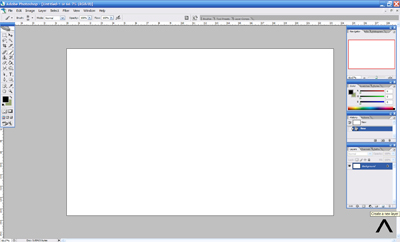
Create a new layer, if you don't know how there's a arrow pointing to the icon you click to make one.
Step 3
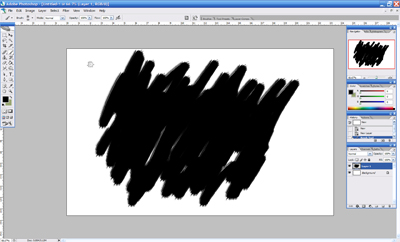
Now on layer 1 [layer you just made], Make any type of shape you want.
It can be as random as the one you see on the screen shot.
Step 4

Now create two more new layers.
Step 5
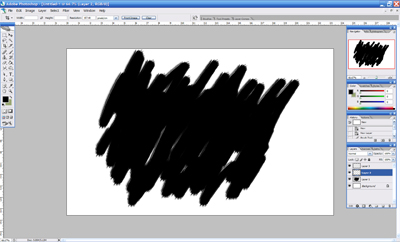
Go on to your layer 2. As highlighted in the screen shot.
Step 6
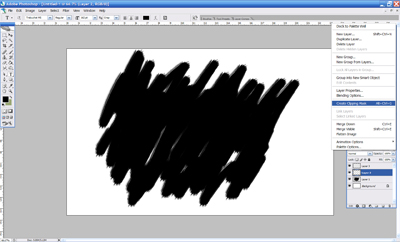
Now on your table that has your layers and such in. There's a arrow that looks somewhat like a play button?
Its right under the exit "x" click on it and as seen in the screen shot click on the "create clipping mask" [ alt + ctrl + G ]
Example of what your table should look like now
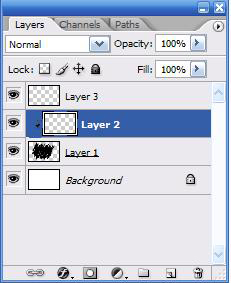
See how there's a arrow now going pointing down to layer 1.
Which means what ever you put in to layer two will only show in the shape you made on layer 1.
Step 7
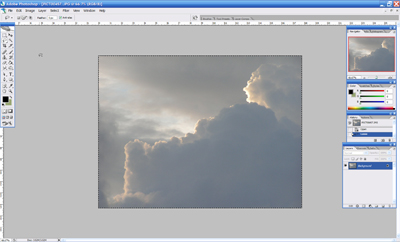
Open up the image you would like to use in the shape you made earlier.
For this I will choose a photograph I took a while ago.
Use to the lasso tool and go around the whole image and once you have it press [ Ctrl + C ]
To copy the image.
Step 8

Now go back to your shape you made, and go to layer 2 with the arrow pointing down.
And press [ Ctrl + V ] and the image should come up. You can use the move tool to position it where you want it to be.
Completed