

Hi and welcome back to one of my tutorials! We'll start right away...
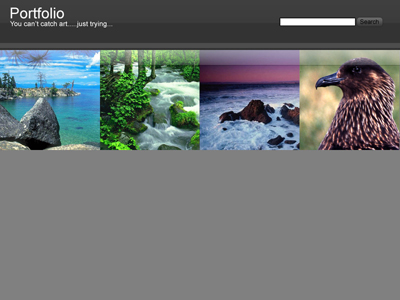
Start with a 800x600 document and use #808080 as your background color.
Make a new layer and create a 800x100 rectangle on the top of your document. Fill it with #333333.

Now add a logo and a slogan. I used this simple text (Font: Arial):
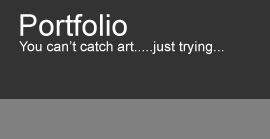
when that's done, make a new layer and create a 800x10 rectangle on the bottom of your darkest rectangle, then fill it with #4D4D4D:
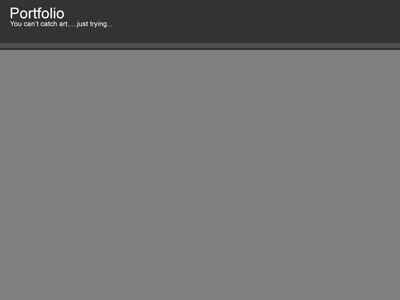
Ok, now select half of your darkest rectangle on a new layer and fill it with white. Lower the opacity to 6%.

Now paste images underneath your darkest rectangle. I used four 200x200 nature images, like this:
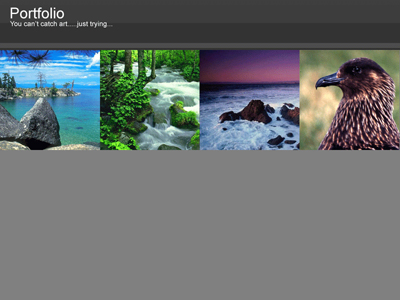
Make a new layer. On the top of the images you've just added, make a 800x30 selection and apply a "white to transparent" gradient, like this:
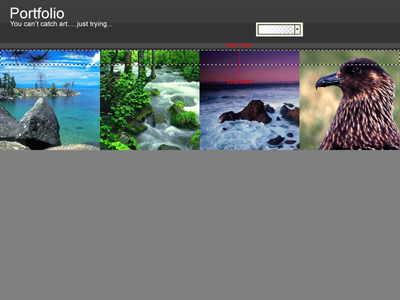
And you're done! Just add some extras, I used a search bar. Here's my final result:
Thanks for watching and I'll see you all next time!