


Step 1.
Create a new document in photoshop of any size. For this tutorial I will be working with a 700 x 300 document.
Fill the background with black (#000000).
Step 2.
Press Ctrl + Shift + Alt + N on your keyboard to create a new layer.
Get out the Text Tool (
 ) and set it up as I have done here:

The font I used here is called "Falcons Font", and can be downloaded free by clicking here.
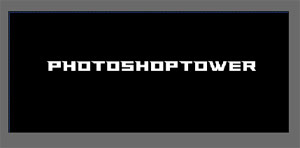
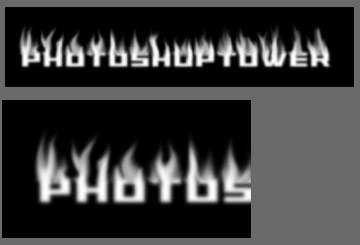
Type your text out, near the center of the canvas as I have done here:
Press Ctrl + J on this layer and name the layer "Top Text", we'll refer back to this layer later in the tutorial.
Step 3.
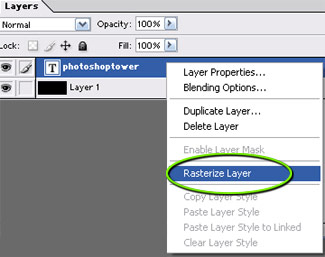
Right click on the new text layer, and choose "Rasterize".
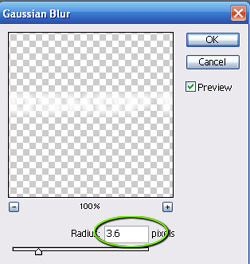
Go to Filter->Blur->Gaussian Blur using the following settings:
Result:

Step 4.
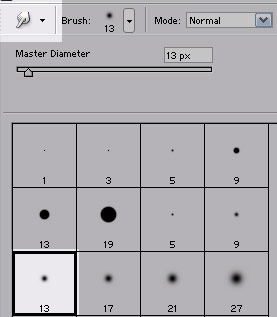
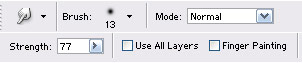
Select the Smudge Tool (
![]() ) and choose a 15px Soft Brush, as I have done here:
) and choose a 15px Soft Brush, as I have done here:
Apply the following settings:
Press F5 on your keyboard, and add the following changes to the brush settings:

Next lightly brush around your text layer as I have done here, this will later create the flame effect.
Step 5.
Press Ctrl + J on your keyboard to duplicate this layer. Go to Blur->Motion Blur and apply the following settings:
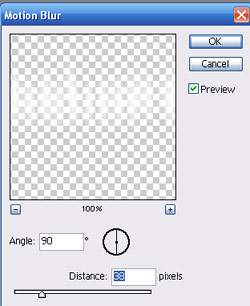
Result:

Step 6.
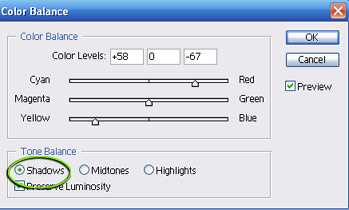
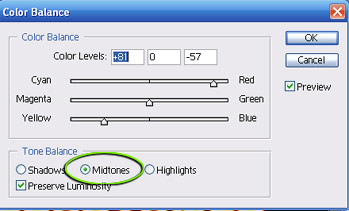
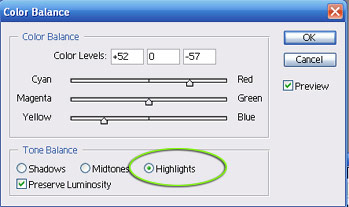
Go to Layer->New Adjustment Layer->Color Balance, and apply the following settings:
Shadows:
Midtones:
Highlights:
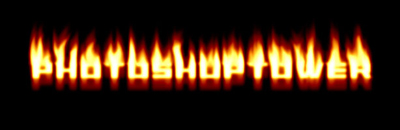
Result:
Step 7.
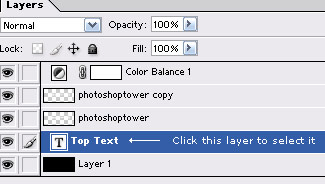
Go back to the duplicate text layer named "Top Text" that we created in step #2.
Click this layer in your layers pallet and drag it to the very top, so it rests on top of everything else.
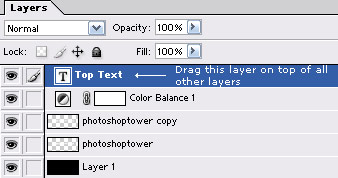
Result:
Step 8.
Double click this layer, and apply the following blending options:
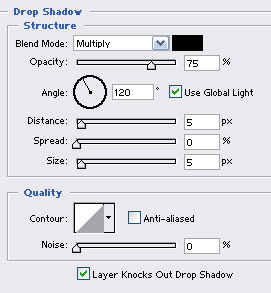
Drop Shadow:
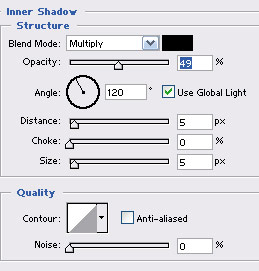
Inner Shadow:
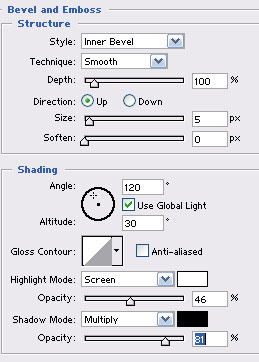
Bevel & Emboss:
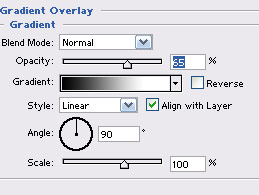
Gradient Overlay:
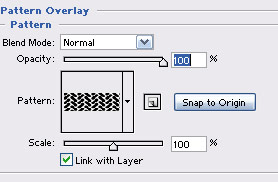
Pattern Overlay:
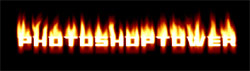
Result:
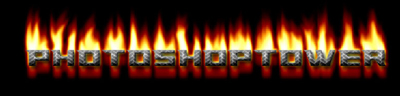
Here is my end result after adding a border around the piece, and applying the same settings to the border used in step #8.
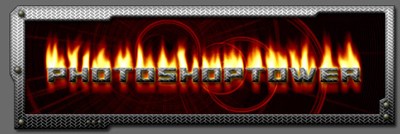
You can also see that I added a little background effect to the piece as well here to help enhance the effect. Click here to read the tutorial on creating this effect.