

Learn how to create a soccer logo by following this step-by-step guide. In this tutorial we will use Pen, Brush, Marquee tools, Custom shape tool and other effects. Logos may o be used to identify organizations or other entities in non-economic contexts.
1. Create a new document in Photoshop of any size (I have used 300 / 200 px) with white background contents.
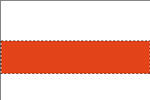
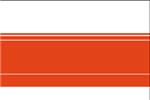
2. Create a rectangular shape using Rectangular Marquee tool, fill the selection with #ea4019 color on a new layer. Repeat the same step to create rectangular shape as shown below:

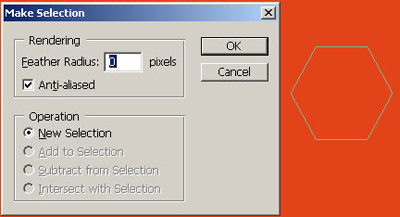
3. Now to get the shape of the football create a Hexagon by selecting Custom Shape tool options on a new layer. Right-click > Make selection and select the options as shown below:
![]()
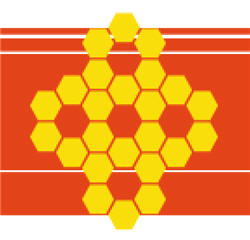
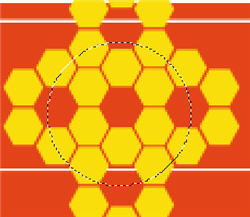
4. Fill the selection with #fcdd0b color and then Ctrl + D to deselect. Duplicate the layer and position them as shown below:

5. Now select the Elliptical Marquee tool and create a circle (press Shift) on the middle. Press Shift + Ctrl + I to inverse the selection and then delete.
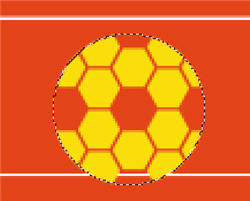
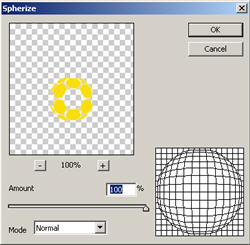
6. Then go to Filter > Distort > Spherize = 100%, Mode = Normal. Create a new layer just below the football layer then go to Edit > Stroke 1 px, Inside with the same color. Now press Ctrl + D to deselect.

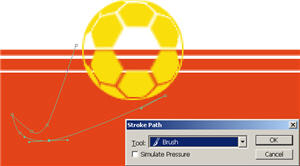
7. Then using Pen tool draw a line as shown. Right-click > Make selection > Stroke Path, select Tool = Brush. (Set brush size = 3 and color as #FFFFFF).
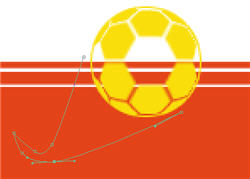

8. Create a shape as shown below using Polygonal Lasso tool. Fill the selection with Gradient tool on a new layer.


9. Continue with the same tool and delete the area as shown below:

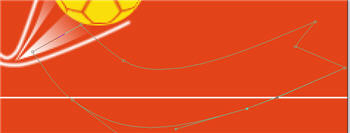
10. Now using Pen tool create a shape as shown below then Right-click > Make selection apply the default settings.

11. Add desired text to the banner using Text tool. Duplicate the text layer and place it just below the original text layer. Change the color to #229b06. Set the layer Opacity = 25%.

12. Press the Left Arrow 3 times and bottom arrow 2 times.
13. Create a shape as show using Polygonal Lasso tool to create the wiper of the bus. Fill with #71797c on a new layer. Duplicate the layer and place it as shown below:

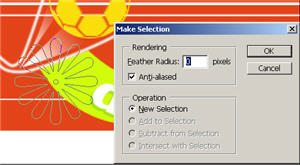
14. Now create a Flower shape by selecting Custom Shape tool options on a new layer. Right-click > Make selection and select the options as shown below:

15. Duplicate the flower layer two times and place as shown below:

16. Draw a line on a new layer as shown using Pen tool - Right-click > Make selection apply the default options and fill with gradient tool (any single color).


17. Duplicate the layer and place as shown below. Your finished image should look something like this:
