1. Open Photoshop and create a new image with a white background. I am using 500x500
2. Create a new layer and press D to reset the colours to black and white
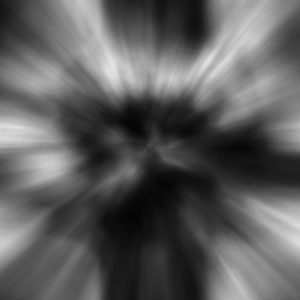
3. Go to Filter >> Render >> Clouds
4. Then go to Filter >> Render >> Difference Clouds, repeat this 3 or 4 times
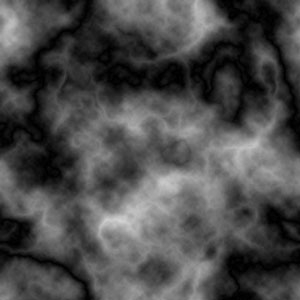
5. Hold Ctrl and press I to invert the colours.
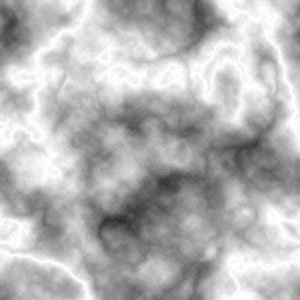
6. Select the Burn Tool and set it to a large brush, 20% exposure, midtones.
Now burn all the white areas of the document to make them stand out, this will make the grey area around them turn darker grey/black.
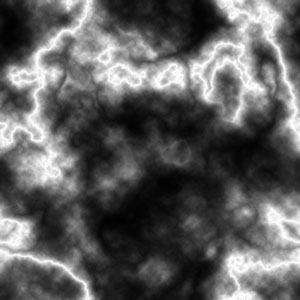
7. Go to Filter >> Blur >> Radial Blur, set to 100, zoom, good.
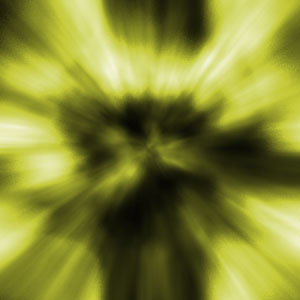
8. Press Ctrl + U. Tick the Colourize box and adjust the bars until you get a colour you like.
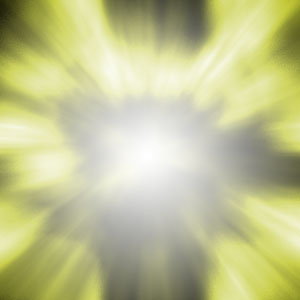
9. Now press the layer mask button at the bottom of the layers panel.
![]()
10. Select the gradient tool and set a gradient of black to transparent and set to a radial gradient.
![]()
11. Draw a gradient from the center of the canvas to the outside.
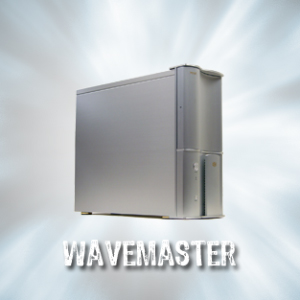
12. You are now finished with the background, add text and an image of what ever you want and you are finished.

BTW, I don't know what that is, I just typed object in google images.