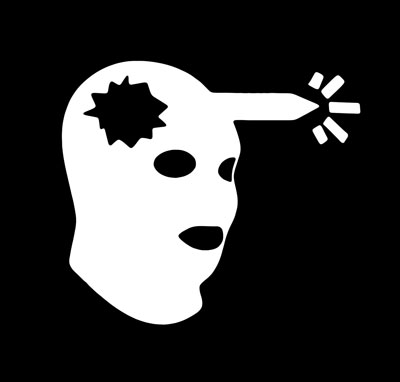
1. Open this picture of the head shot logo from counter strike which has been taken from one of Pure Pwnages tshirts.
2. Select the Magnetic Lasso Tool and draw around the main area of the head.
3. Press Ctrl + J to duplicate the selected area on to a new layer.
4. Do the same with the 5 blood squirts remembering to have the background selected when duplicate it.
5. Now using the same technique take out the eyes, mouth and the crack in the head. Hide your background layer to make sure there aren't any large black bits remaining.
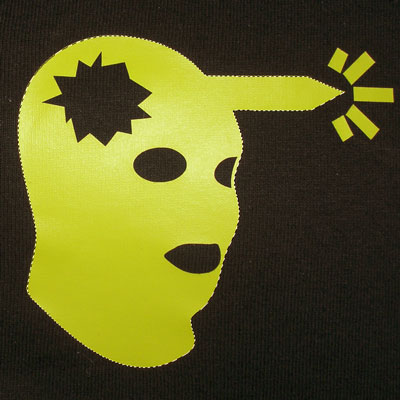
6. Merge all the duplicated layers together. You should have this:
7. Ctrl + Click the layer then click the Channels tab. Then press the Save Selection as Channel to create an alpha channel.
8. Press Ctrl + D to deselect the selection. Click the new alpha channel to select it.
9. Go to Filter >> Blur >> Gaussian Blur and set to 5px.
10. Now go to Image >> Adjustments >> Levels. Use these levels:
11. Ctrl + Click the alpha channel to make a selection of it.
12. Click the Layers tab and create a new channel. Fill this selection with white.
13. Show the background again if you hid it and fill it with black.
14. Delete the old head shot layer which was made up of the duplicates.
15. Then you are finished. Now you can make your own custom shape from your image.