


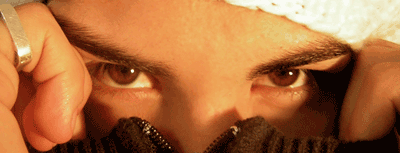
We are going to change the color of any photo eyes; you may take the picture yourself or find one on the internet.
Step 1:
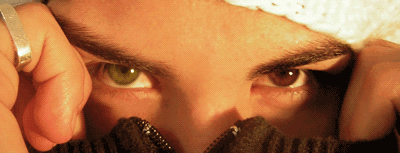
Choose the photo you that you want to modify, size is not a problem here, but again, in Photoshop bigger is better.
Create a new layer (Layer-New-Layer) and name it "COLOR", we are going to use this one to make the eye color effect.
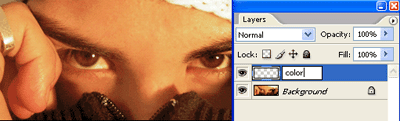
Then choose the color that you want for your eyes, we have used a nice green (#99cc66).

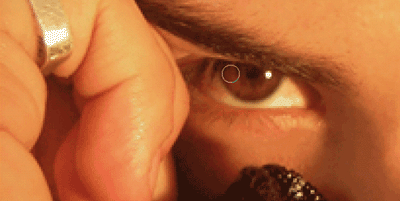
Now the manual part, choose the Brush tool and adjust the size of it, so now you can easily fill the eye with the color you have chosen. If you make a mistake don't worry just use the eraser, or the "undo" command (Ctrl+Z).
Step 2:
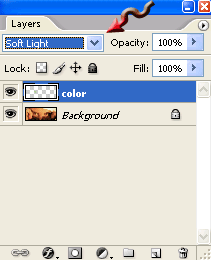
Alright, now select in the Blending Mode menu "Soft Light", look at the Picture above if you don't were is the menu.
Proceed and fill the other eye, be carefully with the borders of the eye.
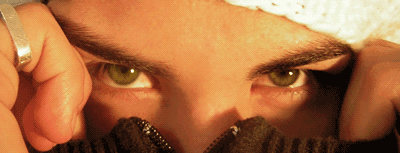
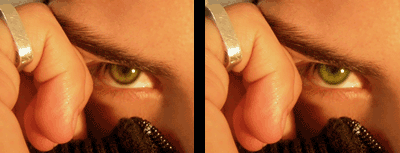
Now that you have colored both eyes, your photo is going to look like this.
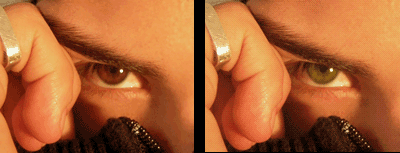
And that's all folks, you have modified the eyes color of the photo, let's see the "before-after" screen cap.
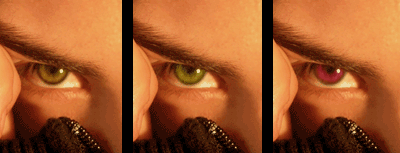
If you want your eye to look more realistic, just use the Burn Tool - Range Midtones, and "burn" the borders of the eye. It's going to look something like this.
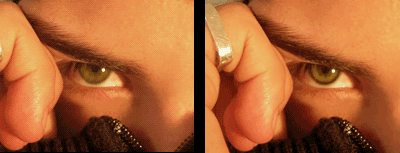
And with the Dodge Tool - Range- Highlights, Light inside of the eye (green part) a little, you are going to have better results with this two little tips.
Don't like the color, or want to tweak it a little?!. Don't worry you don't have to make all the steps from the top!
Step 3:
Go to Image - Adjustments - Hue / Saturation and modify the values until you got the color that you want, REMEMBER all of these modifications are in the COLOR layer.
Alright we are done, have fun with the eye colors!