Hi Folks, today we're going to make an Aerosmith Wallpaper that really rocks!

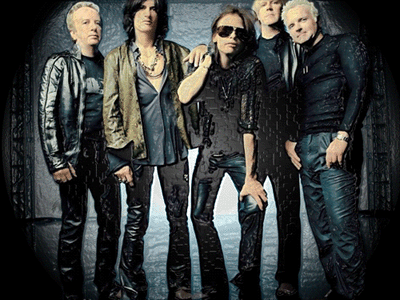
For this tutorial we will give you a file with an Aerosmith photo and the Aerosmith Logo you are going to need them later download them here.
Step 1:
Open the Aerosmith photo. Its 1280 x 960 pixels so you don?t have to resize it.

Step 2:
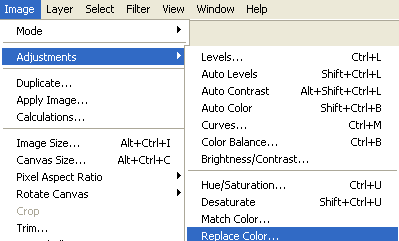
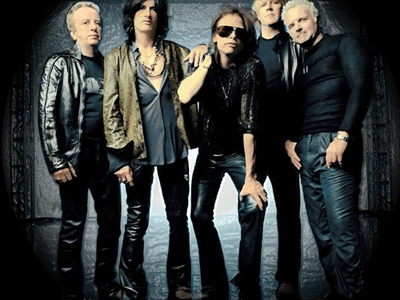
Go to Image > Adjustments > Replace Color?
Change the values like this: (in COLOR, you have to use this: #98f7fe)
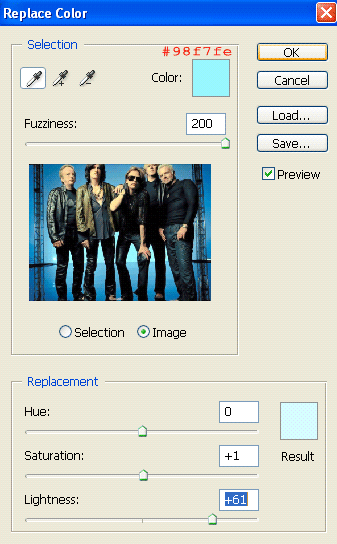
Now your photo will look like this:

Step 3:
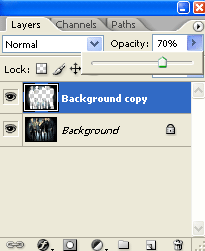
Press Shift + Ctrl + E (to merge layers)
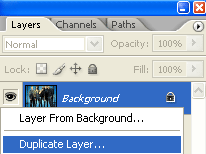
Duplicate the background layer (right click: Duplicate Layer)
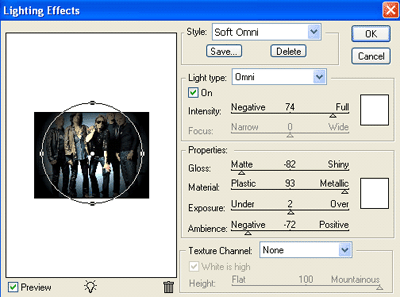
And go to Filter > Render > Lighting Effects.
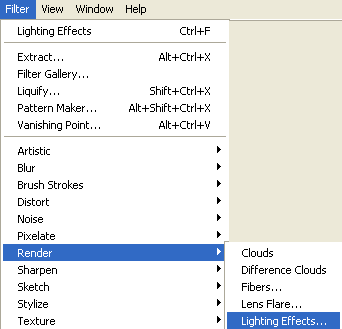
Change the values like this:

Grab the eraser tool and erase all the group members in this layers (make sure you are doing this in the duplicated layer)


Step 4:
Press Ctrl + Shift + E (to merge again) and once you've merge the layers, duplicate again the background layer.
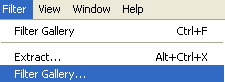
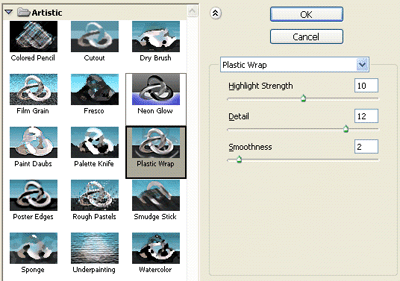
Go to Filter > Filter Gallery.
Choose Plastic Wrap and the settings like the screenshot:
Grab the eraser tool again, and once again erase the band members?this step is much more easier.
Change your layer opacity to 70%...Merge the layers again?(Ctrl + Shift + E)

Step 5:
Now Open the file ?Logo.psd? and grab it into your wallpaper document.
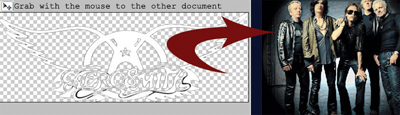
And place it there:

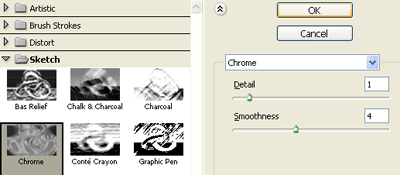
Now duplicate the logo layer, Go to Filter > Filter Gallery, Choose Chrome.

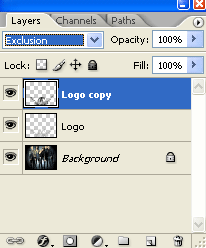
Now change your logo duplicated layer blending mode, choose: Exclusion
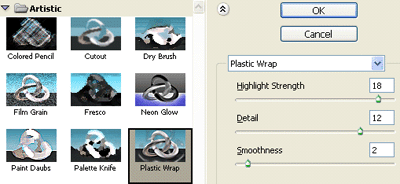
Go to the Filter Gallery Again, this time choose Plastic Wrap.

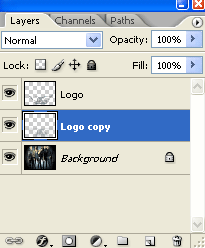
Select the two logo layers (holding Shift) make right click and choose ?Merge Layers?
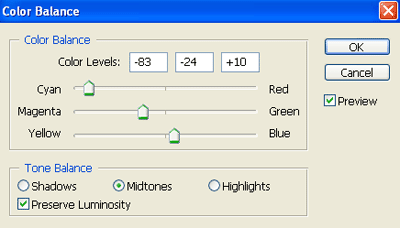
Go to Image > Adjustments > Color Balance (or press Ctrl + B) and modify the values, (try to modify the shadows too). You can use this settings or change them to get the color you like most.

Duplicate your Aerosmith logo layer.
(in the duplicated layer) Go to Filter > Blur > Radial Blur?
Now, move down the duplicated layer:

Merge again the two logo layers?
Step 6:
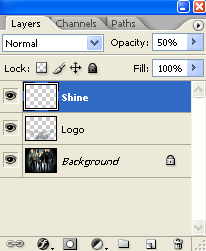
Create a new Layer (Ctrl + Shift + N) and grab your brush tool, fill with white some lines like this:


Go again to Filter > Blur > Radial Blur, and just press ok cause the values will be already set.
Change the opacity to 50%.

Step 7:
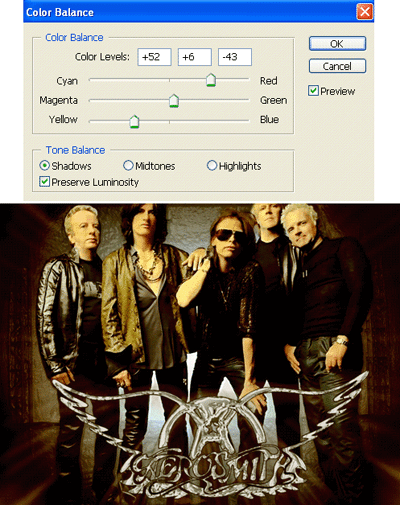
Finally, merge all Layers (Ctrl + Shift + E)
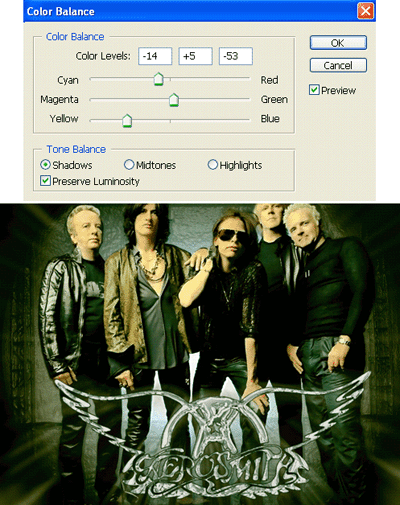
Go to Image > Adjustments > Color Balance (or Ctrl + B)
We will give you 3 options of color, or other way you change the values to get the color you want.
Blue:

Red:
Green: