


In this tutorial, you will learn to create a stylish web button. Final output of this stylish web button tutorial can be seen below:
![]()
Fill the background with #D0D8AF. Select rounded rectangle tool, set the radius to 4 pixel and draw this shape. Color of the shape is not important because it will be changed after applying gradient overlay.
Apply these layer styles in it:
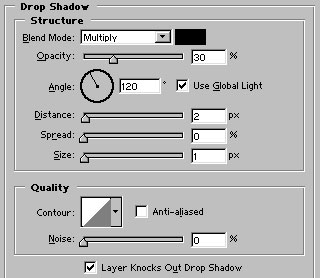
After applying above filters, draw another shape with rounded rectangle tool. This time choose #80A00F color to fill the shape :
![]()
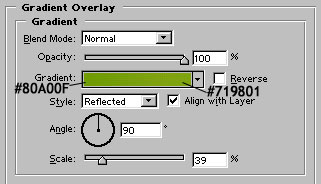
Press '-' (minus sign) from numeric keypad and draw a bigger shape as shown with rounded rectangle tool. We are doing this to subtract the shape :
![]()
Group and merge these two layers. Press control and click on its layer name in layer palette to select it. Go to select>modify>contract and contract the selection by 1 pixel. Press shift+control+i to invert the selection. Finally press shift+control+alt and click on its layer name in layer palette. This stuff will select the border of the shape. Now, create this gradient :
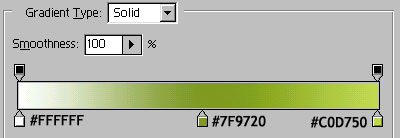
While, selection is still active, create another layer for the border and fill the selection with linear gradient.
![]()
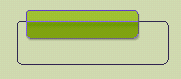
Add custom text & add little drop shadowing it. Our stylish web button is ready to be clicked:)
![]()