

Select this autoshape :
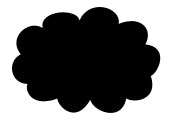
Drag the shape in the canvas as shown:
Apply these layer styles in it:
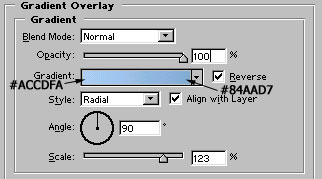
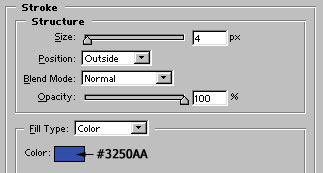
Image after applying above layer styles :

Control+click on its layer name in layer palette to select the layer. Go to Select>Modify>Contract and contract it 2 pixels. Create a new layer and fill the selection with white :

Select high feathered eraser tool and erase the part of the layer as shown:

Now, draw this circle with ellipse tool :

Draw another small white color circle in the middle of the black circle :

Again erase the lower part of the white colored circle. This will give the glossy effect to the eye :)

Group and merge two eye layers. Duplicate and place the eye layer as shown:

Now, select Ellipse tool, but click on Path. Draw a path with it as shown:

Set the foreground color to stroke color i.e. #3250AA. Set the brush size to 4 pixels. Create a new layer and right click on the path. Select stroke path and choose brush. It will give stroke or outline to the path as shown in the following figure :

Select Rectangular marquee tool and draw a selection as shown.

Press delete. You have a smiling cloud :)

Select Ellipse tool again. Draw a #FFBC01 colored circle behind the clouds as shown:

Add #FE7E01 colored 3 point stroke in it:

Again, draw a white color smaller circle in the sun layer as shown:

Use high feather eraser tool to erase the part as shown:

Now, draw some #F79C06 colored lines to complete the icon :)
